Annotations & Markers
When scanning complicated projects, it may be difficult to identify objects of importance or of interest. By adding an annotation or marker, this can call attention to things that need to be fixed, changed, replaced, or generally highlighted.
Adding an Annotation
- Tap More > Map and then tap Station View in the bottom left corner.
- Tap the Calculation icon
 .
. - The marker and annotation icons appear next to the XY and Z lock measurement icons on the bottom left corner of the screen.
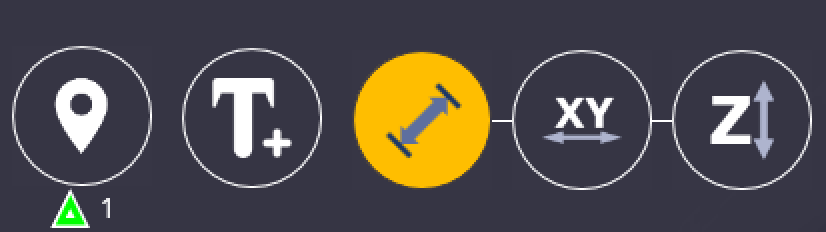
- Tap the Annotation icon
 .
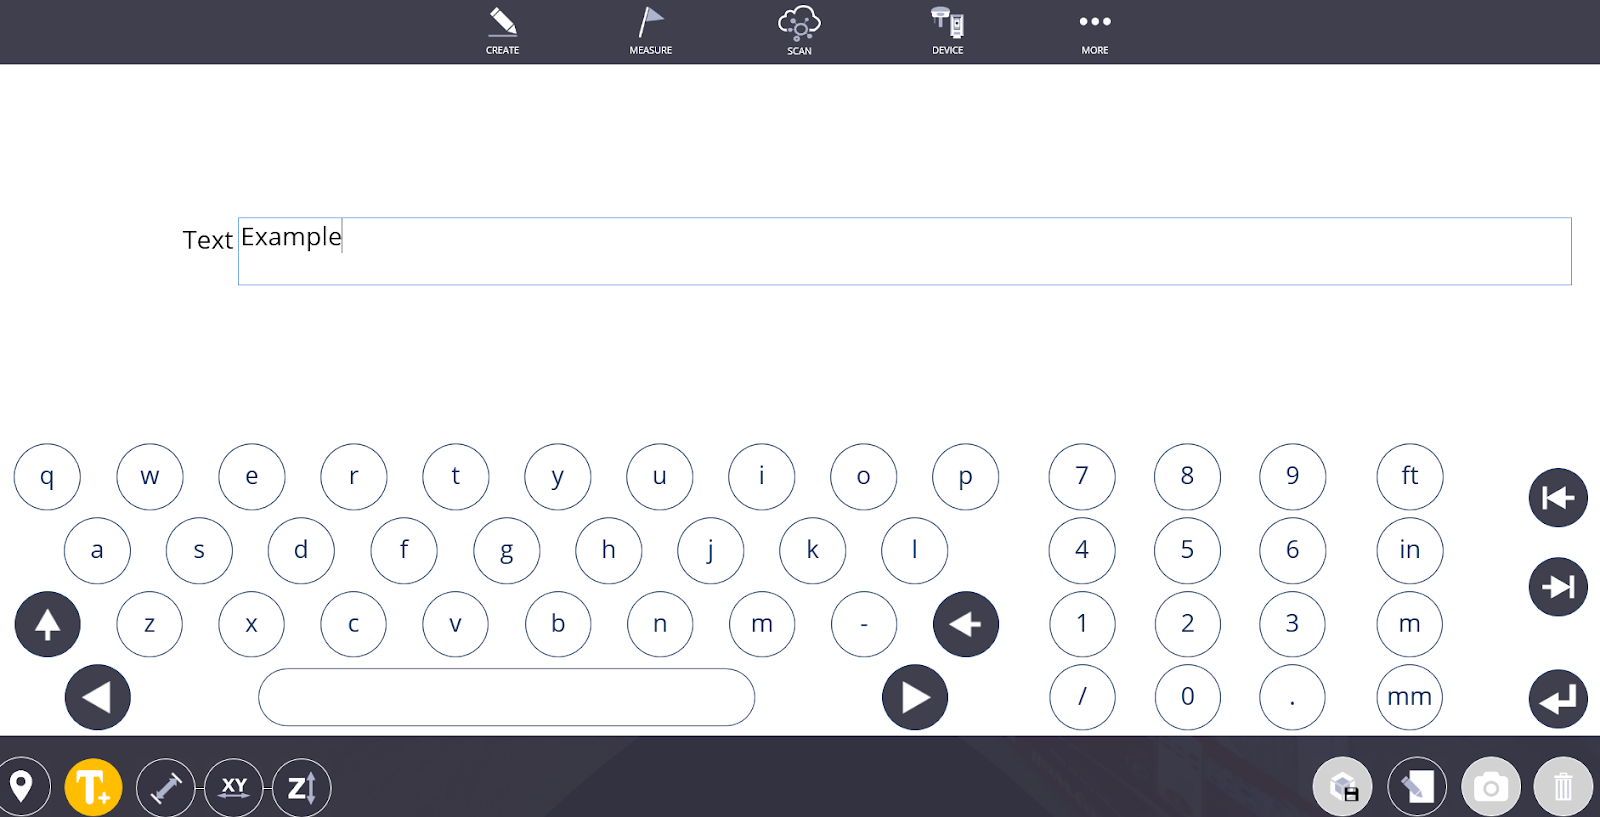
. - Once the annotation menu appears, you can enter text using the built-in keyboard and then tap the Annotation icon that is highlighted yellow to close this menu.
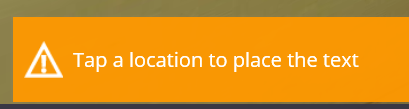
- Now you can tap where you would like the annotation to appear.
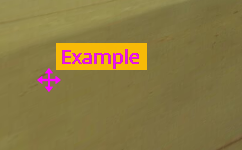
- To move the annotation to another location, click the pink arrows and drag to where you would like to relocate the text.
- To change the text, tap the Edit Text icon
 .
. - To delete an annotation, tap the annotation you would like to delete and select the Delete icon
 in the bottom right corner .
Adding a Marker
- Open Station View.
- Tap on the Marker icon
 . The marker icon shows a small triangle with a number next to it. This represents which station view you are in.
 - Tap where you would like to place the marker. You can move the marker to another position using the pink arrows next to the marker.
- To edit the marker, tap the Edit Marker icon
 .
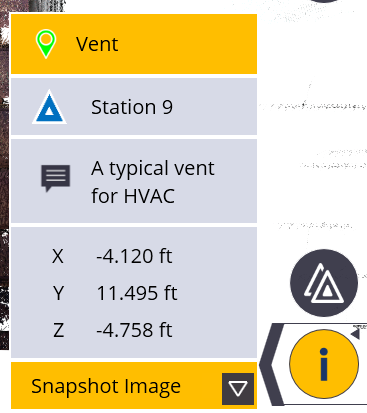
. - Once in the edit menu, you have the option to change the name of the marker, the marker description and the marker color.
- To attach a photo to the marker, tap the Camera icon
 to open the device camera to capture a photo or tap on the File icon
  to upload an existing photo from your device.
 - Once your edits are complete, tap the yellow edit marker icon to exit the edit menu.
- To delete a marker, tap the marker you would like to delete and tap the Delete button in the bottom right corner.
Another feature of the markers is the ability to save a view based on the markers you add. To do this:
- After creating a marker, the Save View icon
 appears. Tap this icon. A message pops up saying that the “current view has been saved”.
 - To see this view again, exit station view (or select More > Map) and tap the Info icon
 in the bottom right corner.
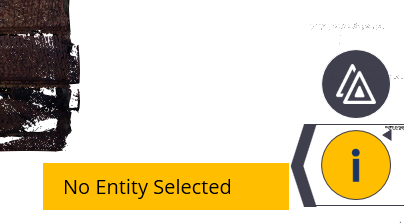
- When the info button is yellow, tap the marker where you just saved the view. A menu appears next to the information ribbon.
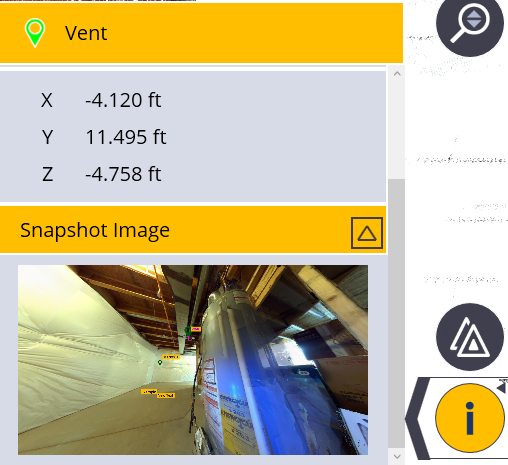
- Tap the arrow next to Snapshot Image to view the marker name, station number, description, XYZ coordinates, and a thumbnail image of the view you saved.
- To exit this view, tap the Info icon.
