Layout Plane
The Layout Plane feature enables you to specify a flat plane, tilted plane, or sloping plane which can be used similar to a rotating or sloping line laser. The Layout Plane feature also has audible sounds to help with grading in loud environments to indicate high, low, or on-grade measurements.
Flat Plane
To define a flat plane, type in an elevation or pick a point on the screen. You can then lay out that flat plane.
- Tap the Measure icon
 and then tap Layout Plane.
 -
Either select a point on the screen or tap the Input Form
 and type in or measure an elevation.
 -
Move to where you want to layout.
-
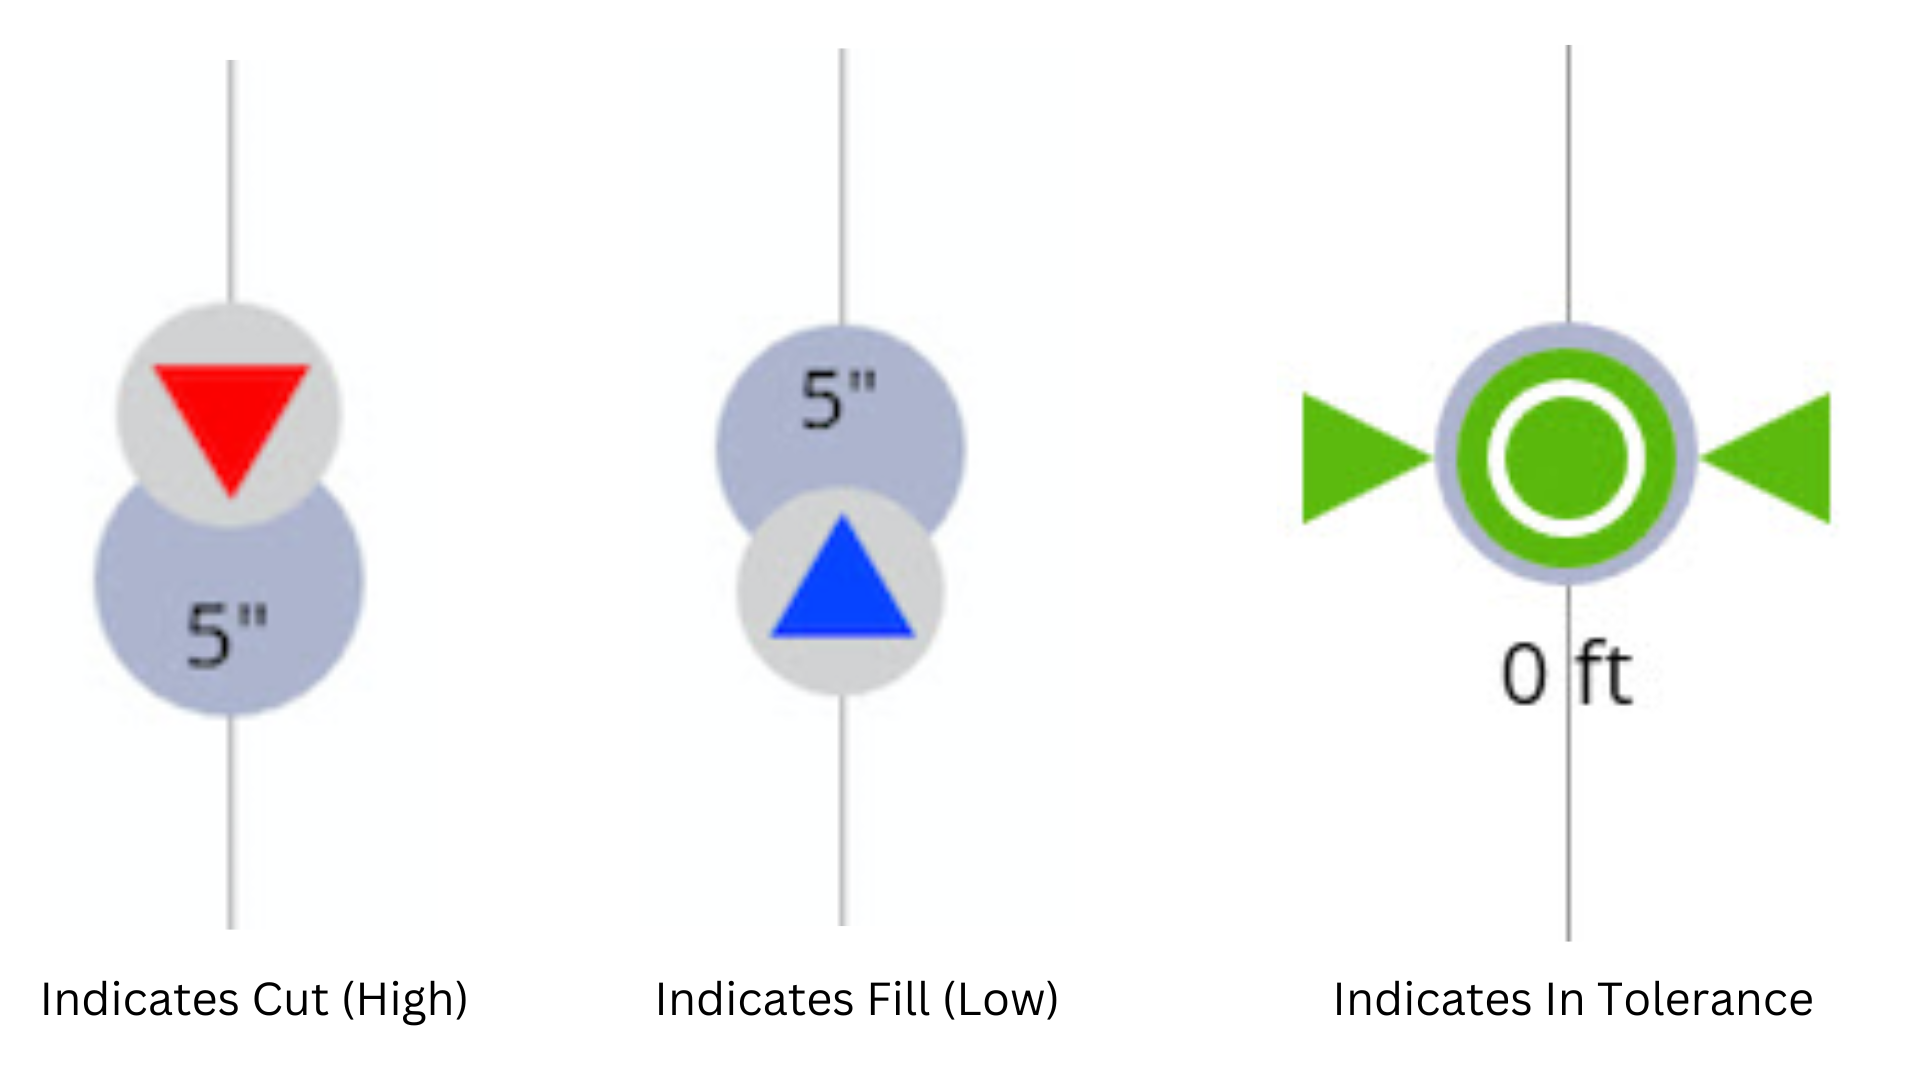
The software shows Cut (high), Fill (low) or In Tolerance (level). Points are recorded on the screen: green for in tolerance, red for cut and blue for fill.
-
Tap the Shoot icon to collect as-built information and store this information for future use and quality assurance.
Tilted Plane
To define a tilted plane, you can type select three points on the screen.
- Tap the Measure icon and then tap Layout Plane.
- Tap the 3-Point Tilted Plane icon
 .
. - Either tap three points on the map screen or measure three points.

- Tap Accept.
- Move to where you want to lay out. The software shows cut, fill, and in tolerance.
- Tap the Shoot icon to collect the as-built information and store this information for future use and quality assurance.
- To measure a new tilted plane, tap Configure and repeat steps above.
Sloping Plane
To define a sloping plane, you can type select three points on the screen.
- Tap Measure and then tap Lay Out Plane.
- Tap the Sloping Plane icon
 .
. - Either select a point on the map screen or measure a point.
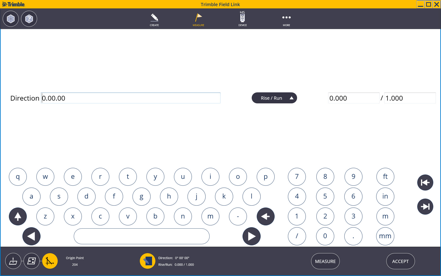
- Tap Input Form to enter: Direction of Slope and either Slope Percentage (%) or Rise/Run.
- Move to where you want to lay out. The software shows cut, fill, and in tolerance.
- Tap the Shoot icon to collect the as-built information and store this information for future use and quality assurance.
- To measure a new tilted plane, tap Configure and repeat steps above.
