Model Management
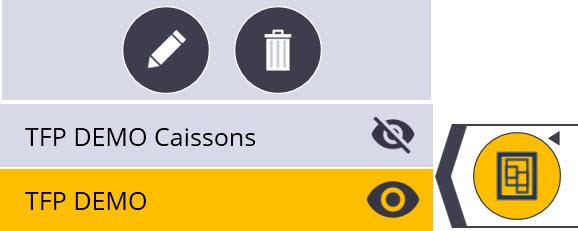
Unzip the Information Zipper and then tap the Model Management icon ![]() to bring up a list of all available models or background files within the project where you can display or hide these models. The Model Management tool also allows you to transform, rotate and scale models and background files to fit another model or background file with common points. This is possible with both FieldLink Office and Field versions.
to bring up a list of all available models or background files within the project where you can display or hide these models. The Model Management tool also allows you to transform, rotate and scale models and background files to fit another model or background file with common points. This is possible with both FieldLink Office and Field versions.
From the Model Management tool you can also delete models/backgrounds files and edit, transform, and rotate and scale models or background files.
- After selecting the Model Management icon, selecting one of the models from the list highlights that model in the project. Select the pencil/edit icon to edit that model.
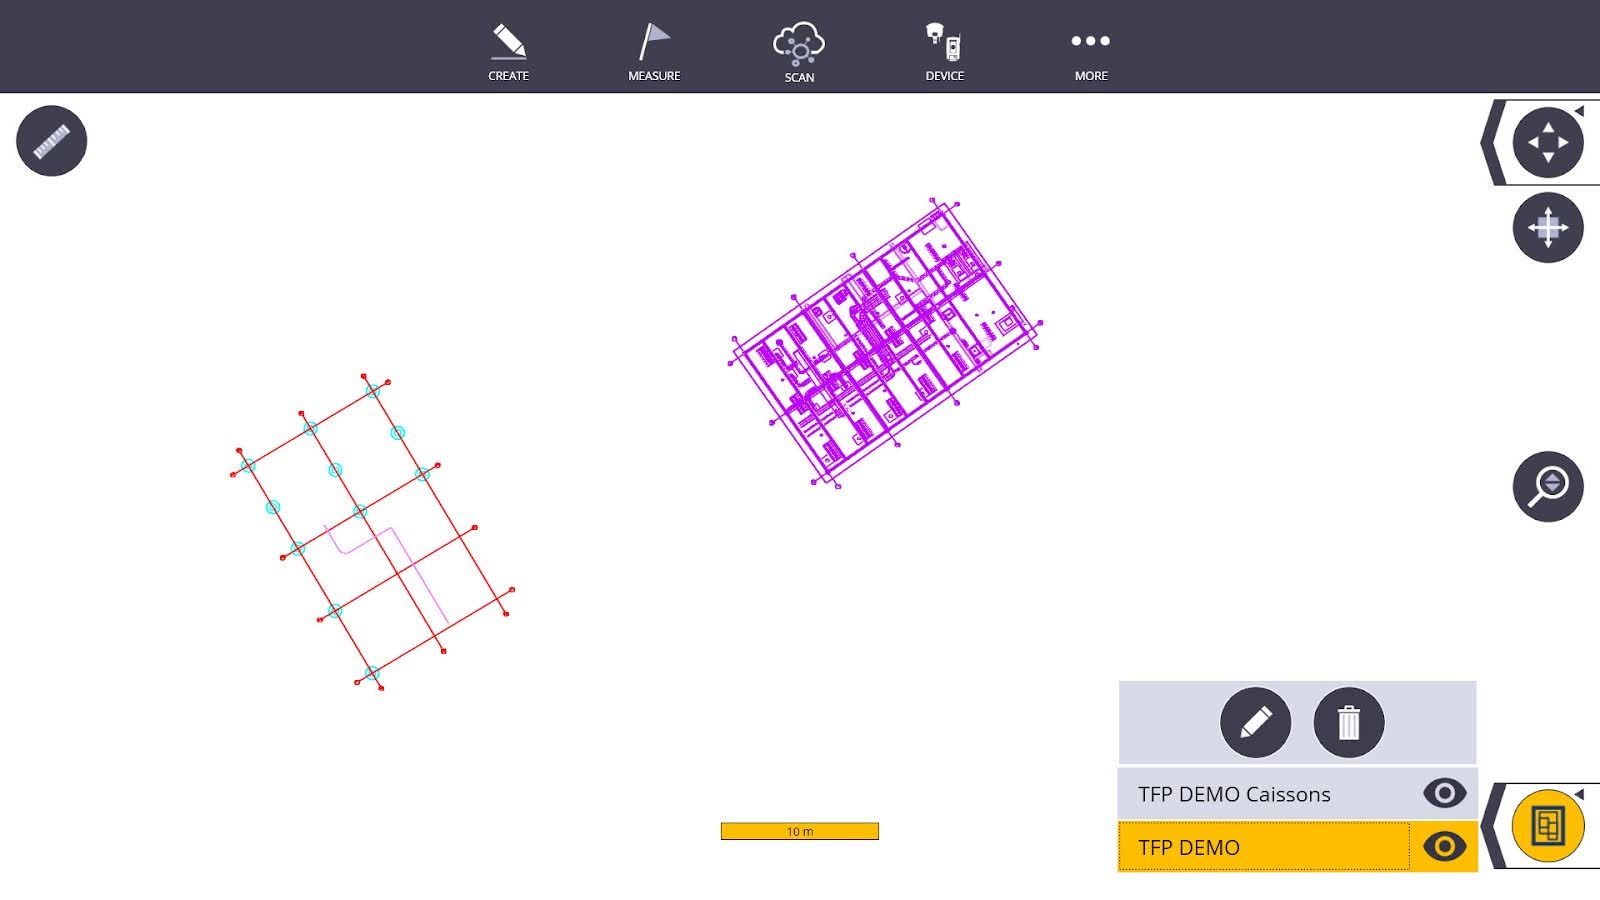
- Edit tools are shown that allow you to edit the selected model. You can rotate the highlighted model with defined values or rotate and move the model anywhere in the project with the circular angle tool and mouse wheel.
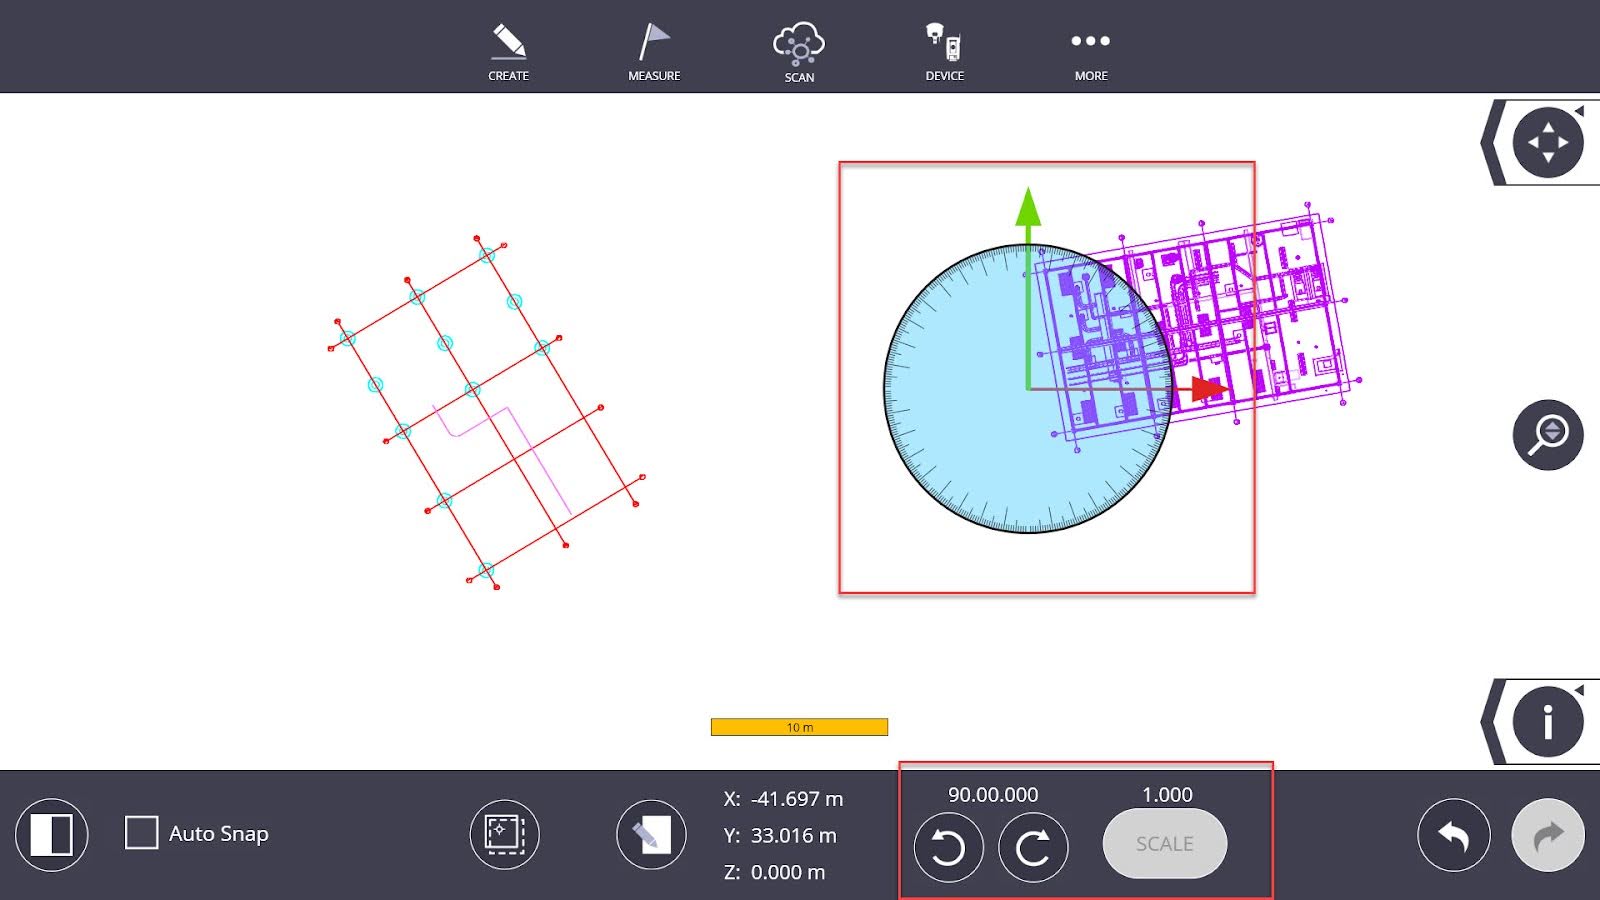
- In the same page, there is an edit button that allows you to select a basepoint for the selected model if desired. This edit button also allows you to change the angle incrementation and the scale factor if desired.
- Back at the first edit page, there is also a button that allows you to lock both models and move them simultaneously. This function doesn’t allow for rotation.
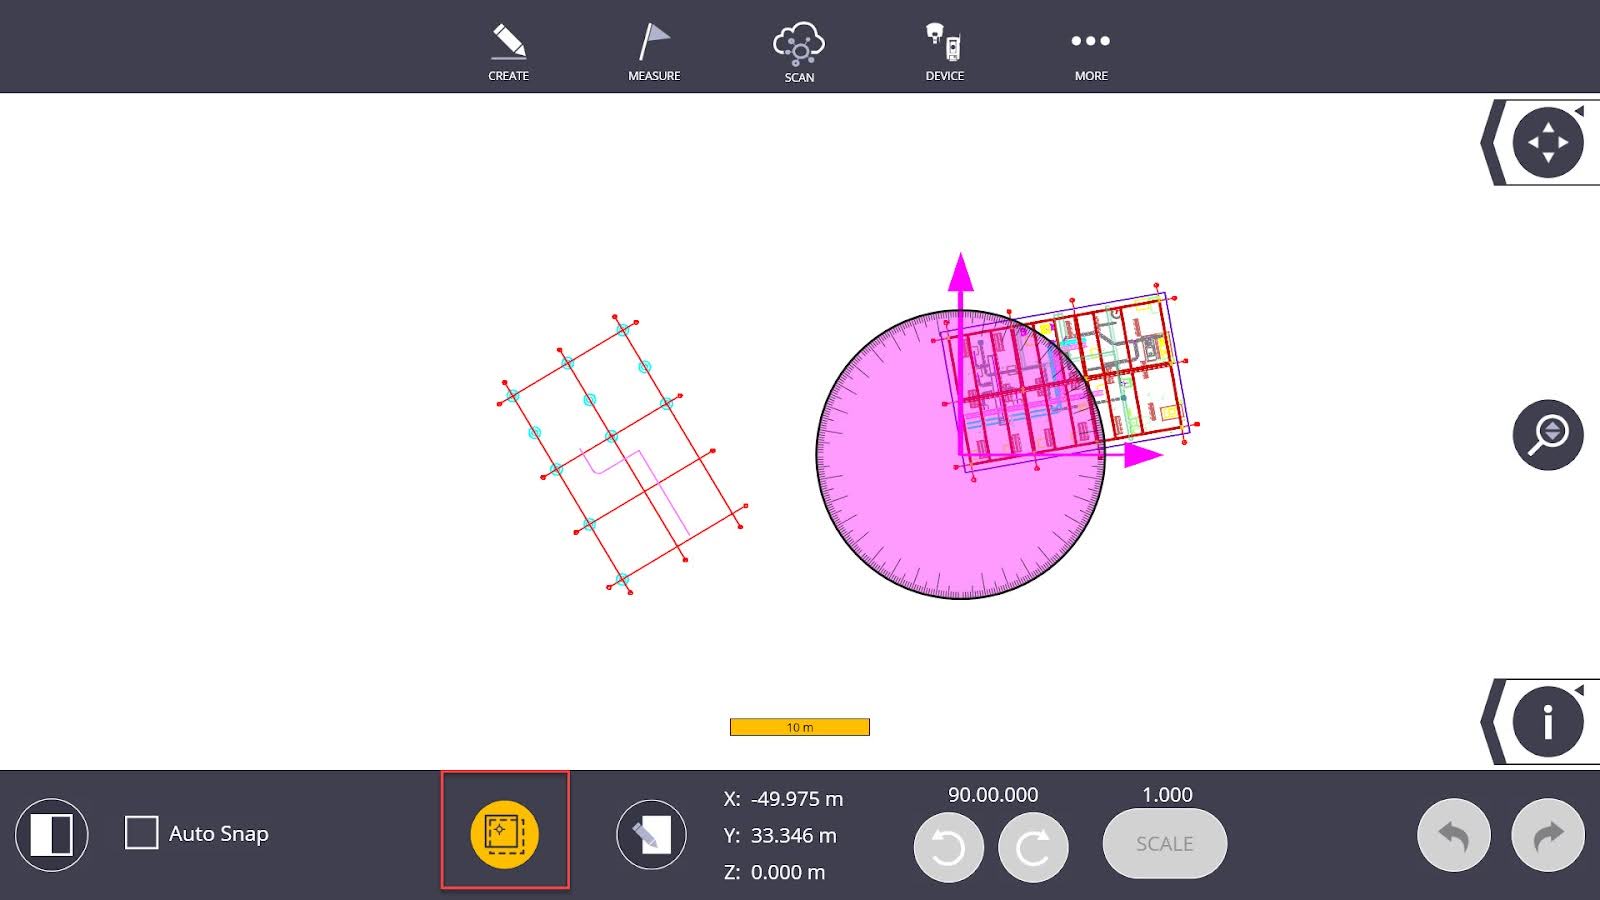
- The final functionality is the button that allows you to fit your model to another model using common points in both models. Selecting the black/white icon brings you to a split screen with your selected model and the secondary model. At the bottom of this page there are three check boxes. One for auto snap which allows you to snap to points in both models, one for model scaling and finally, one to enable preview of the model fitting. There is also a rotation button that only becomes active after the 2 points have been selected in both models.

Transform, Rotate, and Scale a Model to Another Model using 2/3 Points (Office and Field)
To perform the model fitting from the split screen, select all three check boxes. For 2D model transformation, select two common points between the models by selecting two points in your selected model, then selecting the same two points in the second model. If the model appears to fit but is off by 180 degrees, apply the rotate button at the bottom to rotate the model onto the other one. Once you are happy with the preview, select Accept which will fit your model to the other one. If you wish to redo the model fitting, before you select Accept, use the clear button in both models. For 3D model transformation, the same steps are applied as mentioned above with the exception of selecting 3 common points between the models rather than two.
![]()
