X7/X9 Scan Export and Diagnostics Report
Export Scans
Once you have finished scanning, you can export scans to view later in FieldLink Office, Trimble Realworks, SketchUp and other supported CAD software. To export scans:
-
Tap the Scan icon
 and then tap Export.
 -
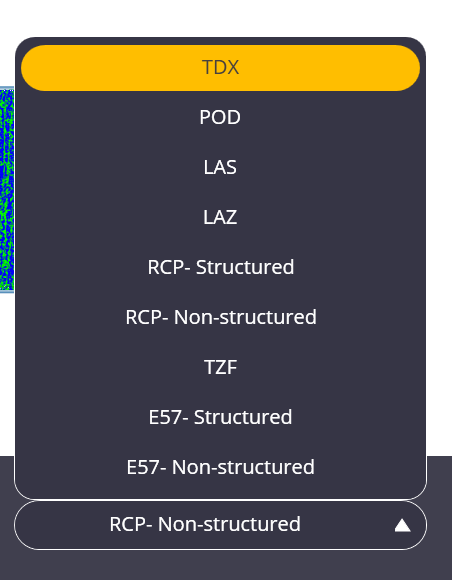
Tap the dropdown menu on the bottom bar and select the file type to export. The options are TDX, POD, LAS, Structured RCP, Non-Structured RCP, TZF, Structured E57 and Non-Structured E57.
-
Choose where to export the file to on your device. You can also select whether to either refine or colorize the points during export. If you have already colorized and refined the points, the check boxes are selected and grayed out.
-
Click the Export button to begin the export process. The time it takes to export depends on how many scans you have, whether the points have been colorized, or whether the file has been refined.
Export Section Boxes
Export any number of section boxes at one time by selecting specific or all section boxes and exporting the selected scans as a non-structured export format (POD, LAS, LAZ, Non-structured RCP, or Non-structured E57).
NOTE – Section boxes cannot be exported as structured formats (TDX, TZF, Structured RCP, or Structured E57).
To export section boxes:
-
Tap the Scan icon
and then tap Export. -
Tap the dropdown menu on the bottom bar and select the file type to export. Choose any non-structured export format (POD, LAS, LAZ, Non-structured RCP, or Non-structured E57).
-
Tap the arrow to the left of the Information icon, then tap the Section Box icon
 to view your section boxes.
 -
Select the check box next to each section box you would like to export.
-
Tap the Section Box icon to return to the export screen.
-
Tap the Input Form icon
 to choose where to export the file to on your device. You can also select whether to either refine or colorize the points during export. If you have already colorized and refined the points, the check boxes are selected and grayed out.
 -
Tap the Export button to begin the export process.
For more information on how to edit, create, and manipulate section boxes, see Section View.
Two Diagnostics Report
If you encounter an issue with the X7/X9 or to check the instrument health, use the built-in diagnostics report function. To create a diagnostics report:
-
Ensure the software is connected to the Trimble X7/X9 laser scanner.
-
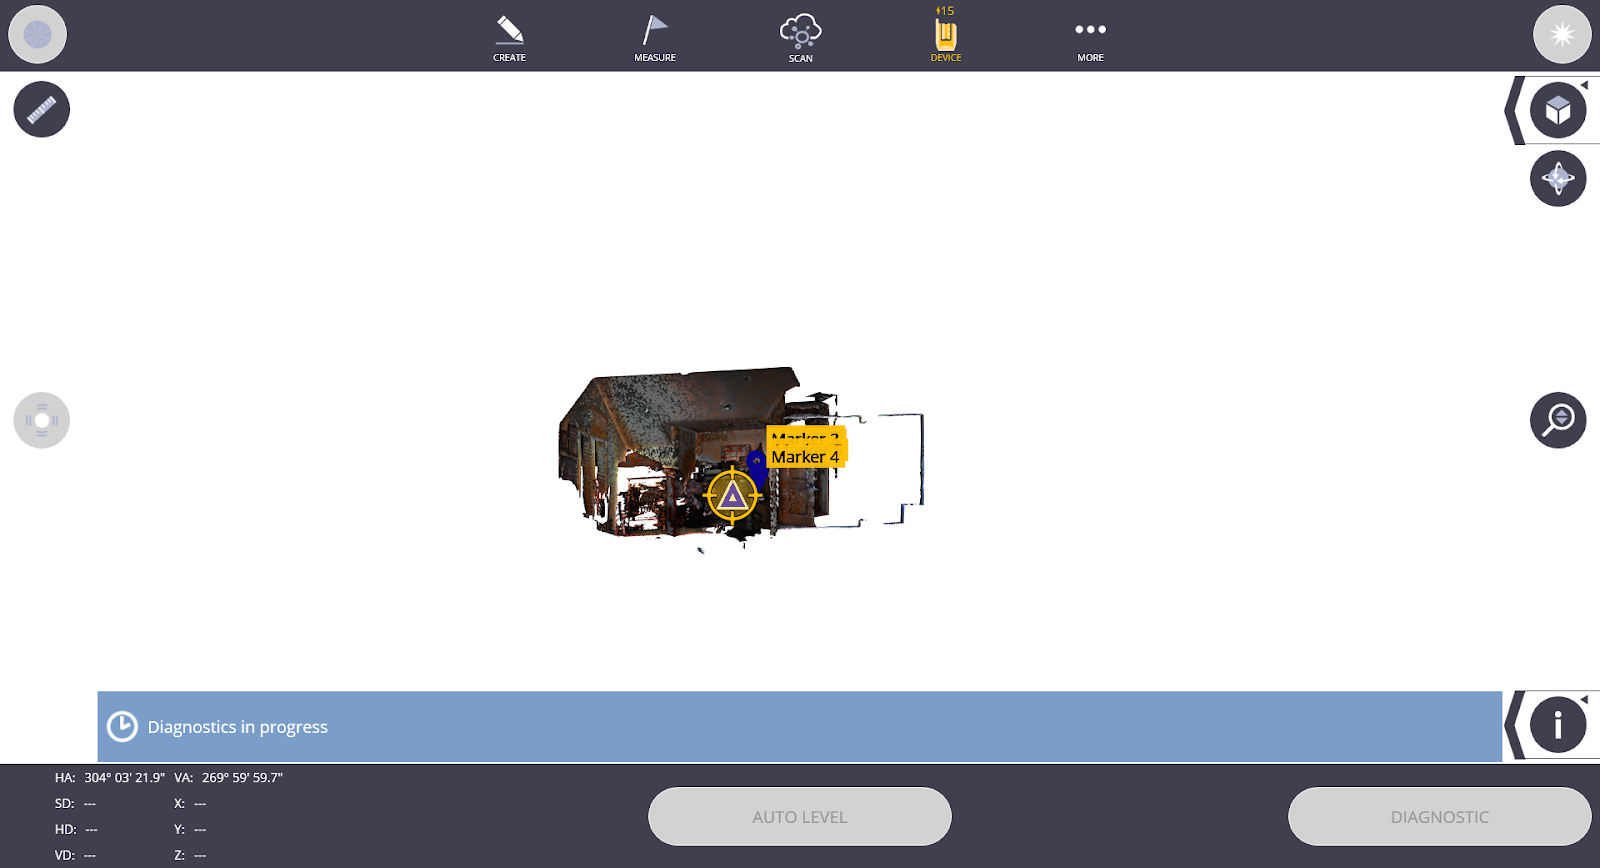
Tap on Device > Settings > Diagnostic.
-
Once you tap the Diagnostic button, the Trimble X7/X9 begins spinning and the yellow lights flash. Make sure to not touch or move the X7/X9 while it is moving.
-
The diagnostics report appears once it has finished and the lights on the Trimble X7/X9 turn green.
-
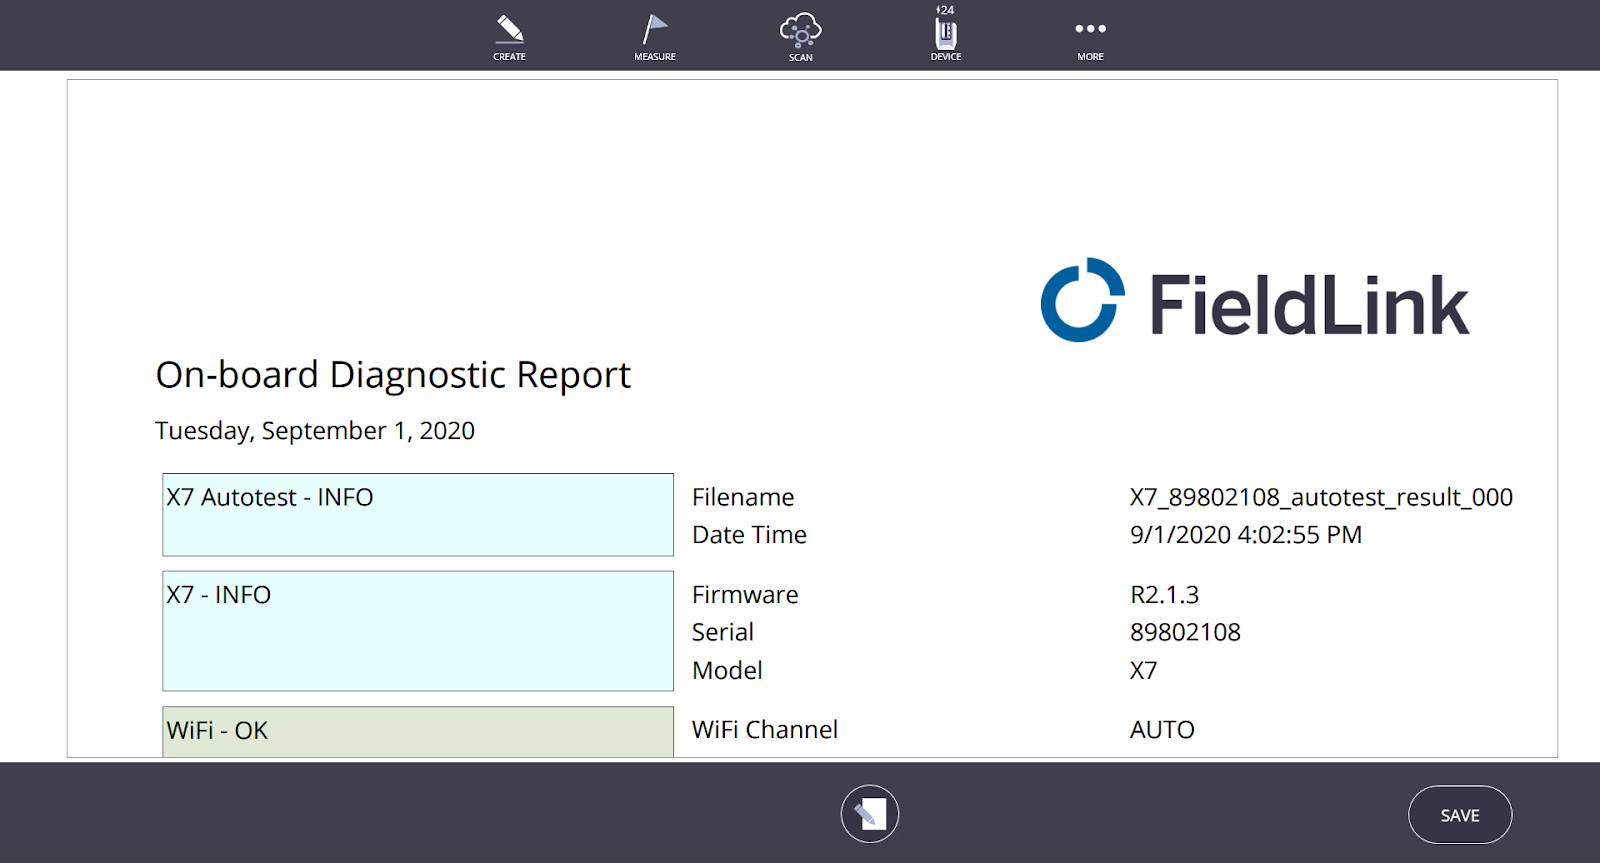
Once you have viewed the report, tap the Preview button to open up a browser page. Right-click the report and save the .html report to a folder of your choosing. You can also right-click and print the report as a PDF to a folder of your choosing.
Calibration Report
To access the X7/X9 instruments Calibration Report:
-
Ensure the software is connected to the Trimble X7/X9.
-
Tap Device and then tap Settings.
-
Tap Calibrate Instrument.
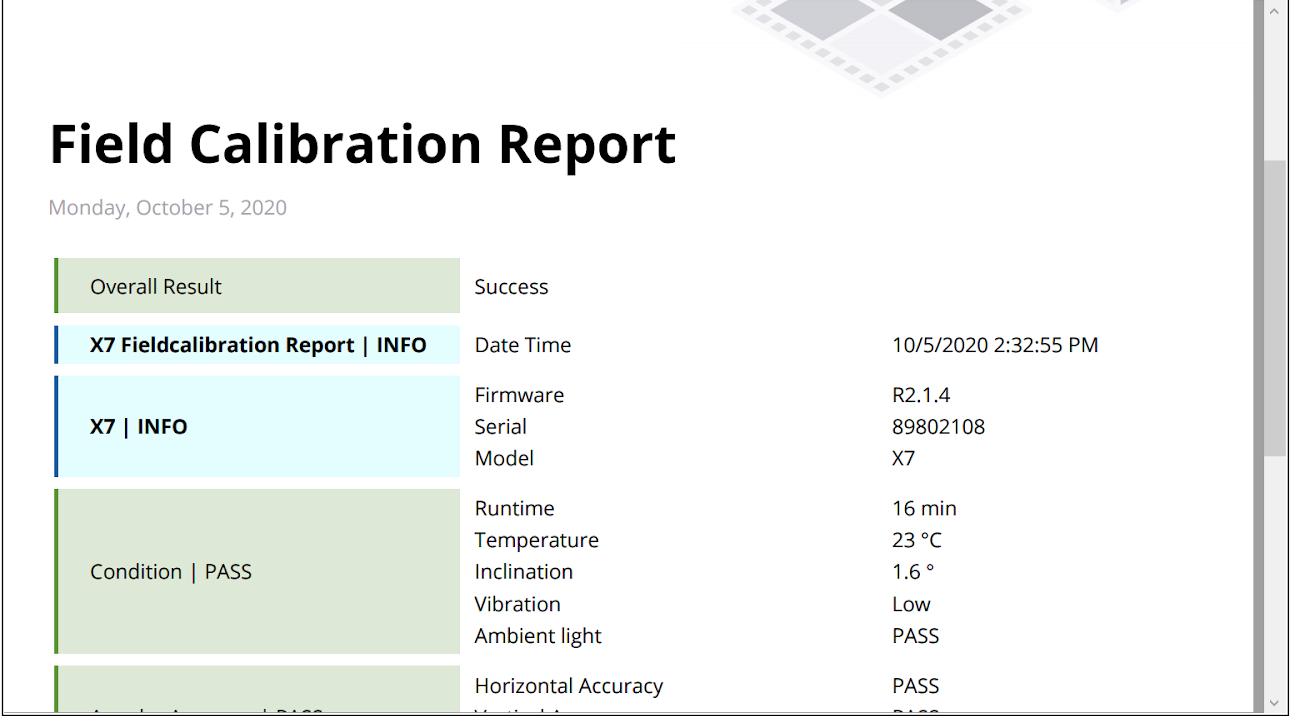
You have the option to open the report in a browser page. Right-click the report and save the .html report to a folder of your choosing. You can also right-click and print the report as a PDF to a folder of your choosing.
Log Files
If FieldLink encounters an error or crash, Trimble Support may ask for the log files in order to better understand what caused the issue. To access these log files:
Through FieldLink
-
Tap More and then tap About.
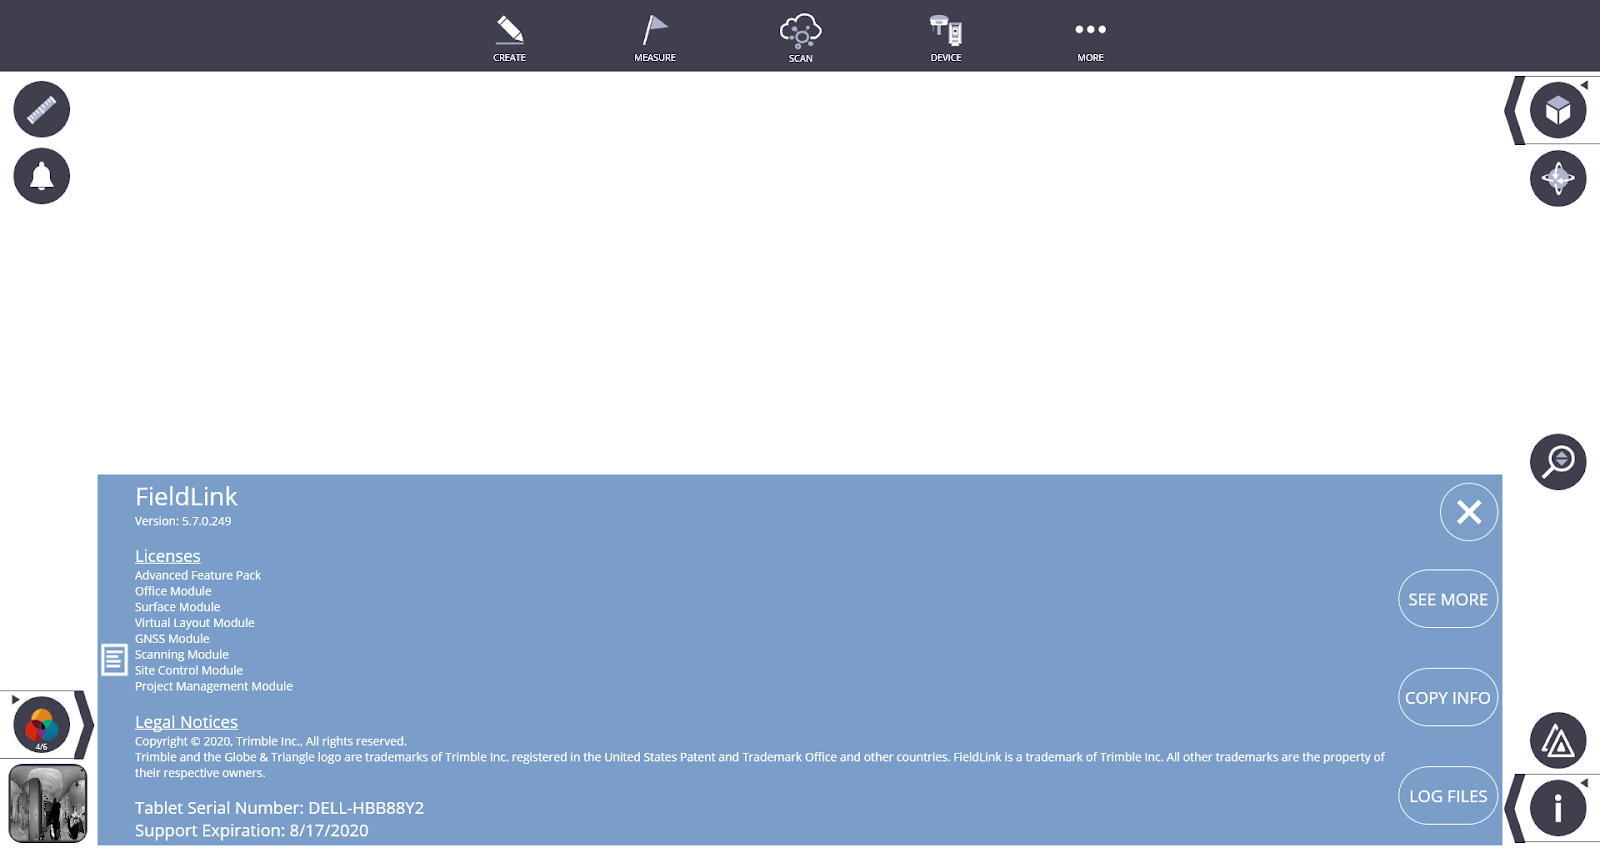
-
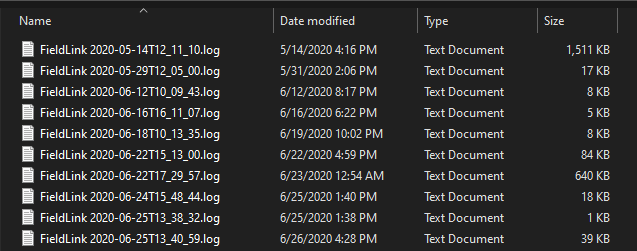
The About menu appears. Tap Log Files in the bottom right hand corner. The file explorer opens, revealing the save location of the FieldLink log files.
-
Select the Sessions folder and find the most recently saved file from your project.
Through File Explorer
-
Open the File Explorer.
-
Make sure that Hidden Items is checked under the view ribbon. You will need to see the AppData folder.

-
The save location for log files is Users > Username > AppData > Local > FieldLink > LogFiles > Sessions.
