Section View
Tap the Section View icon ![]() to set a six-sided view cube to focus on a certain area, and also save those section views.
to set a six-sided view cube to focus on a certain area, and also save those section views.
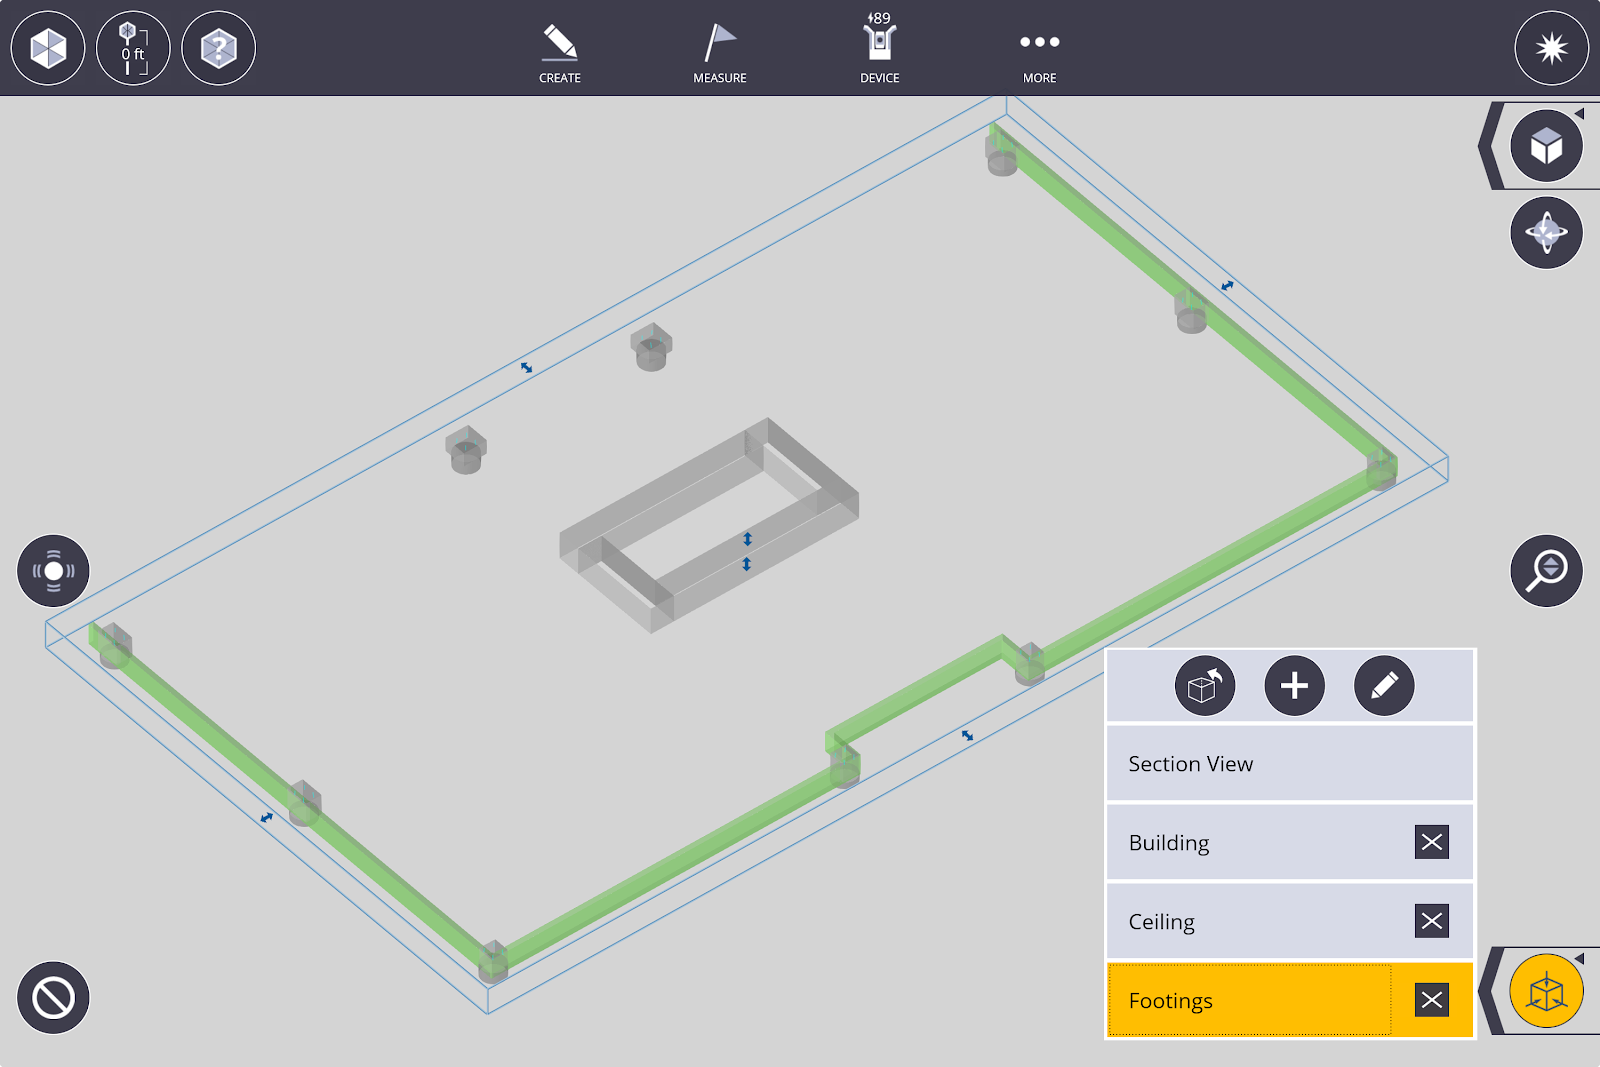
- Select the Section Box icon to activate the six-sided section box around the model or scan.
- Tap the Add New Section icon
 and then name the view.
 - Tap and hold on any of the six side arrows to push or pull the section pane to a certain area. This section box will limit points created to the area within the box only.
- To switch between views, tap the arrow next to Zoom Extents
 to expand the menu. You can switch between Left Elevation
  , Front Elevation
  and Top View
  .
. -
Tap the Pan icon
 to display a rotation dial. The icon will change to the Rotate icon
  . Tap and hold the edge of the dial to rotate the section box to align with the scan or model in each view.
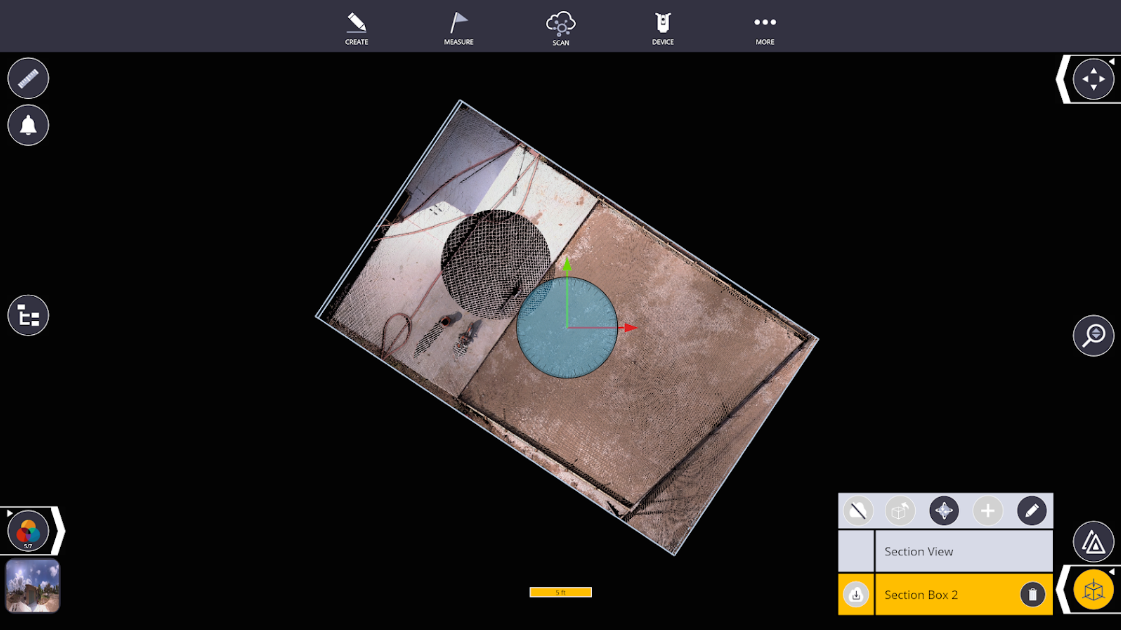
- Tap the Reset Section Box Limits icon
 to take the Section cube to the original size.
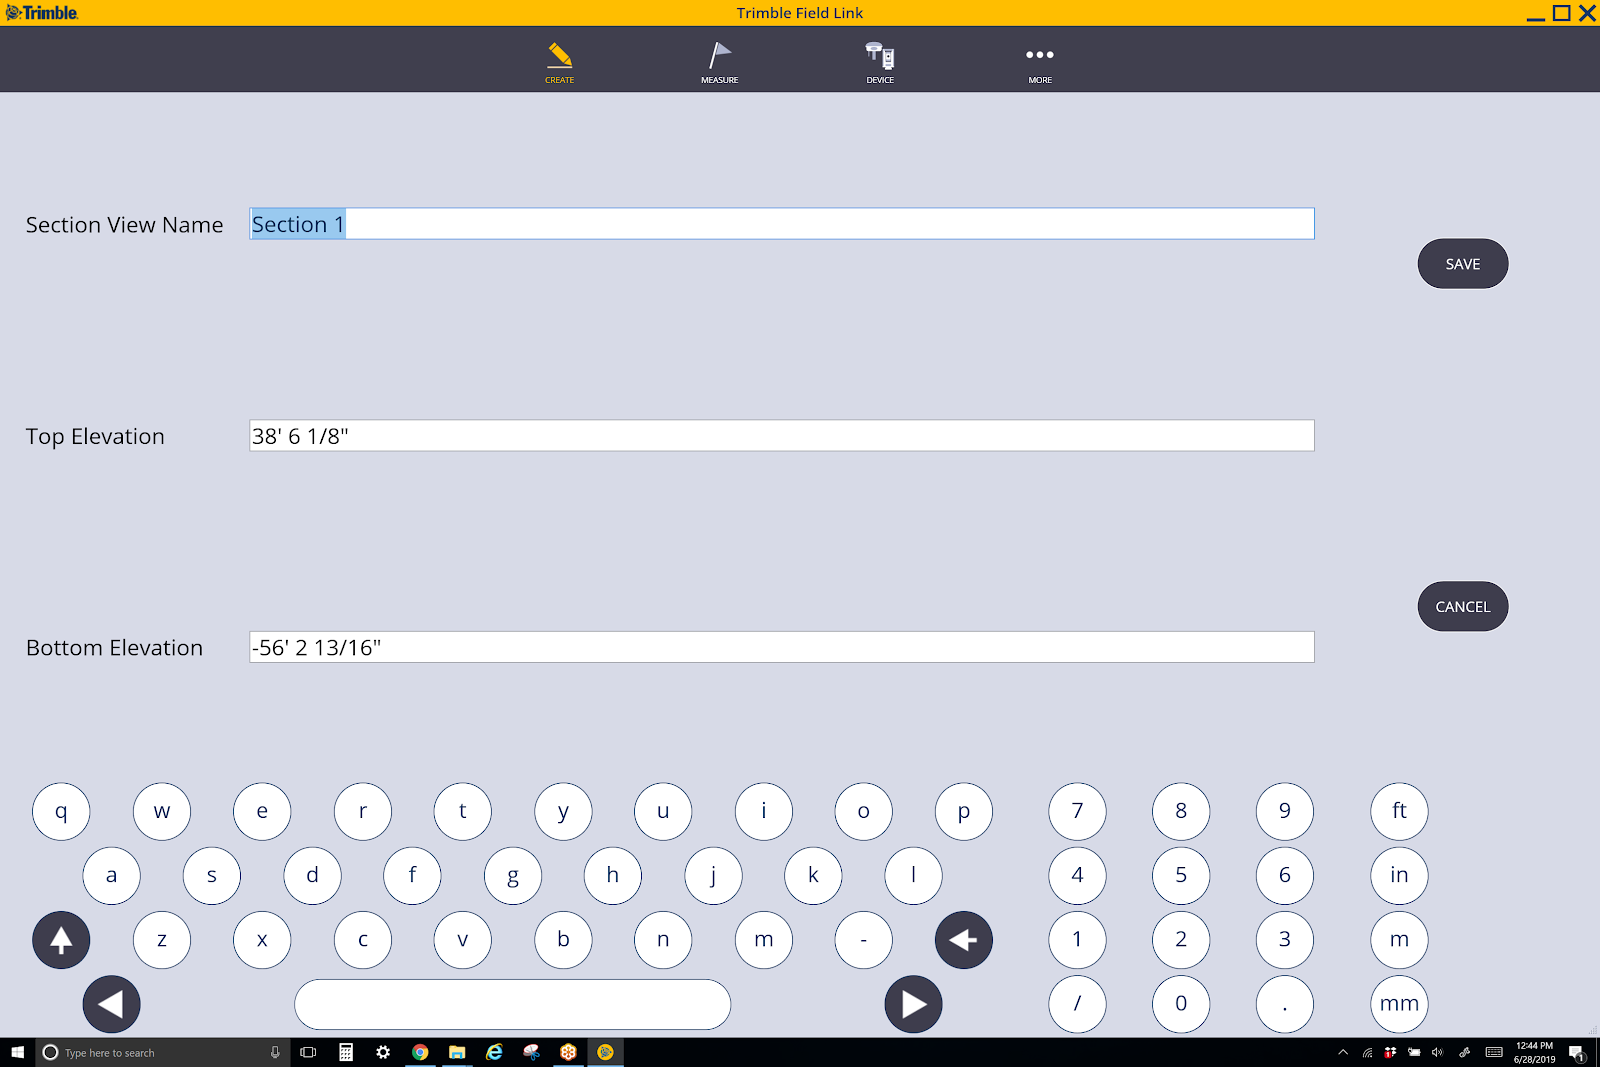
 - Tap the Edit icon
 to change the name or input Top and Bottom Elevations directly.
 - Tap the Section View layer or press the Add New Section icon to create a new section.
- To close this feature, tap the activated yellow section and then tap the Section View icon
 .
.