Surface (Optional Module)
FieldLink can accurately define the low and high areas of a horizontal or vertical surface whether it is the floor, ceiling or wall via the use of the Surface Module. The first step is to define and measure the surface, then, FieldLink can calculate the low and high contours based on a reference elevation and a tolerance. You are then able to layout the location of these contours. You can generate a report based the information collected.
NOTE –
-
The Surface module works with .xml files only.
-
The Surface module is included with FieldLink Core Subscriptions.
Define and Measure the Surface Area
- Tap the Measure icon
 and then tap Surface.
 - Tap the Fence icon on the right of the screen to add a new surface.
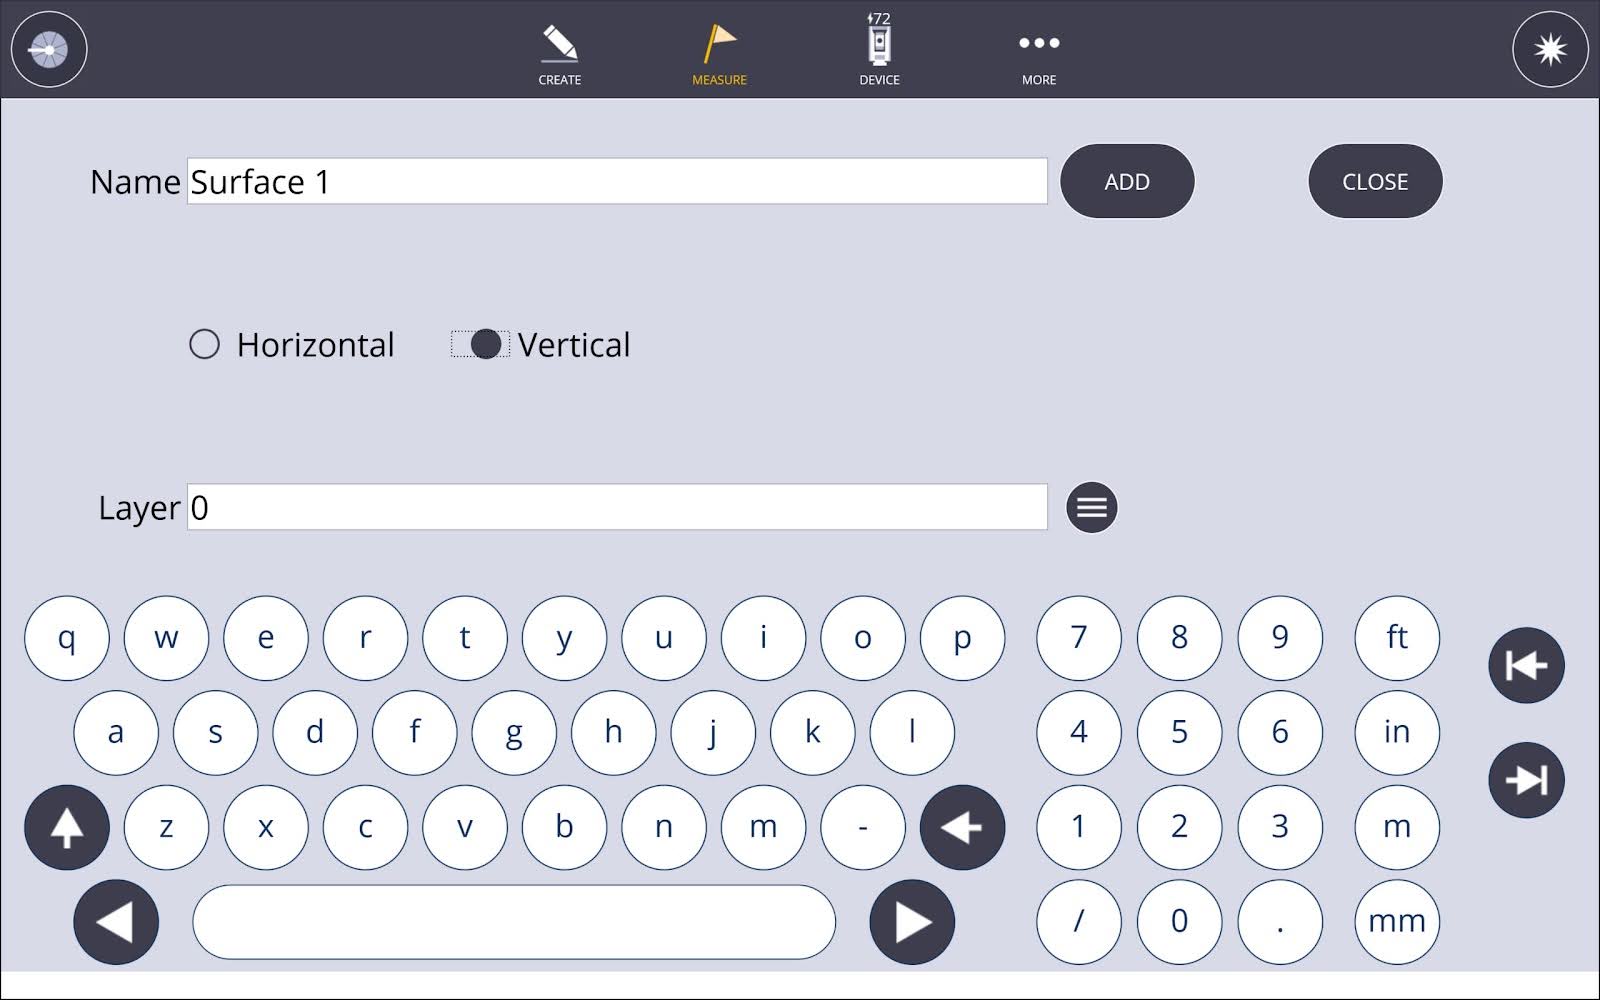
- Tap the plus icon to enter and select the details of the surface: name, horizontal or vertical surface, and layer.
- To return to the model view, tap the Close button.
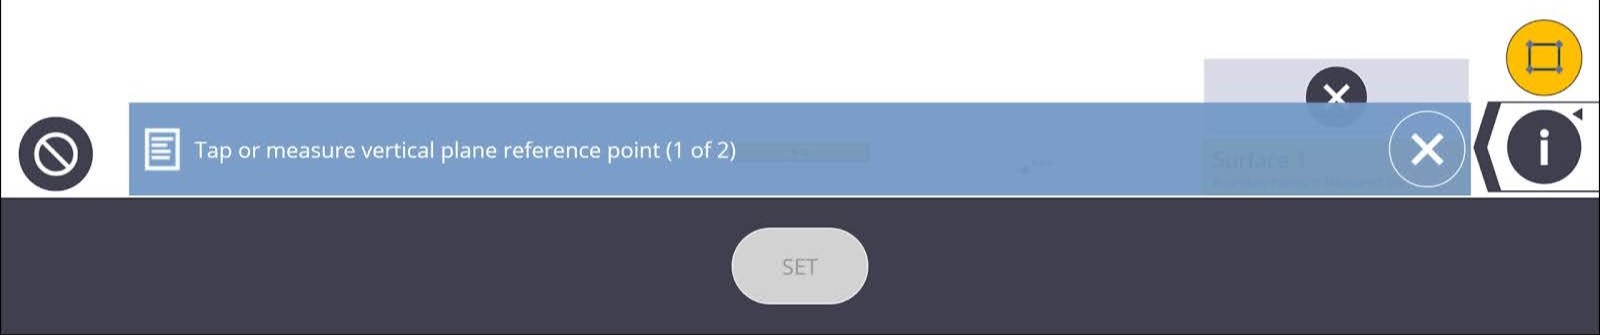
- Tap the Fence icon to edit the boundary of the surface. If you have existing points around the edges of the surface, grab and drag the corner manipulators to the desired location to define the boundary of the surface area. You can also define the surface by measuring new points.
- To close out of the editing boundary, tap the Fence icon.

- Tap on Input Form
 . Enter Number of Points or Grid Spacing by tapping the Circle icon to switch between options.
 - If you are using the Horizontal Surface, tap Ceiling or Floor.
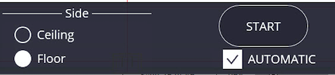
- For automated Laser data collect, select the Automation option.
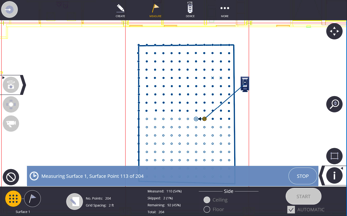
- Tap Start to capture data.
- You are prompted to point the instrument at the surface to be measured, then tap Yes or No.
- If collecting the Floor Surface manually, walk with the prism pole and navigate to the point to start collecting data. If automatic, the instrument will use the laser mode to collect data and indicate progress.
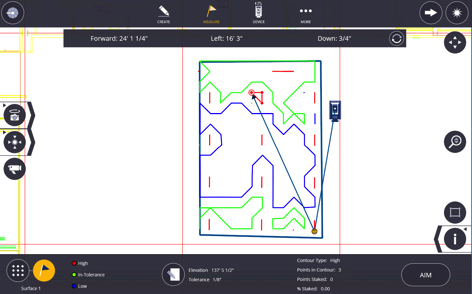
Calculate High & Low Areas
- Tap on the Layout Flag icon
 .
. - Tap theInput Form icon.
- Enter Elevation and Tolerance, and then close Input Form.
- The High (shown in red), Low (shown in blue), and In-Tolerance (shown in green) contours are calculated and displayed on the screen.
Lay Out a Contour
- Select a Node on the contour.
- If in Laser Mode, tap Aim. The instrument points to the location with the laser pointer. If in Prism Mode, you will receive navigation to the point.
- Tap Store to record the point.