Receiver Web Interface
Accessing the receiver's web interface via RNDIS
Trimble GNSS receivers running firmware version 5.30 and later have implemented the protocol of Remote Network Driver Interface Specification (RNDIS). Using the USB cable connection, you can access the web pages of these receivers via RNDIS from Microsoft Windows 7, 8, or 10 on a computer. If that computer is on a company network, multiple users on your network can access the web pages of the receiver. This is useful for remote support and training.
Step 1: The hardware setup
The only hardware setup requirement is connecting the receiver to the PC via a USB cable. The receiver must be powered up before you attempt to connect to the web interface.
Step 2: The USB driver installation
Trimble USB driver installation is only required on a Microsoft Windows 7 or 8 PC. You do not need to run the Trimble USB driver installer on a Microsoft Windows 10 PC. If it has already been installed on a Windows 7 PC, you do not need to install it again. The driver is available from trimble.com/en/support (search under Downloads).
Step 3: The Network Settings setup
The network setup is required for Microsoft Windows 7, 8, and 10. Follow these steps:
-
From the Windows Start menu, type cmd. The Windows command console pops up on the screen.
-
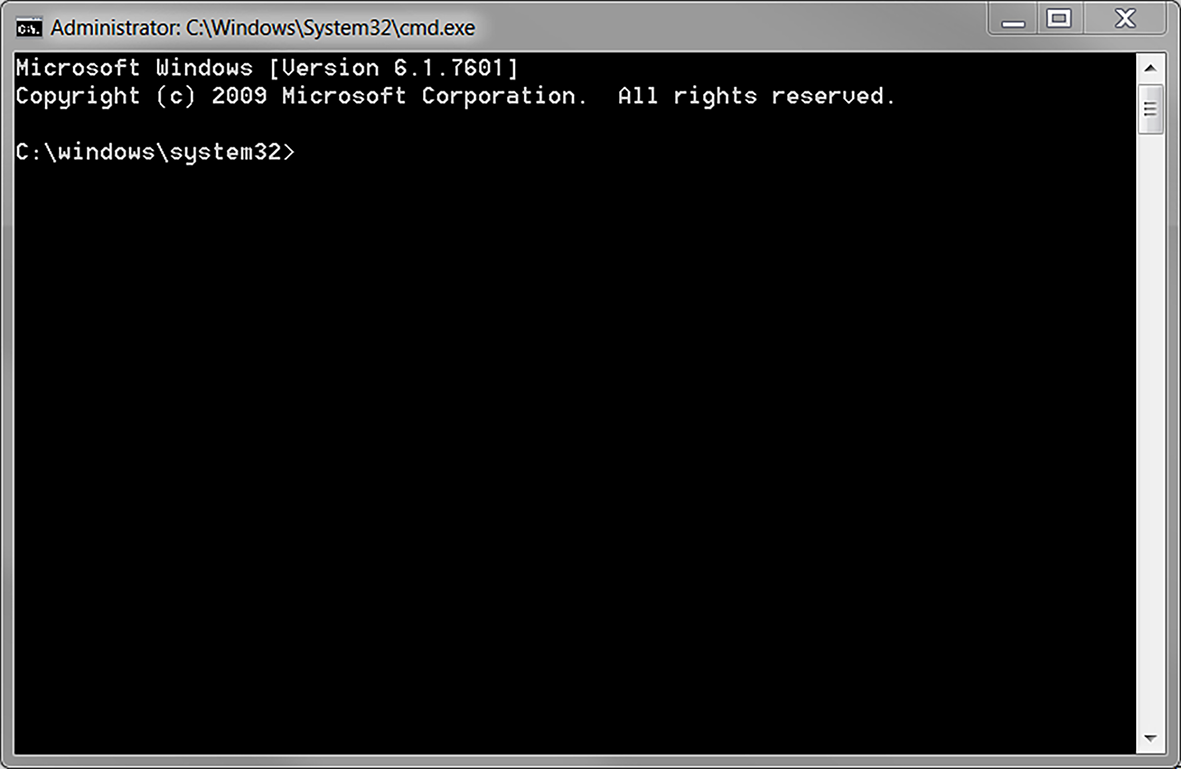
Right-click on cmd.exe and select Run as administrator. The Administrator command prompt launches:

-
Type the following command from the prompt:
netsh interface portproxy add v4tov4 listenport=8080 listenaddress=0.0.0.0 connectport=80 connectaddress=169.254.0.10
This is a single command; it's ok if the command console wraps the text. This command needs to be run only once on success. You can run it multiple times if you want to add another listenport such as 8081, but for most users, it is not needed. The command will be executed successfully only when the “command prompt” console is launched as an administrator.
Step 4: Launch the browsers
Once the steps are completed, any of the modern browsers can be used to open the receiver web pages. Step 2 and Step 3 only need to be done once. This has been tested on Google Chrome and Mozilla Firefox.
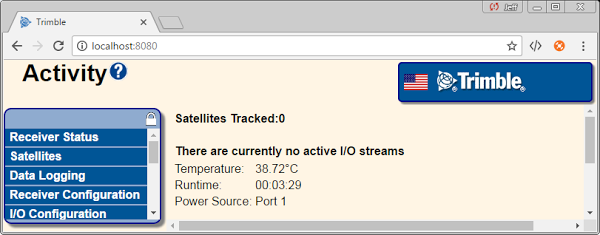
To access the web page of the receiver connected to the local PC, type http://localhost:8080 in the browser’s URL:

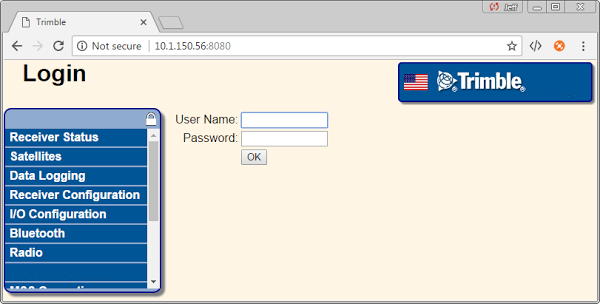
To access the web page of a receiver that is connected to another PC on the network, type the IP address of the remote PC, followed by the listen port number. For example, a receiver connected to a Windows 10 PC via RNDIS, the IP address is 10.1.150.56:

Step 5: Troubleshooting tips
If the web page cannot be launched, try the following to troubleshoot the problem:
-
For a Windows 7 PC, make sure the Trimble USB driver has been installed. You can use Windows Device Manager to check if the driver has been properly installed. Sometimes Trimble devices do not connect well via the superspeed USB (SS-USB). In this case, try the regular USB.
-
Using Ping to test the connection. From the command prompt, type “ping 169.254.0.10”. If the connection is good, a reply should be returned. Otherwise, check the cable connection.
-
If the “localhost:8080” URL does not connect, use http://localhost:8080.
-
Make sure the netsh in Step 3 is executed successfully under a command prompt with the “administrator” privilege.