Configuring Trimble Connect
The following section describes how to configure Trimble Connect for automatic placement of models.
You can skip this section if you intend to use the Measured Placement function to place your models in the field.
For automatic placement of models, SiteVision requires georeferencing information to be provided so that the data can be displayed in the correct location. Trimble Connect can be configured to provide this georeferencing information directly to SiteVision without the need for separate calibration files.
-
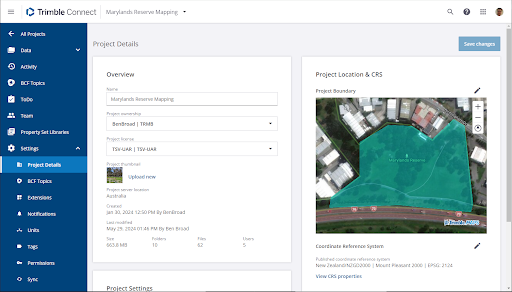
In the Trimble Connect Project Explorer view, tap Settings from the left hand menu.
-
Tap Project Details.

-
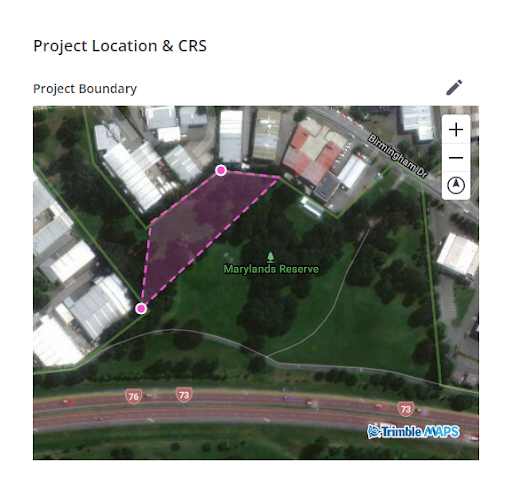
In the Project Location & CRS panel, tap the Project Boundary icon
 .
. -
Draw a boundary on the map, or input boundary coordinates to set the Project Boundary.

-
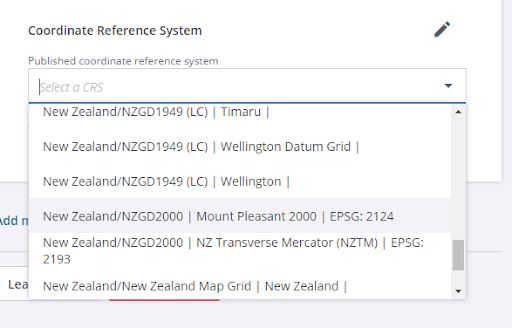
Tap the Coordinate Reference System icon
 .
. -
Select Choose published coordinate system.
-
Pick the appropriate coordinate reference system from the dropdown list that matches your data.

-
Tap Save changes at the top of the screen to confirm your selections.
If the required coordinate system is not available from the list, or if you are working with a local site calibration you can instead choose to upload a calibration file
Once a Trimble Connect project has been configured in this way, any model loaded in SiteVision will use the defined coordinate reference system to automatically place the model in the correct location. Additionally, this same coordinate system will be applied to any new models that are created.
By setting a coordinate reference system in Trimble Connect, then creating a new model, it is possible to use SiteVision to capture georeferenced data without requiring a model at all.
A standalone Trimble Site Calibration file (DC, JXL, CAL) will still take precedence over the coordinate reference system defined in the Trimble Connect project settings.