Planes
Use the Stake Plane feature to define a plane similar to how a grade laser works and then use a GNSS or a Total Station to get an indication of the resulting cut/fill between the current position and the plane. There are four options to create a plane to stakeout:
-
Level Plane – Choose an elevation to define the level plane.
-
Sloping Plane – Choose an origin point and elevation, a main slope, and an optional cross slope.
-
Three Point Plane – Create a plane from three points.
-
Circular Plane – Select or measure the center point, add an elevation, and the radius of the circle. This feature was added in v1.60.
-
From the Home menu, tap Stake. This command is also accessible in the main panel by clicking on the icon shown below.
-
On the top right corner of the Stake Object screen, tap the Define plane icon
 . The Define Plane screen appears:
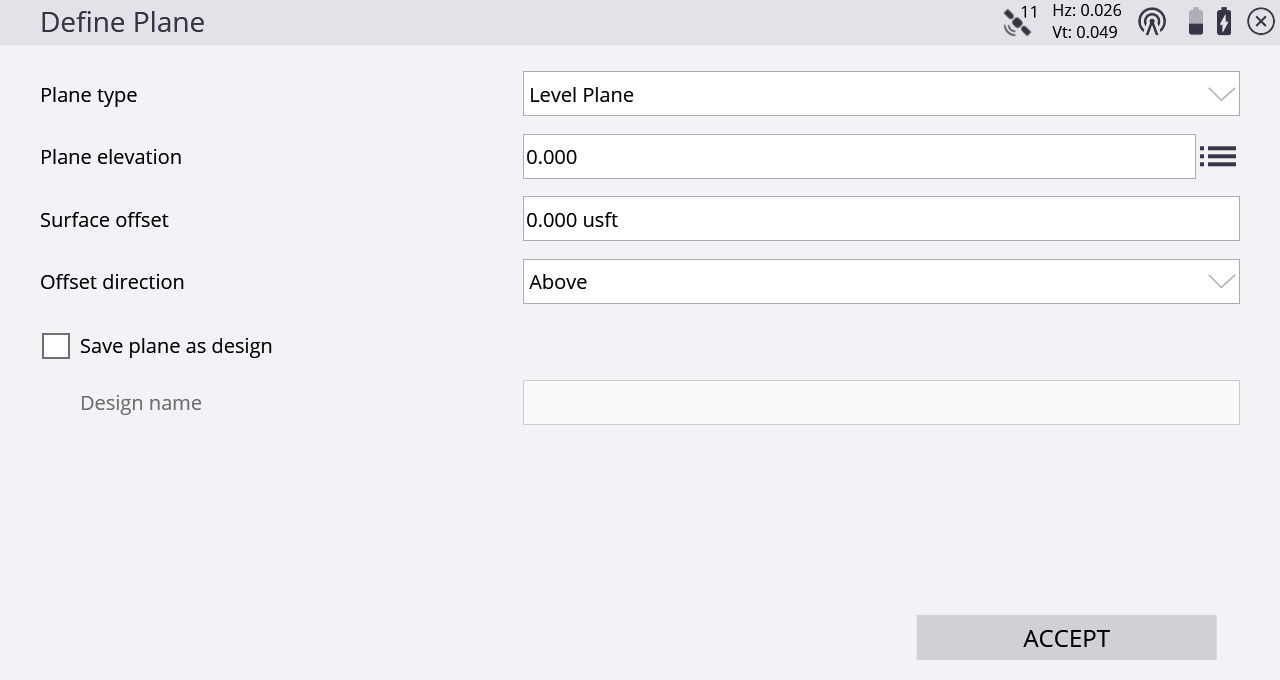
-
Select and configure the plane you want to stake.
Level plane is a flat surface with a defined elevation; sloping plane is defined by an origin point, main slope, and cross-slopes; three-point plane is defined by picking or measuring three points; circular plane is a flat plane with a center point, elevation, and radius.
-
To save the specified plane as a design, select the Save Plane as Design checkbox and enter a name into the Name field. The plane will then be available in the site’s Design folder and available for loading through the Project menu or loaded as a second surface. Note that a saved circular plane will be transformed to an octagon and will not be a true circle.
-
Use the values in the display bar to show the current cut/fill of the plane.
-
To record a point and view the stakeout report, tap the Measure icon in the main panel.
