Photo captures
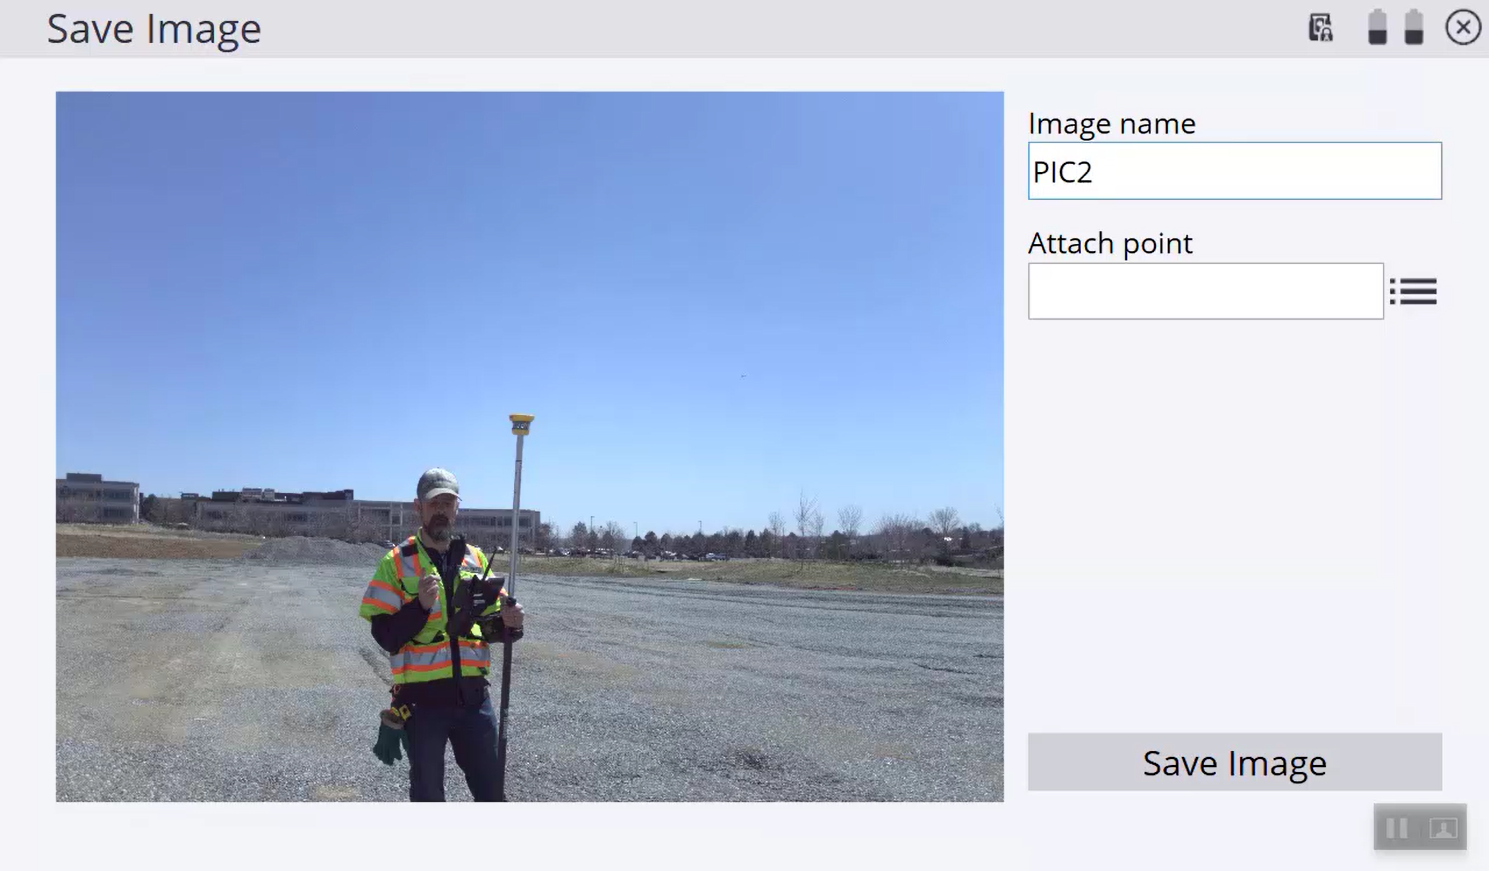
You can take a photo from the Video screen by tapping ![]() on the lower right of the video toolbar. This captures the image that is in the video view when the camera button is pressed. You must enter an Image name and, optionally, you can attach the photo to an existing point. Photos are attached to a point by typing in an existing Point name, or opening the point list by tapping the list icon
on the lower right of the video toolbar. This captures the image that is in the video view when the camera button is pressed. You must enter an Image name and, optionally, you can attach the photo to an existing point. Photos are attached to a point by typing in an existing Point name, or opening the point list by tapping the list icon ![]() to the right of the Attach Point input field.
to the right of the Attach Point input field.
All photos taken by tapping the camera icon are saved to the Media folder of the currently open work order. Importing the work order’s SPJ file into the Trimble Business Center software will associate the photos to any points that had photos attached. Photos that do not have points attached will not be accessible in the Trimble Business Center software, but will still be in the Media folder of the work order where the photos were taken.
Photos taken as part of a panorama during a scan are placed into the Scan Data folder of the work order.