Pairing and connecting to a utility locator
First, place the utility locator in pairing mode to allow it to establish a connection with the Siteworks software. For all Radiodetection models, you must first pair the locator to the data collector in the data collector's operating system before paring in the Siteworks software.
On the Radiodetection locator:
-
Press the power button.
-
Use the down button to scroll through the menu to BT. Select it with the right arrow button (immediately to the right of the up and down arrow).
-
Scroll through and select Pair with the right arrow button.
-
Scroll to and select BT-PC with the left arrow button (the "f" button to the left of the up and down arrow).
-
The Bluetooth icon on the screen will flash to indicate the locator is in pairing mode. You can now perform a search and connect to the locator from within the Siteworks Utility Locator Setup window.
On the Vivax-Metrotech:
-
Press and hold the “ i ” (information depth/current) button on the Locator, and then the “+” button on the locator to navigate to the locator’s Bluetooth menu options.
-
Press the Locate Mode (rightmost) button on the locator to enable the Bluetooth search setting until the screen on the locator displays the message: Bluetooth Search: Enabled.
-
Once this is enabled, you can perform a Bluetooth search and connect to the locator from within the Siteworks Utility Locator Setup window.
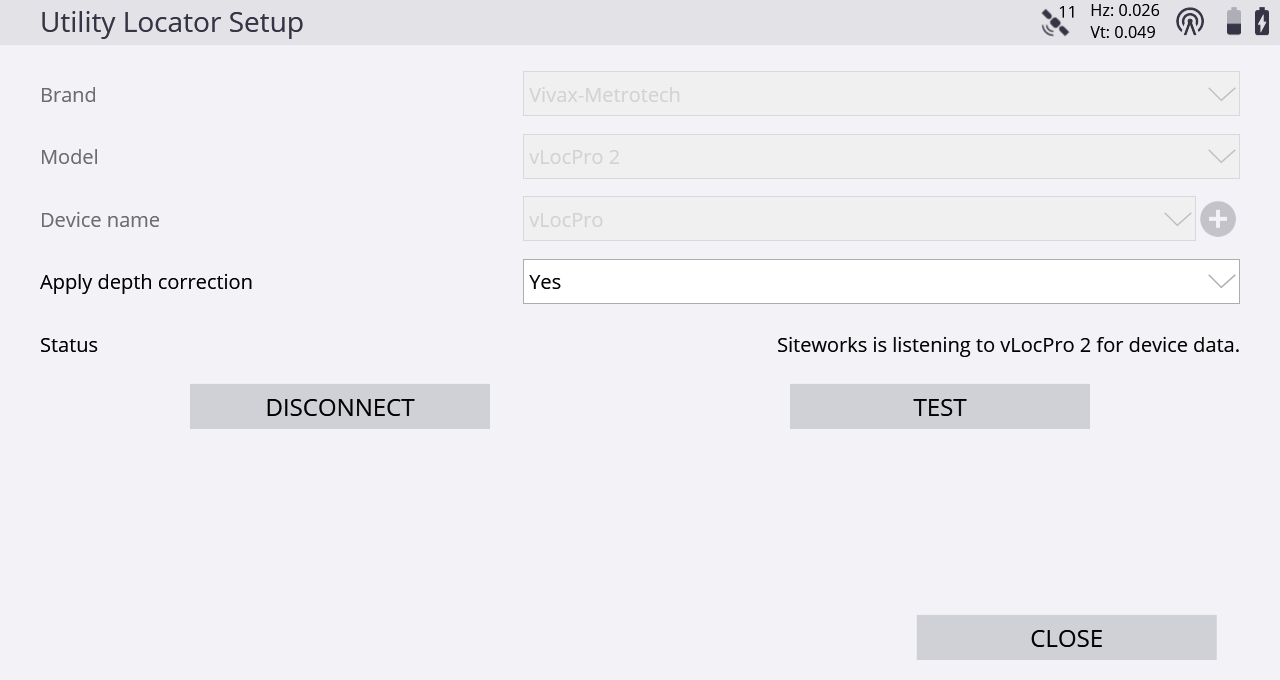
Now connect to the utility locator in the Siteworks software:
-
Select the brand and model of the utility locator.
-
On the right side of the Device name field, tap
 to begin a Bluetooth search for the locator in Siteworks:
When using an Android device, the Radiodetection locator must first be paired in the operating system before opening the Siteworks software.
-
After finding the locator and completing the Bluetooth pairing process within the Siteworks software, select the device in the Device name field.
-
Set the required option for applying the depth correction to measured points and then tap Connect.