Compute volumes
Use the Compute Volume option to calculate a volume from the data you have measured. Three types of volumes can be calculated:
-
To or from a design surface
-
To an entered elevation
-
To a surface created by the volume boundary (stockpile/excavation volume)
Before entering the Compute Volumes workflow, you must have measured or created—via the appropriate COGO functions or by measuring a volume boundary line type—a closed volume boundary around the area which you wish to measure the volume. You cannot determine a design to design volume; all volume measurements must have a volume boundary measured and use some component of measured points, lines or surfaces.
From the Review & Edit Data menu, tap Contour Measured Surface ![]() to view contours based on the surface you have measured. This is a useful tool to check for any major errors in measurement that can then be adjusted via the relevant COGO commands. The contours can highlight any elevation errors in the data. The software controls the minimum contour interval based on the elevation range of the measured data. Displaying the contours is not required to compute a volume. Using the 3D viewer of the measured surface is also an alternative way to visualize the measured surface to check for measurement errors and to visualize the surface.
to view contours based on the surface you have measured. This is a useful tool to check for any major errors in measurement that can then be adjusted via the relevant COGO commands. The contours can highlight any elevation errors in the data. The software controls the minimum contour interval based on the elevation range of the measured data. Displaying the contours is not required to compute a volume. Using the 3D viewer of the measured surface is also an alternative way to visualize the measured surface to check for measurement errors and to visualize the surface.
-
In the Elv. Interval field, enter a contour interval and then press Enter.
-
Tap the Compute volume icon
 .
. -
Tap on the boundary of the area for which you want to calculate the volume and then tap OK.
-
Select the type of volume to compute:
-
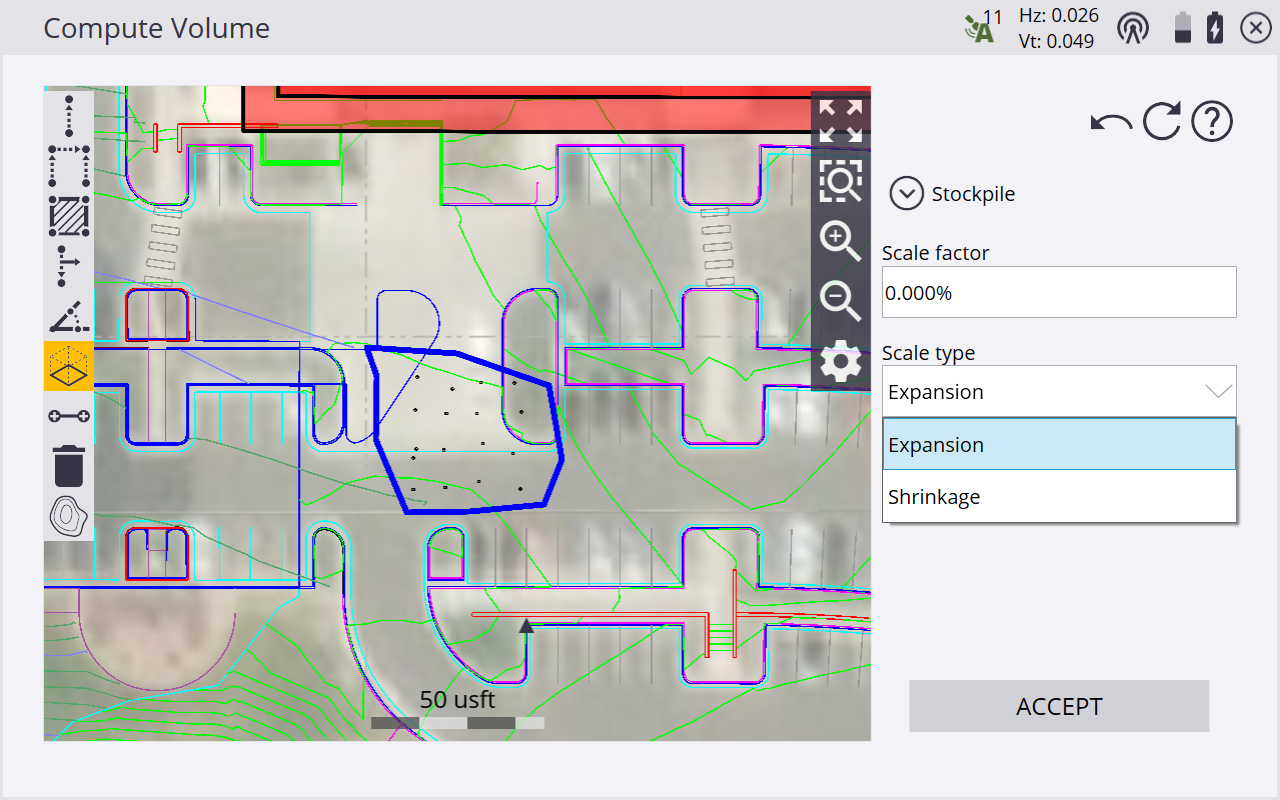
Stockpile – The volume of a stockpile/depression – This calculation uses a “rubber sheet” surface created from the closed measured line of the selected volume boundary as the upper or lower bounding surface, with the volume being calculated between this rubber sheet and the measured surface within the boundary. Enter any required settings for Expansion or Shrinkage and an expansion/shrinkage scale factor.
-
Measured to Entered Elevation – The volume to a user-defined elevation. Enter the base elevation of a flat plane to be used as the comparison elevation and any required settings for Expansion or Shrinkage and an expansion/shrinkage scale factor.
-
Measured to Design – The volume from the surface you have measured to the design surface, or the volume from the design to the measured surface. Select this via the Volume Direction option. Enter any required design surface offsets and enter any required settings for Expansion or Shrinkage and an expansion/shrinkage scale factor.
-
-
The following screens show the result of the volume calculation for a stockpile.
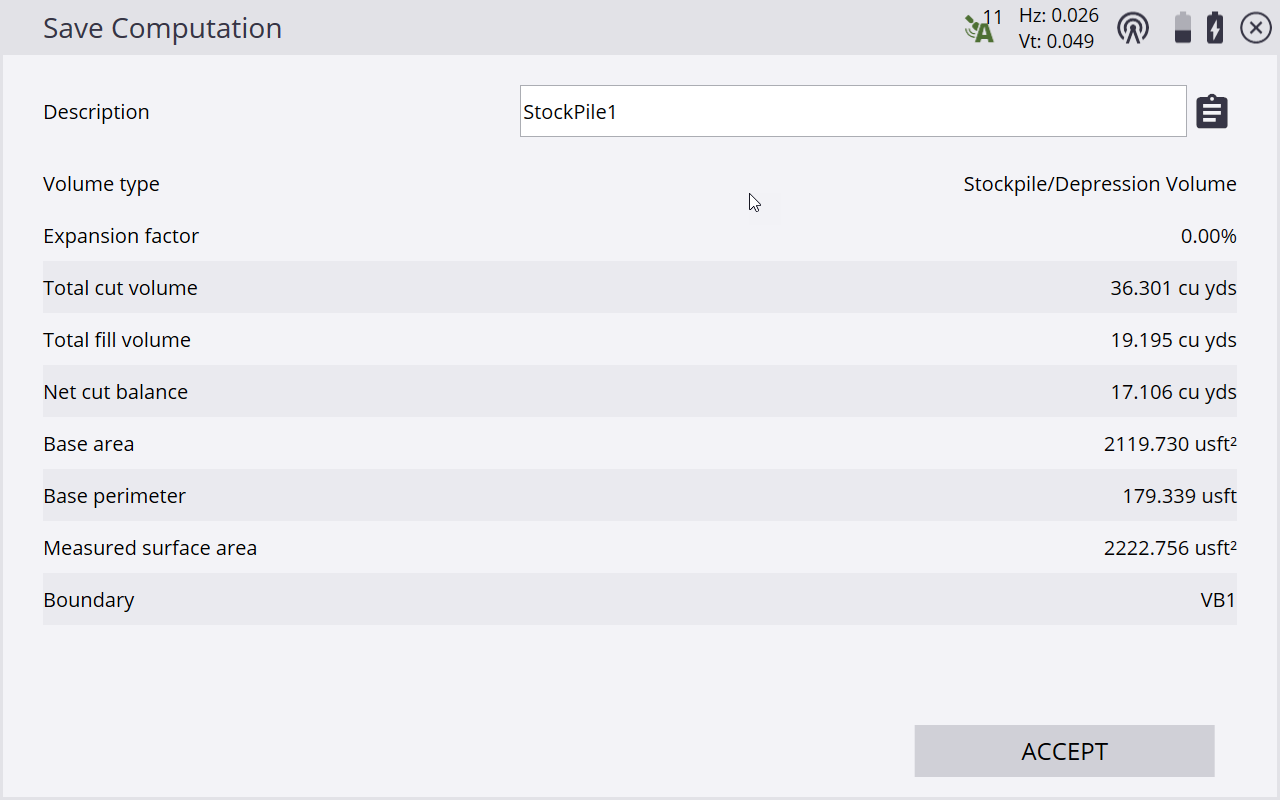
The results of the volume calculation are stored in the task log. Review the results using the name of the volume in the log. Select Data Management / Log.
