Insert a Utility Node
Use the Insert Utility Node command to break a utility line at a specific location and add a new utility node, such as a fitting, manhole, junction box, or headwall at the break.

Prerequisites:
- Licensed module; See the Subscription Plans page. For a license matrix by command, see the License page in the TBC Community. Also see View and manage licensed features.
- Utility line (pipe/cable)
To access the command:
- Select Insert Utility Node in Utility > Edit Utilities.
To insert a node in an existing utility line:
- From the Utility Line box, pick the pipe or cable in which you want to insert a node in a graphic view.
- In the Utility network list, confirm the network that the line is part of.
- Select the type of node to insert in the Node type list.
- In the Node site improvement list, select the specific object to insert.
- If the site improvement type you need is not in the list, click the Browse button to open the Material and Site Improvement Manager (MSIM) to either create it.
- Create the site improvement and click Close.
Note: If the Node site improvement list is empty, confirm that your node site improvements reference the correct utility network type: pressurized, cable, or gravity.
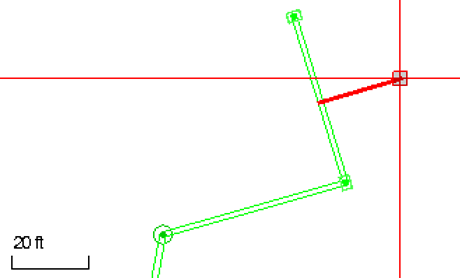
- From the Distance along box, pick the point at which to break the utility line and insert the specified node.
- Click Apply. If you already have a trench surface along the run in which the node is inserted, it will widen and deepen around the newly inserted node (if Adjust at nodes is enabled in the associated trench template).
- To insert additional nodes in any line, repeat the steps above.
- Click Close when you are done.
Tip: To adjust the node's orientation, elevation, etc., select the node and press [F11] to open the Properties pane where you can edit the properties.
Dependencies:
- Each utility node object is dependent upon its site improvement definition in the MSIM.