Blur Exported Images
Within the framework of GDPR (General Data Protection Regulation) and other personal data protection laws, providing safeguards to protect personal data is critical. For mobile mapping solutions, the image blurring functionality is a tool that automatically blurs vehicles and bodies in panoramic and planar images when exporting a mobile mapping project from TBC.
Hardware requirement: NVIDIA® GPU card with CUDA® architectures 3.5, 5.0, 6.0, 7.0, 7.5, 8.0 and higher than 8.0 (11.8 max.) and with at least 6 GB of graphics memory.
To blur the exported images:
- Select a run from the Project Explorer (or from the Plan View).
- Select Export in Home > Data Exchange to display the Export command pane.
- Click the Mobile Mapping tab. A list of available exporters displays.
- Choose an exporter.
- Do one of the following:
- To not apply masks to the mobile mapping vehicle, do the following:
1) Leave the Vehicle Masks Folder empty.
2) Set a blurring option or all to Yes.
3) Click Export.
Note: A message displays and prompts you to use for the blurring either your GPU (if compatible) or your CPU (if not compatible).
Only a set of images is created (for more information, refer to the related exporter). Vehicles and/or people along the trajectory and some areas on the road around the mobile mapping vehicle and on the vehicle itself are blurred.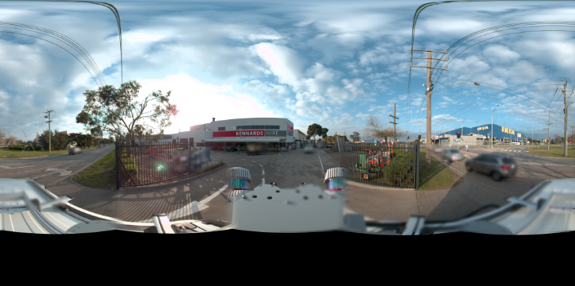
- To apply masks to the mobile mapping vehicle, do the following:
1) Create a folder manually, ideally under your VCE project, and copy its path in the Vehicle Mask Folder field.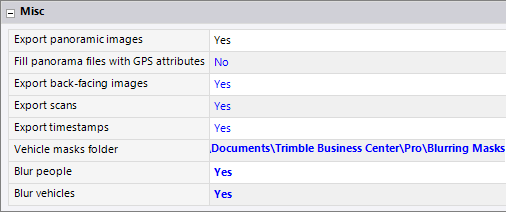
2) Choose to blur either cars or persons by setting the related option to Yes.
3) Click Export.
MX7, MX50 and MX60: An image file is created under the folder for the 360° camera.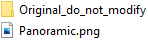
MX9 and MX90: Three image files are created under the defined folder: one for each side camera and one for the 360° camera.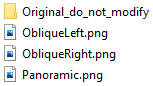
Note: A copy of the image file(s) is also created. Do not modify the file(s) as it (they) is (are) used as reference generating masks. appears and blinks to indicate that:
- A valid vehicle mask folder has been entered, but all blurring options have been set to No. Consider to set at least an option to Yes.
- The actual vehicle mask folder does not exist. Consider creating a folder and copy its path to the Vehicle Mask Folder field.
- Mask file(s) has (have) not been created yet. Consider creating it (or them).
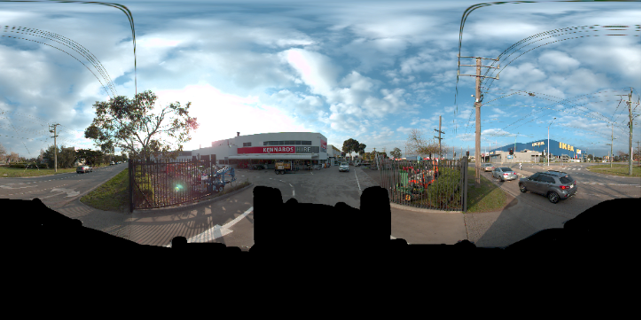
4) Use a third party image editing software such as Irfanview or GIMP to color over the system area (area surrounded in red in the pictures below) using a fill color with 0,0 and 0 as RGB values, and save the image files.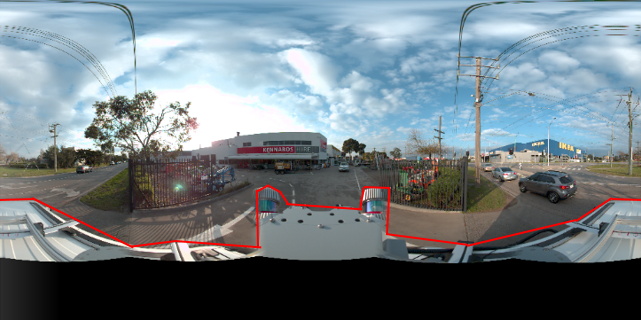
MX7, MX50 and MX60: A mask file in PGM format is created under the defined folder.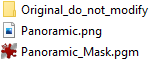
MX9 and MX90: Three mask files in PGM format are created under the defined folder.
5) Click Export again.
Note: A message displays and prompts you to use for the blurring either your GPU (if compatible) or your CPU (if not compatible).
A set of images is created depending on the chosen exporter. Vehicles and/or people along the trajectory are blurred, and the blurring cannot overflow outside the mobile mapping vehicle.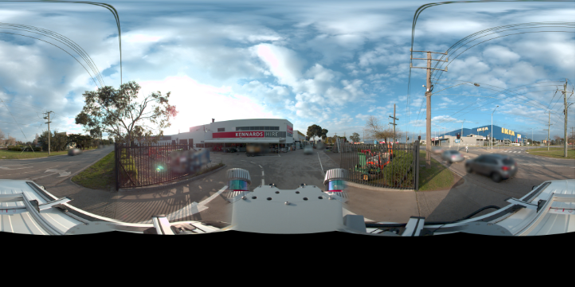
- To not apply masks to the mobile mapping vehicle, do the following:
