Register TBC GIS with ArcGIS Portal
Esri requires that applications authenticating with ArcGIS Portal using an OAuth2 authentication flow are first registered with the portal. This is a one-time requirement that must be performed by a user with an administrative role on the instance of ArcGIS Portal.
The following steps explain how to register TBC as an application. Note that the workflow might be slightly different based on your version of ArcGIS Enterprise. Consult the Esri ArcGIS documentation or resources for more details.
Notes:
- The following instructions are intended for users familiar with ArcGIS Portal administration.
- For complete instructions on connecting to an Esri service data provider or any GIS data source, see Manage GIS Connections.
To register TBC GIS with ArcGIS Portal:
- In your web browser, navigate to the ArcGIS Portal login page and provide the appropriate login credentials.
- Using the category links at the top of the page, navigate to the Content area and click the New item button located in the upper left.
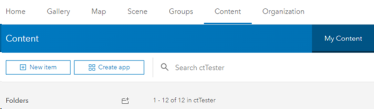
- On the form that opens, click the Application section to start the registration of a new application.
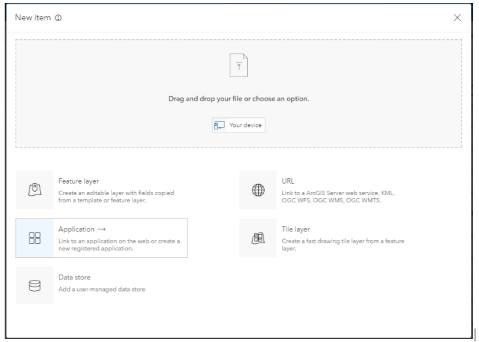
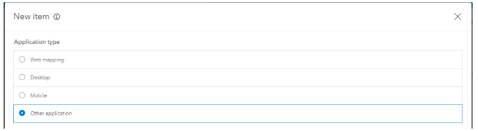
- On the first page of the wizard, select Other application.
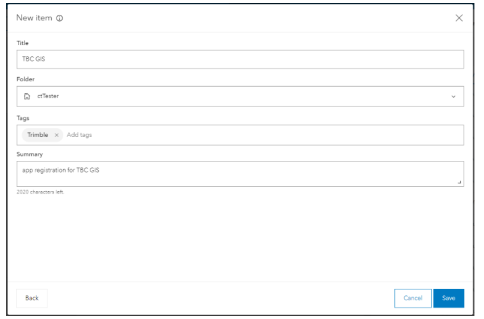
- On the next page of the wizard, enter a Title and, optionally, Tags and a Summary. The recommended value for Title is Trimble Data Interoperability Component or TBC GIS. Click Save to store the application registration.
- From the item detail screen for the new application registration, navigate to the Settings category by clicking the button located at the upper right.

- On this page, scroll all the way down to the App Registration section and click the Registered Info button.
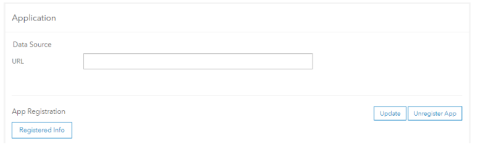
- In the App Registration section, click the Update button to display the current info.
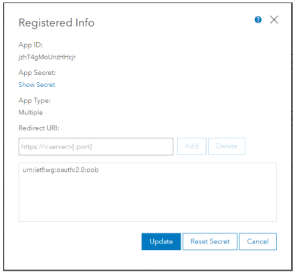
- Since the App ID has already been specified (this is the Client ID that TBC users will need), use the Redirect URL section to enter the preferred Return URL that TBC will use. The preferred value is: my-app://auth
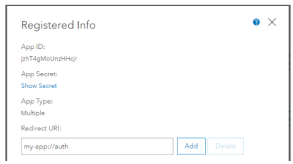
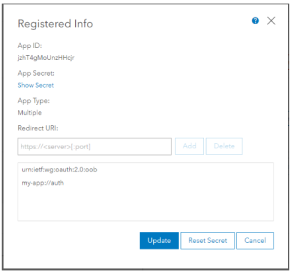
- After entering the preferred Return URL, click Add and verify that you see the value in the list. You should also make note of the App ID before closing this form. These are the values to be provided to TBC users (for Client ID and Return URL). Click Update to store the updated settings.
- From the item detail page for the new application registration, navigate back to the Overview category by clicking the button located at the upper right..
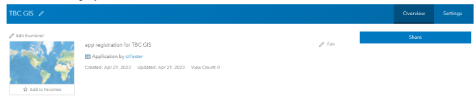
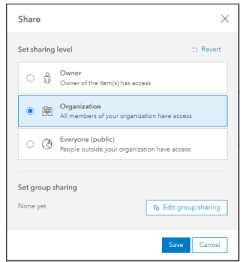
- On this screen, click the Share button and set the sharing level to Organization. Click Save to store the updated sharing permission.
The application registration is complete and no further work is required in ArcGIS Portal administration. The Application must remain as a shared item in the Portal for continued operation of the feature service interoperability in TBC.

