Installing T4D
-
After restarting the server, make sure that there is a reliable internet connection.
-
Open and run the T4Dsetup.exe file that was downloaded to the server before the installation.
-
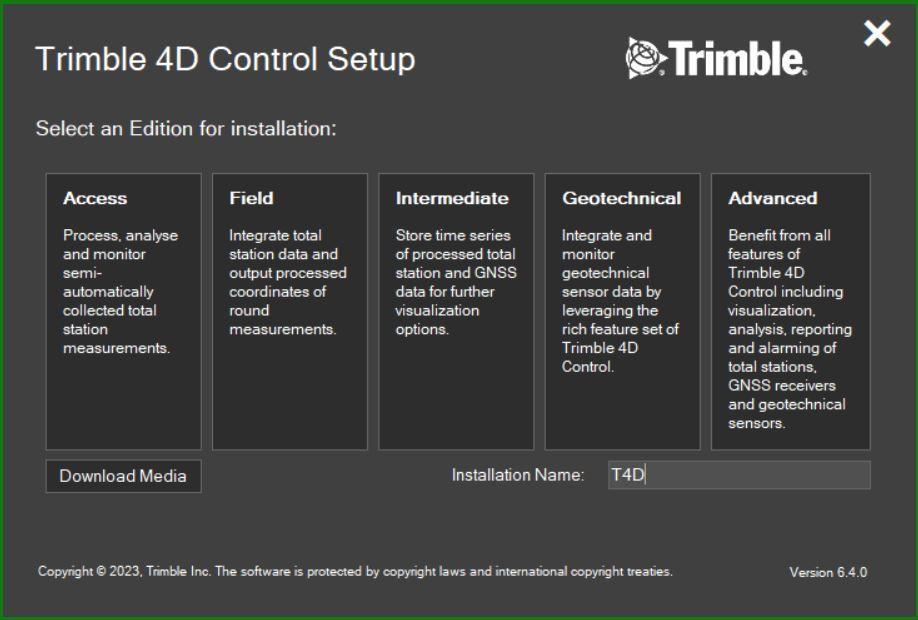
Select the correct Edition based on the license.
-
Review and accept the Trimble 4D Control terms and conditions.
-
Wait for the installer to download the installation files.
-
-
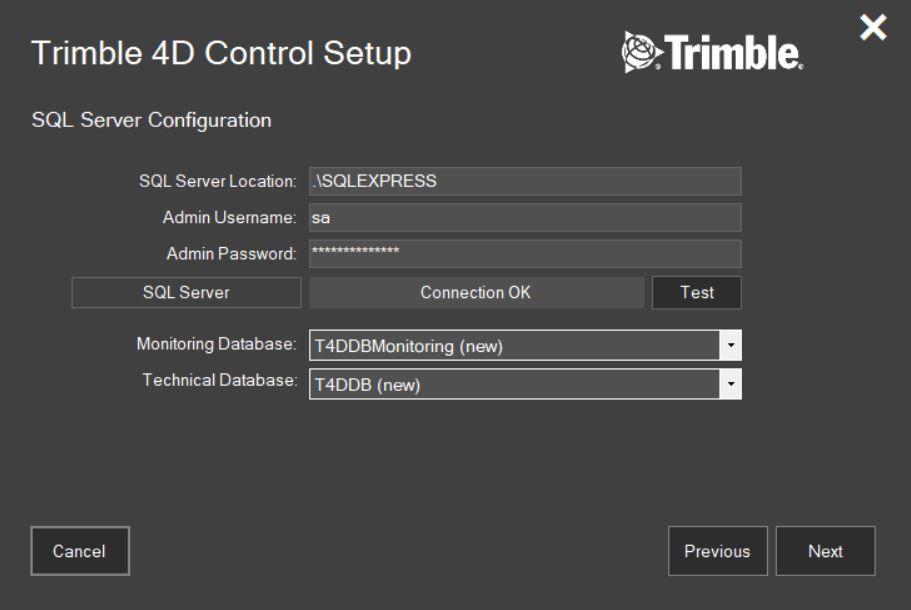
In the SQL Server Configuration page, connect the T4D Control Application and the SQL database:
-
Make sure the correct SQL Server Location is assigned; the default location ‘.\SQLEXPRESS’ is the local host location.
-
The Username and Password should auto-populate in this window. Test the connection to ensure there is access between T4D and SQL.
Two new databases will be created in this step: the Monitoring Database (T4DDBMonitoring) and the Technical Database (T4DDB).
If you are unable to establish a connection during this step, contact your IT department to ensure the SQL ‘sa’ username and password are correct.
-
Click Next.
-
-
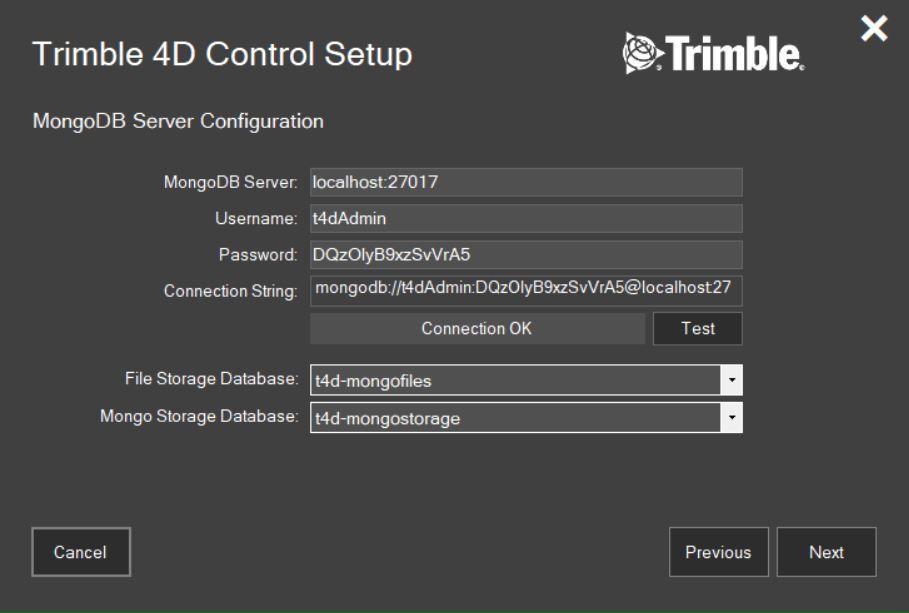
In the MongoDB Configuration page, click Test to test the connection. Click Next to continue.
-
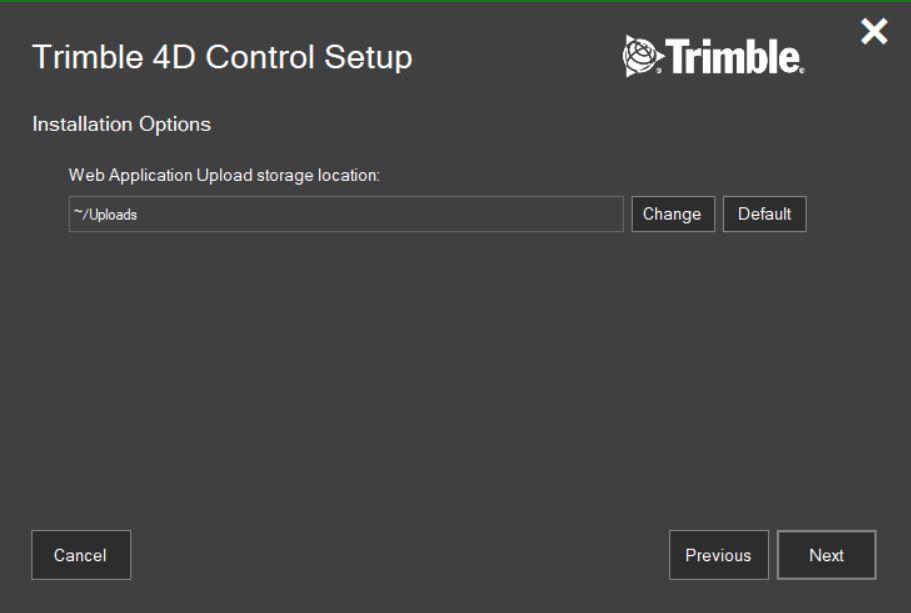
In the Installation Options page, select the Web Application Upload Storage. For new installations, select Next.
-
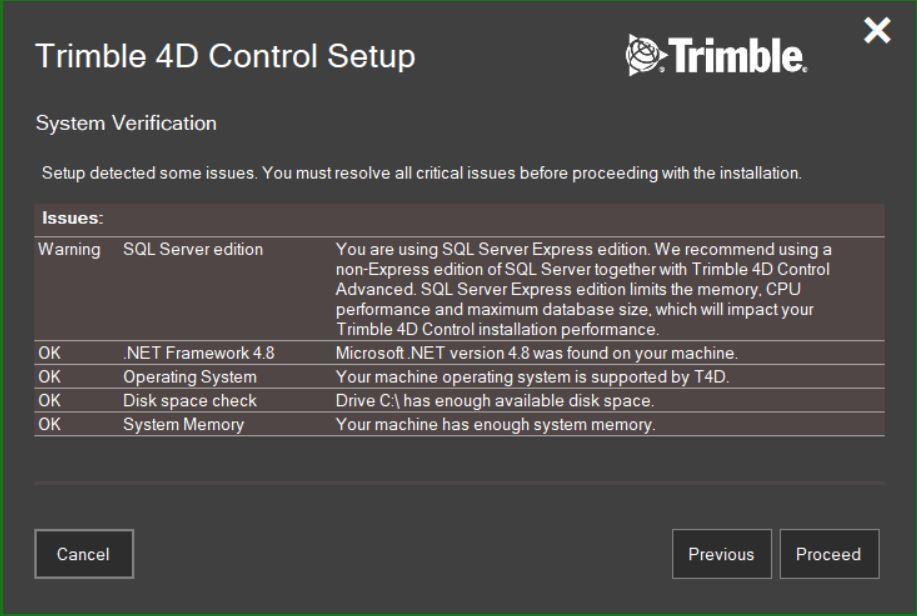
The System Verification page shows a checklist of issues relating to the setup of the T4D installation.
Failure to meet these requirements may inhibit the ability to proceed and complete the download.
-
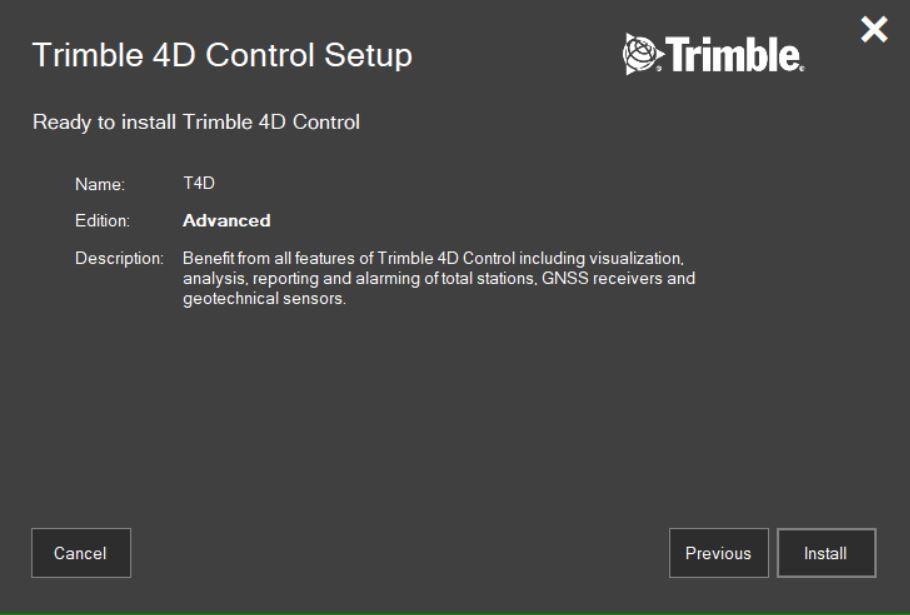
Click Proceed and wait for the installation to complete.
-
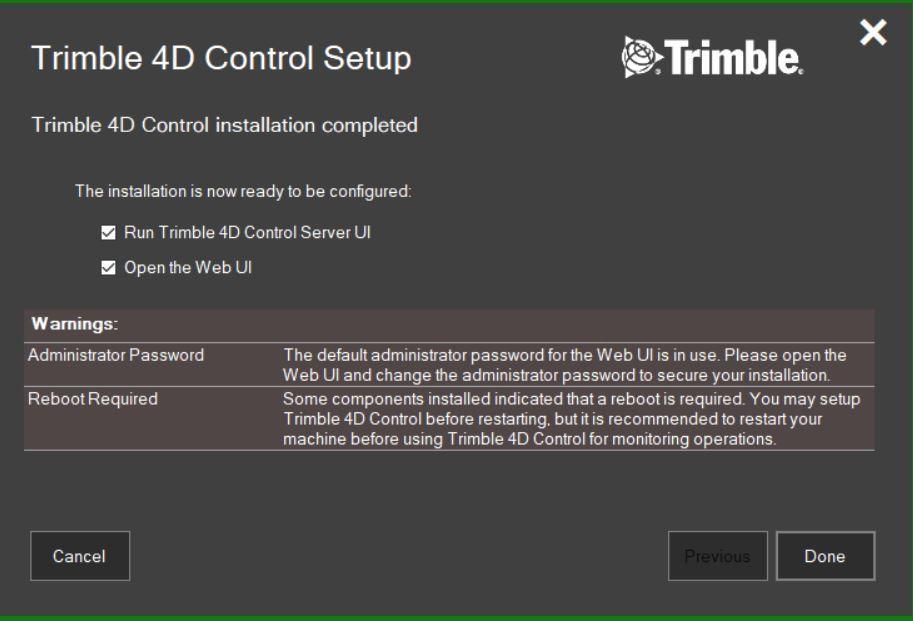
Once the installation is complete, review any warnings.
-
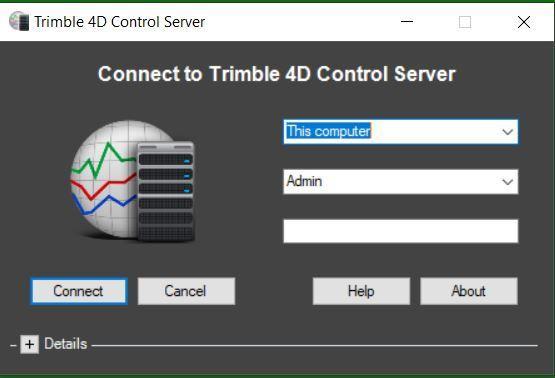
Open T4D Control and click Connect to sign in as Admin without a password. There are options to set a password inside T4D.
