Work with Orthoimages
Import Orthoimages
You can import GeoTIFF georeferenced orthoimages (.tif, .tiff) from WorksOS and drape these high-resolution orthoimages from specific dates onto your 3D terrain, allowing for visual verification of as-built conditions and detailed progress tracking in the 3D Viewer.
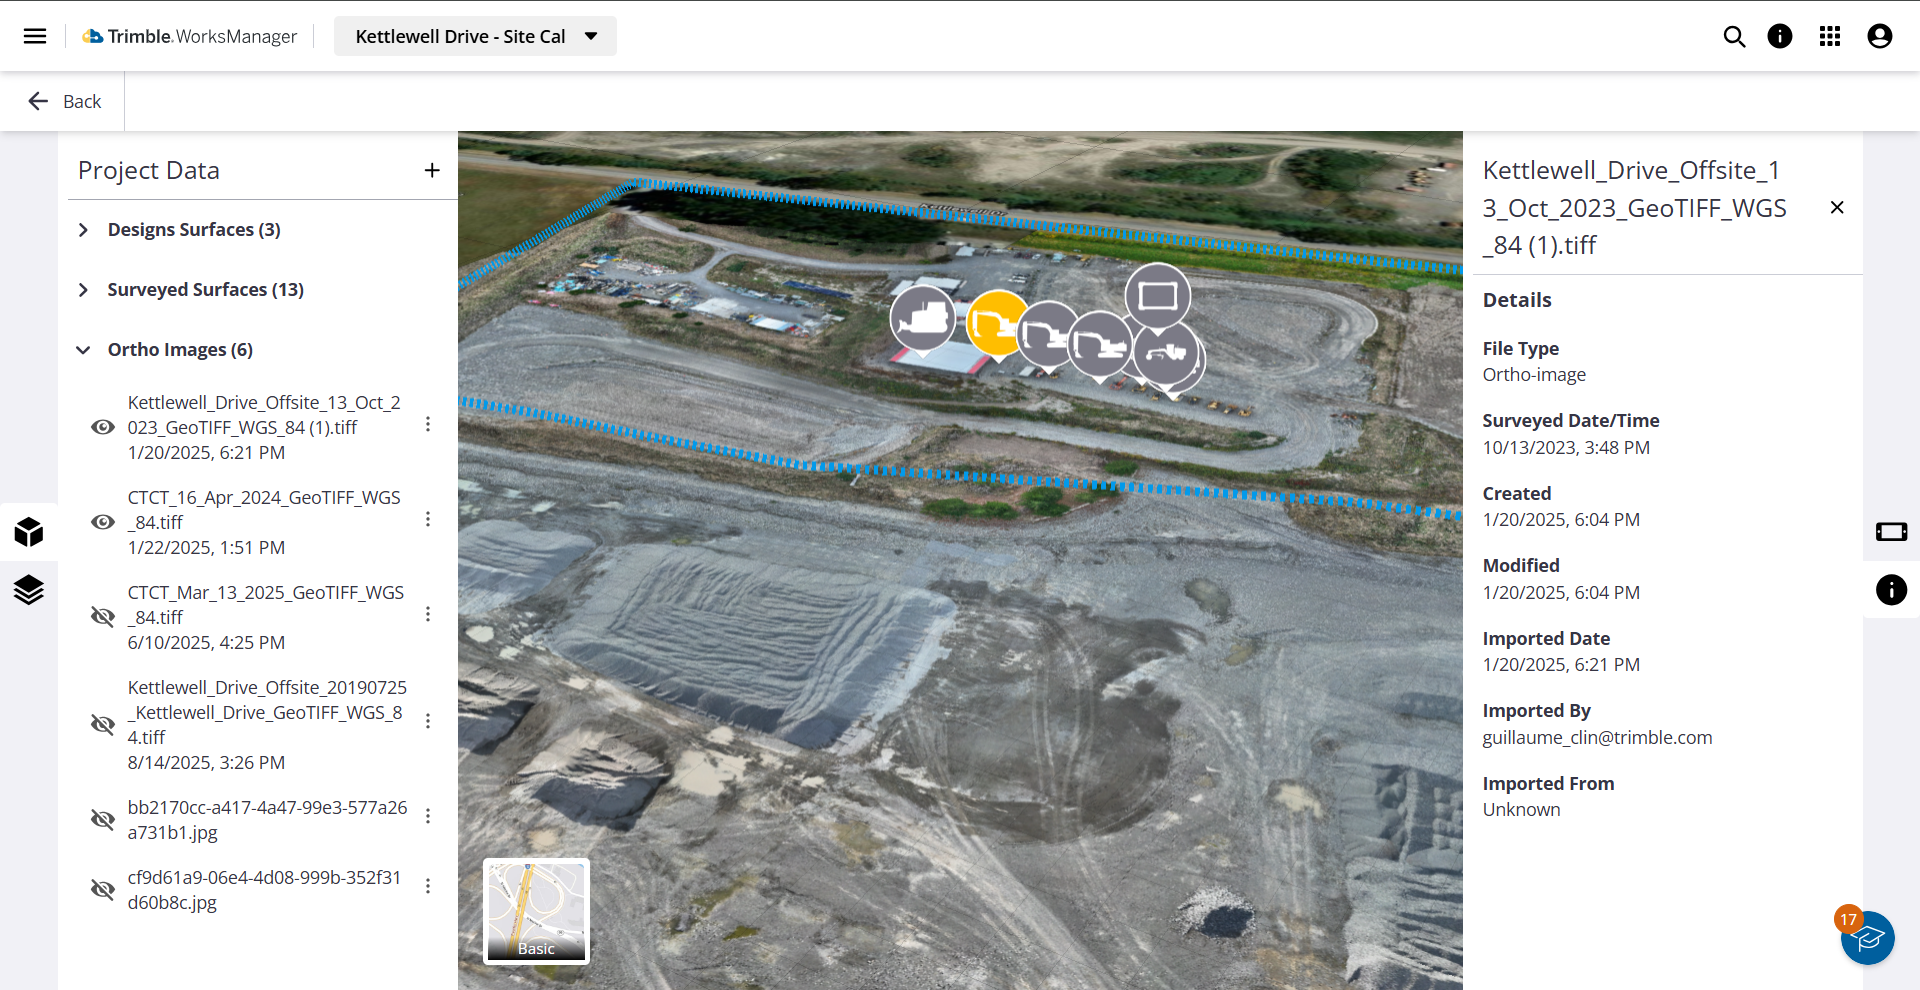
Orthoimage Formats and Georeferencing
| Format Type/Pair | Description & Georeferencing Details | Size Limit |
| GeoTIFF (.tif or .tiff) |
Contains internal georeferencing/coordinate reference system (CRS) info, so this pair does not require a separate World file. |
10 GB |
| TIFF (.tif) + TFW (.tfw) | A .tif paired with a .tfw world file | 10 GB |
| PNG + PGW | A .png image paired with a .pgw world file | - |
| JPEG + JGW | A .jpeg or .jpg image paired with a .jgw world file | - |
3D Viewer Supports Local Coordinates and JPEG/PNG Files
If you have an orthophoto in a JPEG or GeoTiff format from a recent drone fly-over, you can bring that visual data into your project with Local coordinate system (CRS) coordinates. This allows you to orient your project using the local coordinate system, which is a common practice on many job sites. Simple, common image file formats like TIFF, TIF, JPEG, and PNG (including World files) from drones or other sources that are geo-referenced to your project's local coordinate system (world files) can be used directly.
The system uses chronological layering (the assigned date and time) to manage the display of overlapping orthoimages. When two or more images cover the same area, the image with the most recent timestamp is rendered on top, ensuring that the latest site data is visually prioritized.
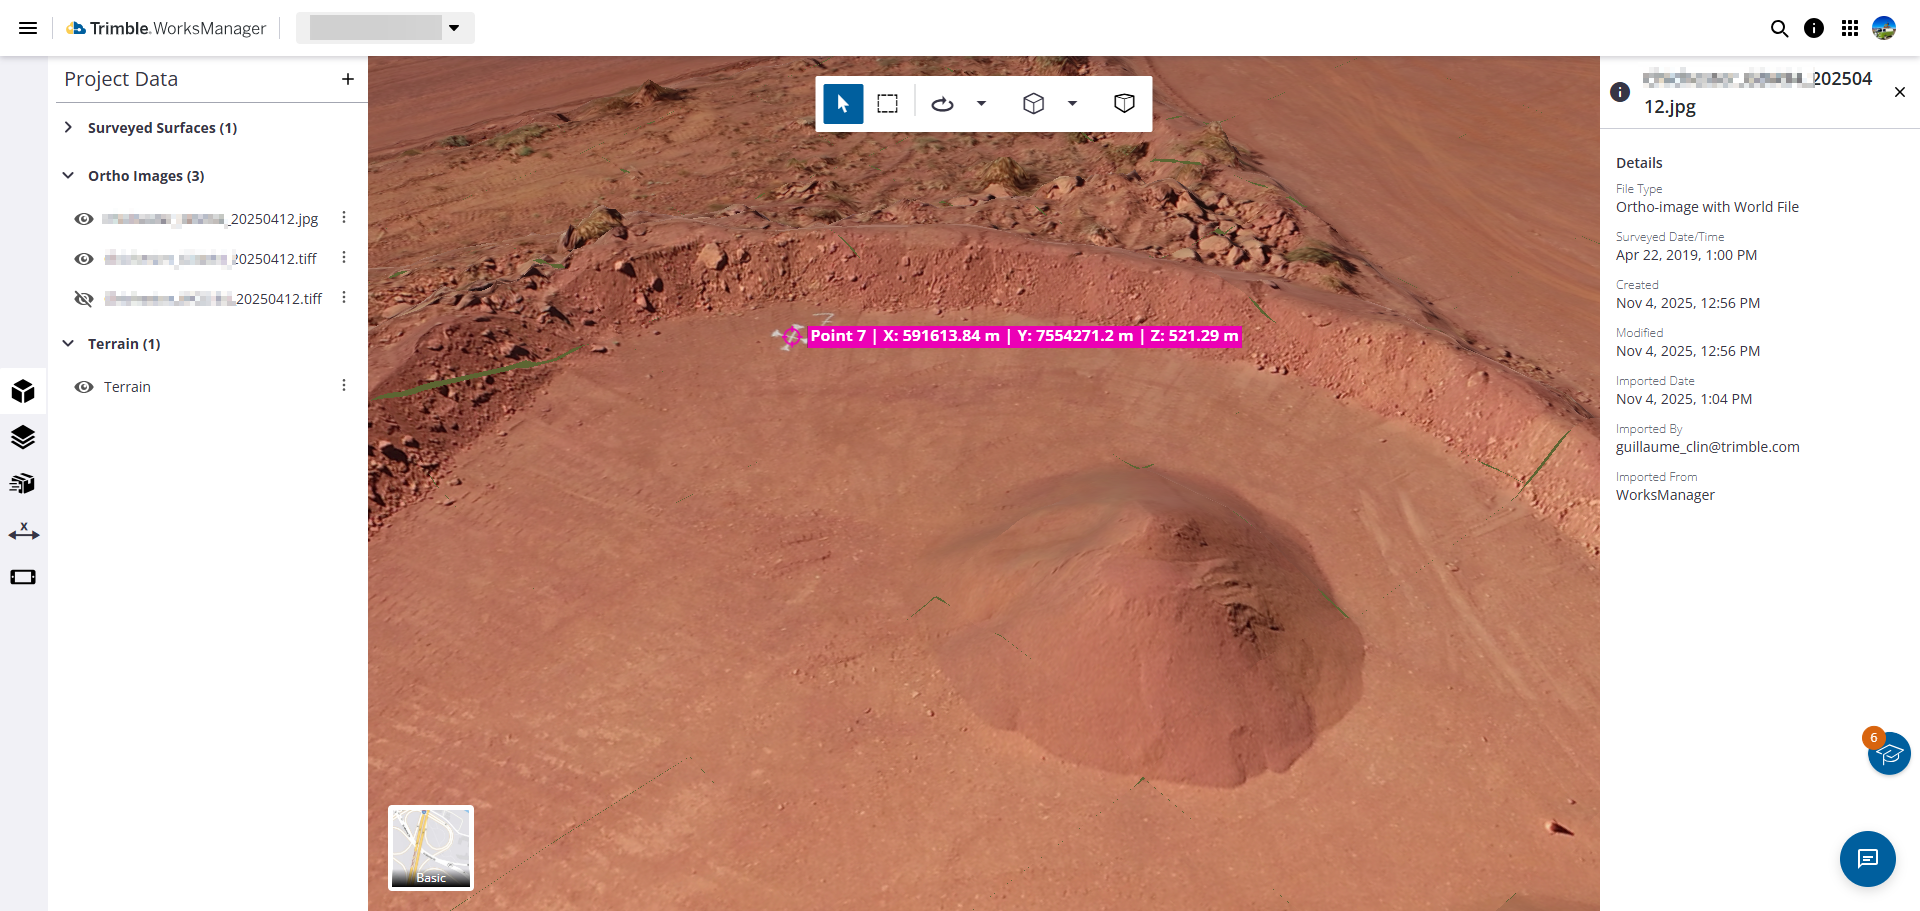
Import Georeferenced Orthoimages using World Files
Importing this pairing helps define the orthoimage’s location and scale.
-
On the left side, click the
 3D Viewer icon.
 -
Click the
 Project Data icon.
 -
Expand the Orthoimage category to review the data you have.
-
Click the +Import data icon at the top of the Project Data pane to open the Import dialog. You will see the supported file types listed in the dialog.
NOTE: If you do not see the +, you likely do not have Manager permissions to edit the project. Contact your WorksManager project Administrator to request higher permissions. -
Click to browse or simply drag-and-drop the files you need into the dialog. If available, you can also import data from Field Devices or Trimble Connect. Ensure that your image file (e.g., Site-Phase1.jpeg) and its corresponding JGW world file (e.g., Site-Phase1.jgw) are imported together. Most importantly, they must have the same name.
-
Select both the image file and its world file for upload. Because the orthoimage usually does not contain the metadata needed for the geo-referencing, it needs to be uploaded at the same time with a world file.
NOTE: Both the image file and the world file must have the same name or they cannot be linked. The image must be a GeoTIFF (.tif). -
Click Assign Dates. The file type Orthoimage is assigned automatically as detected.
-
Add a Survey Date and Time. This allows for proper layering of the images in the view (most recent is on top). The system will automatically detect the pair and prompt you to add this, which is a critical step that allows the image to be filtered on your project's timeline.
-
Click Upload. Both files are uploaded and processed (tiled) in the background, which can take minutes. Because JPEGs and PNGs are often much smaller than large TIFs, this processing is significantly faster, getting the image to your team in less time. Processing may take some time, so you will be notified when the image is available.
NOTE: The imagery is not yet draped directly onto the 3D surface surfaces.Once processed, the imported 2D orthoimage is draped onto a flat plane. This plane is automatically set at the lowest elevation point of the project's active surfaces. You can toggle orthoimage visibility on/off to render in the view as a 2D projection on the plane, not on the 3D surface.
NOTE: Images can be imported here or in WorksOS and they will sync to the other application.Orthoimages and PNGs often have a transparent background which will be invisible. JPGs don't have transparency, so they will have a black background.
You can toggle the terrain on/off for any orthoimage. When you toggle an orthoimage’s terrain on it is filtered by the date and range. When you toggle it back off, the data and range filter is ignored.
This functionality extends directly to the field. When you import a JPG with a world file, it is automatically made available to your field applications like Trimble Siteworks. You can upload new site aerials from the office, and your field crews can immediately access them as a background map for their operations.
Imported orthoimages are automatically added to your project settings. To confirm, click Settings in the left pane and select Data Collector > Background Images. These images are also available in the 3D Viewer, but if you do not add a survey data and time, it cannot be aggregated with the orthoimage. Click the
 More icon next to the image to see a warning of why the date is not available; you can add a date in the Info pane. Once you click Save, the image is processed and tiled so you can render this image.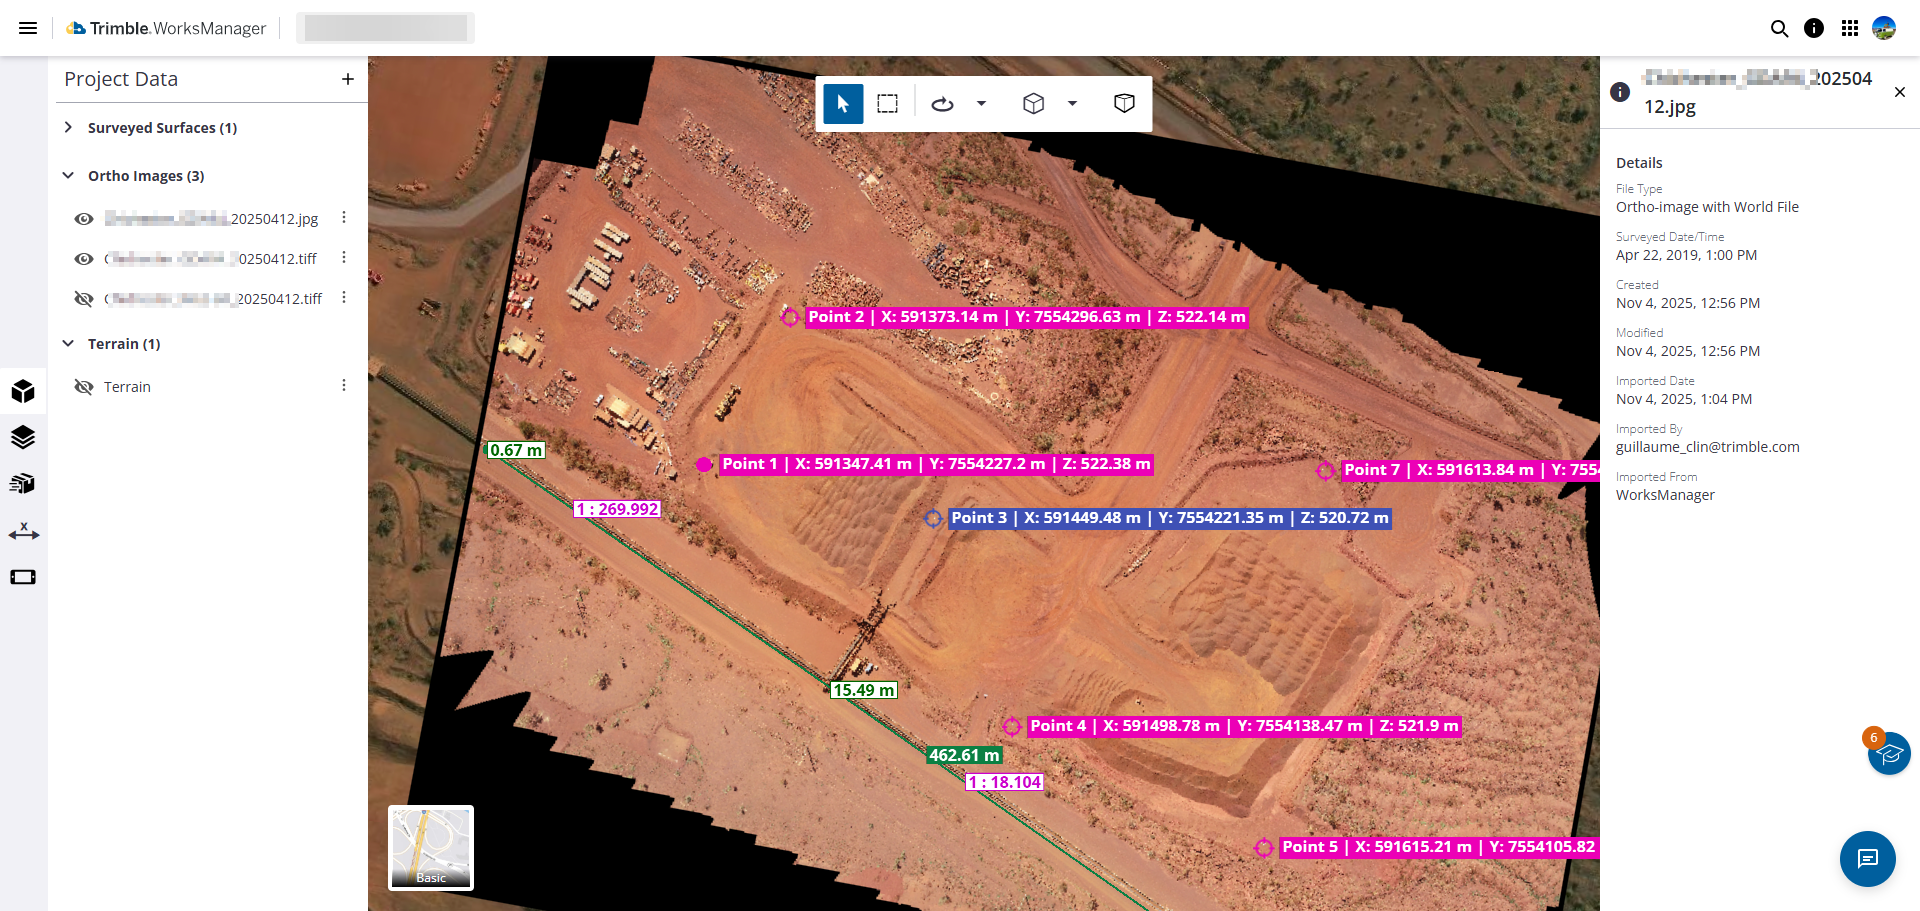
By requiring a survey date, these images become an active part of your project's digital timeline. You can toggle the terrain and use the date filter to slide between different surveys, providing powerful visual context for progress tracking and as-built verification.
Dynamic Draping of Elevations and Orthoimages
By default, background satellite map data is projected onto terrain, giving it immediate real-world context. You can also display the color-coded, elevation heat map, to visualize high points, low points, and gradients across the entire aggregated site.
Your imported orthoimages can also be draped onto the terrain. The system tiles the image to efficiently render even large files, providing a high-resolution, photo-realistic view of your as-built conditions.
