Work with Surveyed Surfaces
Import a Surveyed Surface
To display machine data by importing a surveyed surface, the process typically involves several steps, from file upload to backend processing and visualization within the 3D Viewer. The primary goal is to allow you to request and display aggregated terrain models from WorksOS within the 3D Viewer.
When you import a surveyed surface, you are prompted to enter the survey date and time. This is critical because this timestamp will enable powerful future functionality; it will allow the system to automatically aggregate surfaces from different sources—such as machine pass data—to create a dynamic, chronological timeline of your job site. By entering accurate data now, you can help build a more intelligent and automated progress tracking system.
-
Open your project.
-
On the left side, click the
 3D Viewer icon.
 -
Click the
 Project Data icon.
 -
Expand the surface categories to review the data you have.
-
Click the +Import data icon at the top of the Project Data pane to open the Import dialog.
NOTE: If you do not see the +Import data icon, you likely do not have Manager permissions to edit the project. Contact your WorksManager project Administrator to request higher permissions. -
Click to browse or simply drag-and-drop the files you need into the dialog. If available, you can also import data from Field Devices or Trimble Connect. TTM files are the common format for surveyed surfaces. Formats like LandXML (.xml) and 3D DXF (.dxf) are not yet supported.
-
Click Assign File Types.
-
For each TTM, select Design surface or Surveyed surface as the file type. This distinction is important for how the system aggregates data. You can combine surveyed surfaces, but not design surfaces.
-
For surveyed surfaces, specify the surveyed date, time, and status (rover or drone); this is critical for establishing when the surface was surveyed. This temporal information specifies the state of the site up to that specific point and enables the WorksManager to aggregate the surface with other machine data or additional surfaces, forming a single, unified 3D dataset.
-
Click Upload.
Once processing is complete, the surface is rendered accurately within the 3D Viewer, displaying its geometry, position, and associated date and time. The system also allows for visual enhancements like shading and terrain exaggeration to improve the 3D object visualization.
Change Surface Transparency and Color
With surfaces visible, assign colors for differentiation, and adjust the transparency for easy comparison, especially where multiple surfaces overlap.
-
Do the steps above.
-
Pick a surface in the view.
-
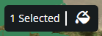
At the bottom of the 3D Viewer, click the bucket on the right side of the icon.
-
In the Color dialog, pick a new (or custom) color. This color selection from a standard palette or custom color creator allows for rapid visual identification of distinct design elements, such as existing ground, proposed finished grade, subgrade layers, or utility corridors.
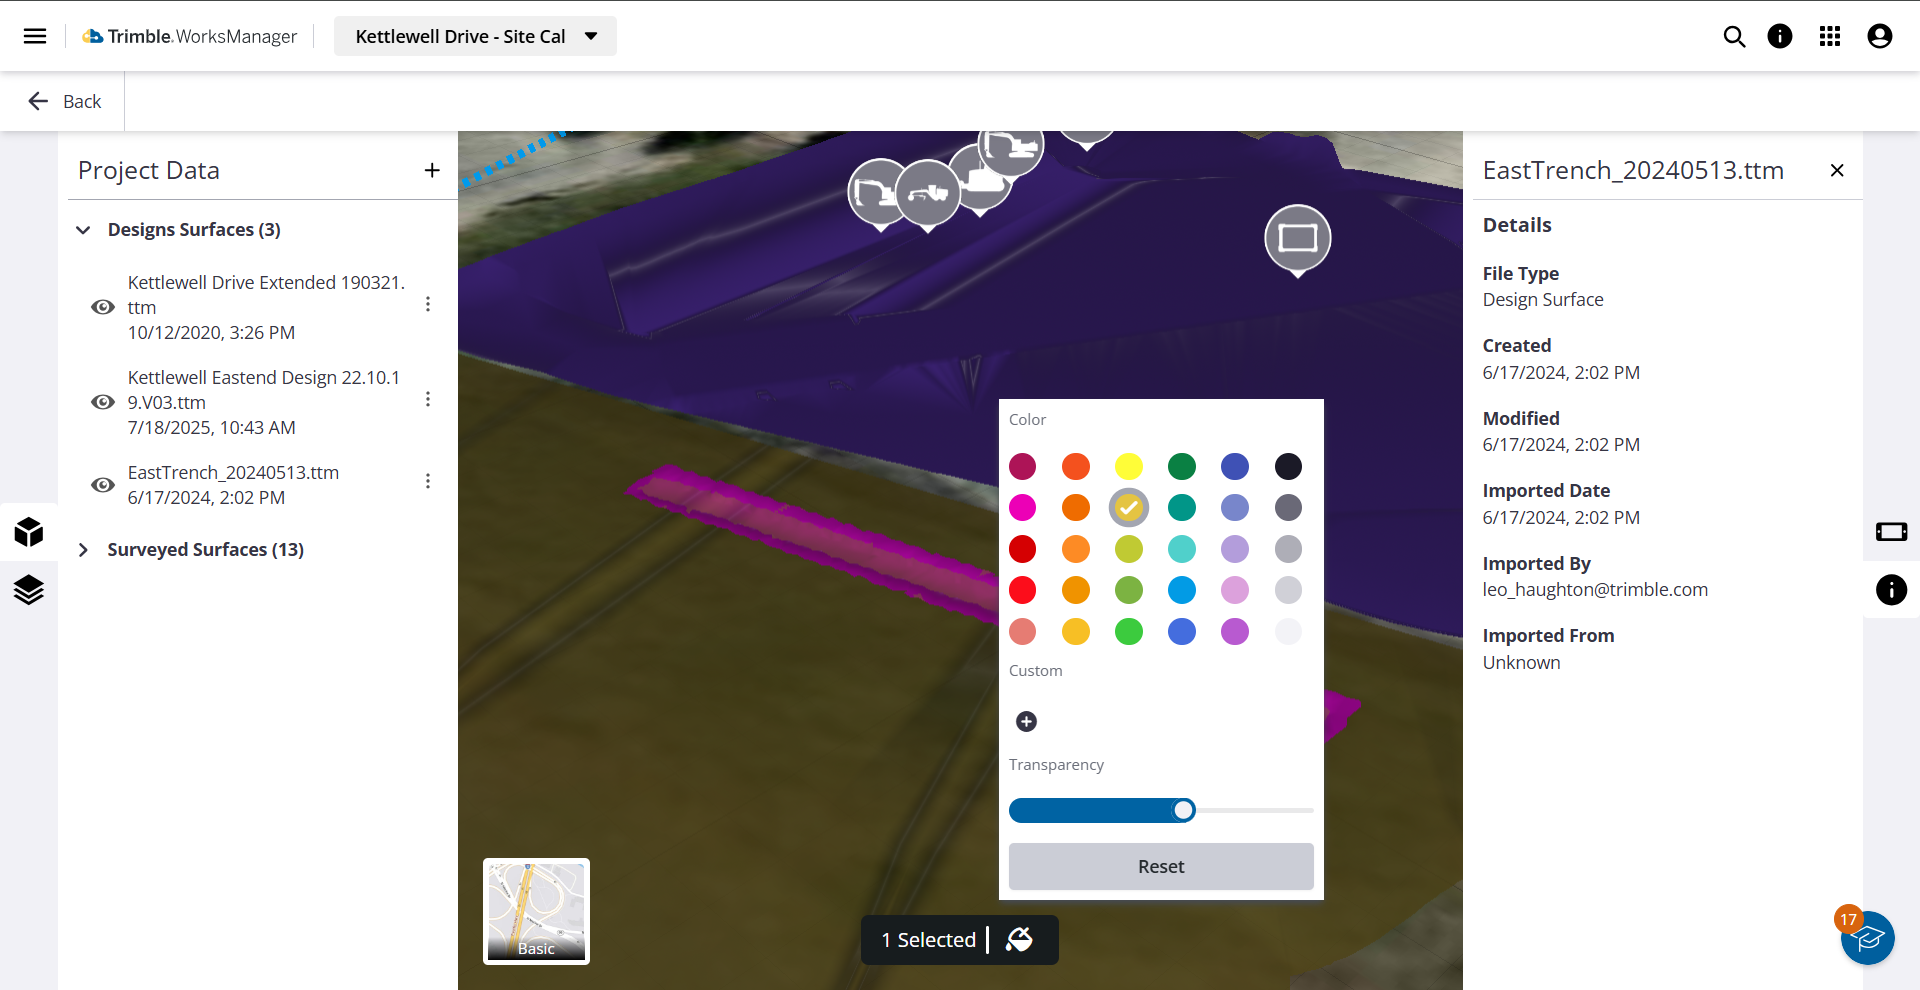
This process can be repeated for all surfaces in the project to create a clear, color-coded, and easily decipherable 3D model.
