Mapping Trimble X12 Drive to Windows PC
The fastest way to transfer the data from the on-bard SSD is by using the Ethernet cable. Follow the instructions below to map the drive to a Windows 10 or 11 PC.
-
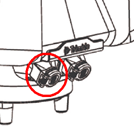
Connect the Ethernet cable into the left LEMO port on the X12.
-
Plug the other end of the cable into the Ethernet port on the PC.
-
Right-click on This PC and select Map network drive.

-
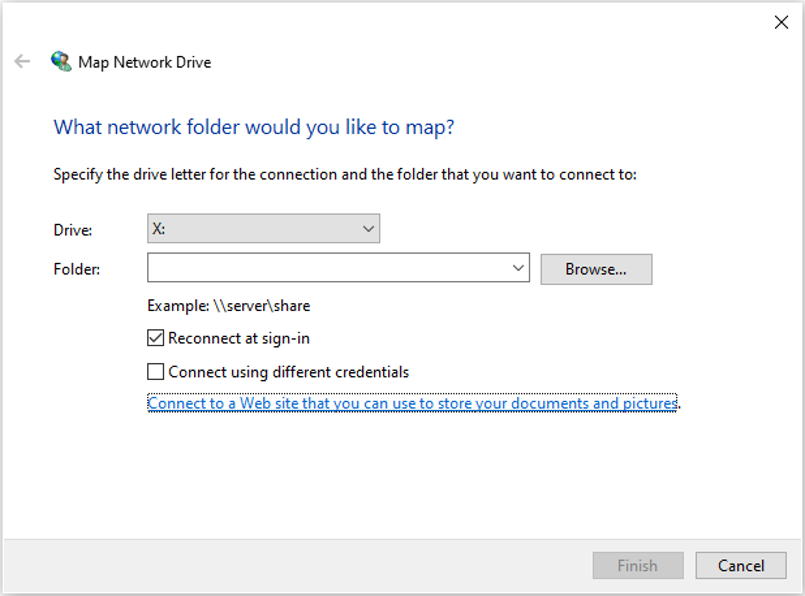
From the Map Network Drive dialog, select the drive letter you wish to use, make sure that Reconnect at sign-in is checked and click the link Connect to a Web site….
-
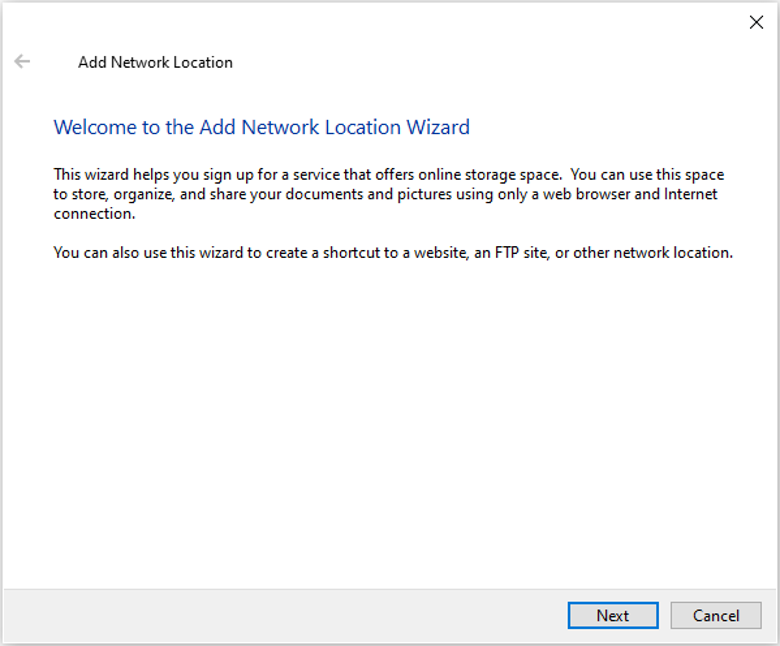
Click Next on the welcome dialog.
-
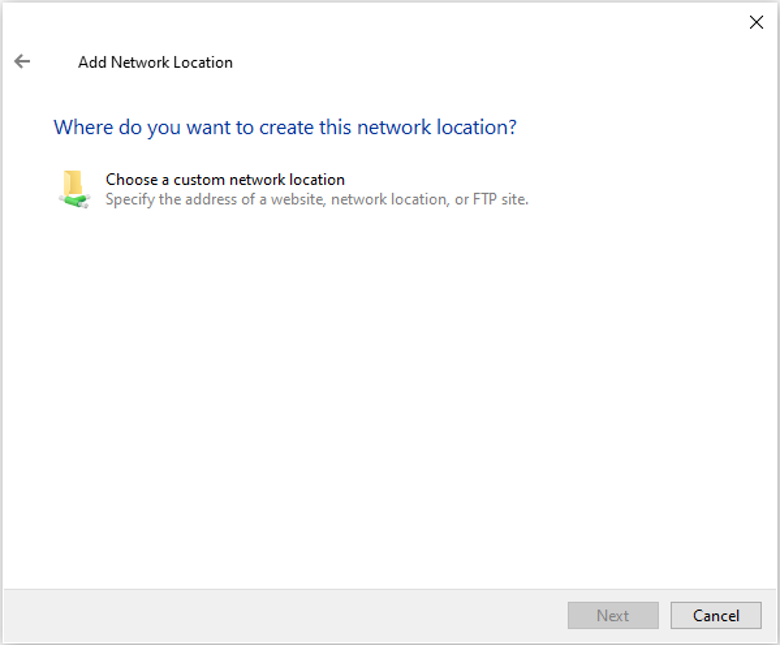
Click on Choose a custom network location and click Next.
-
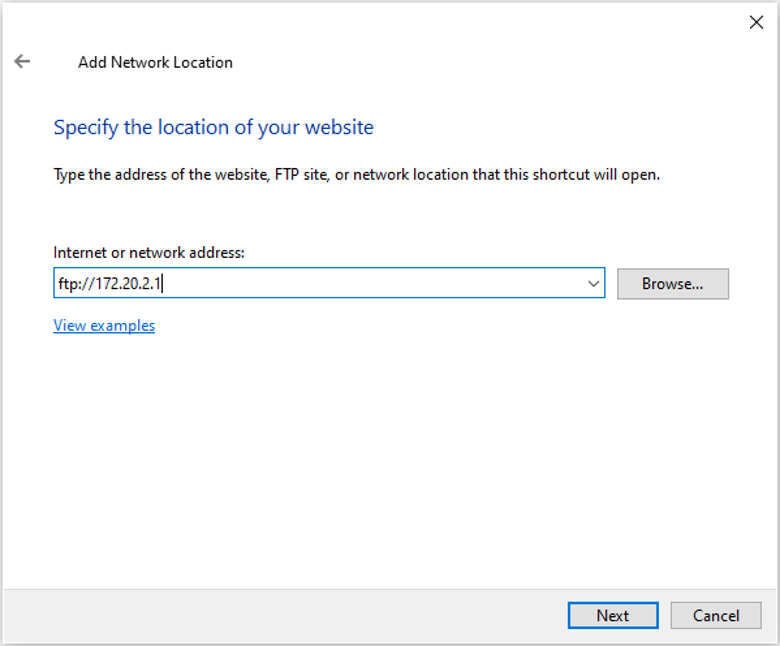
In the Internet or network address box, type ftp://172.20.2.1 (or whichever IP address is listed on your scanners internet settings) and click Next.
-
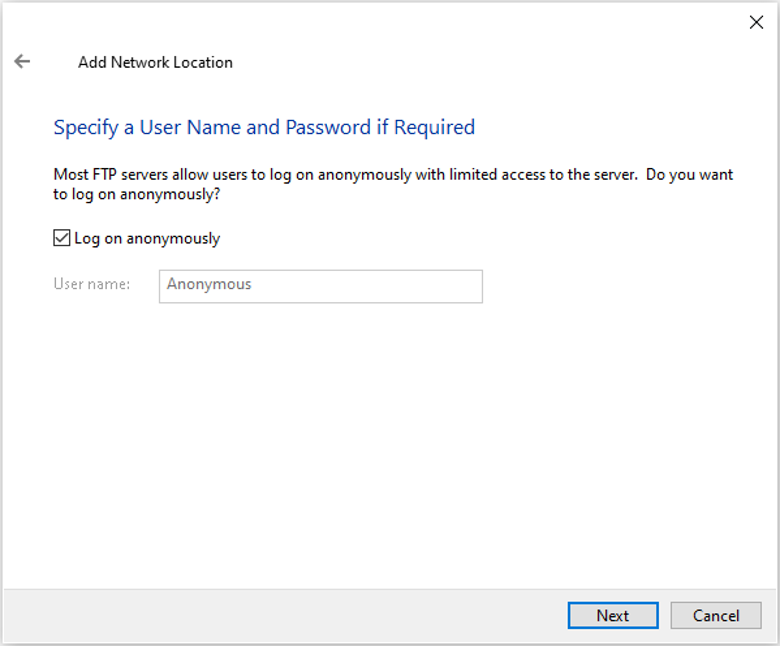
In the Specify a User Name dialog, make sure that Log on anonymously is selected and click Next.
-
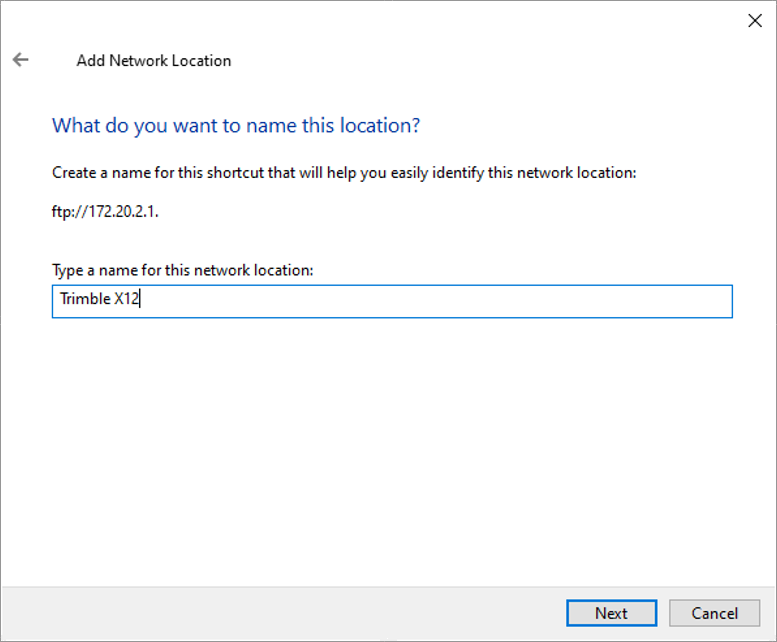
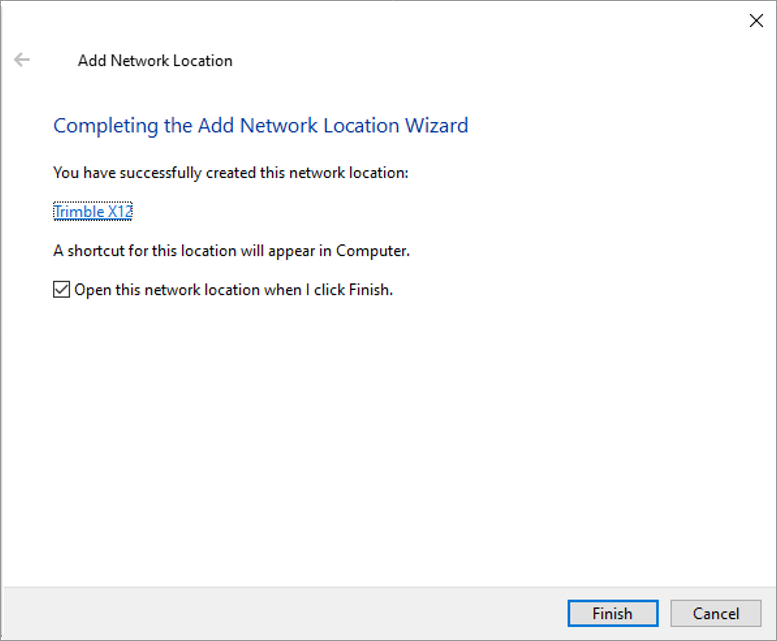
Enter Trimble X12 for the name of the network location and click Next.
-
In the Completing the Add Network Location dialog, make sure Open this network location is selected and click Finish.
-
After this action, an explorer window will open showing the project folders that exist on board your X12 scanner. You can now copy or move the required projects onto your PC.
-
After closing this window, the X12 may automatically be added to your Network locations or you may be prompted to add it. The location will be present for future connections when you click on This PC.