Starting a scan
After the scan and image parameters are set, tap Start to start the scan.

The scan progress screen will appear showing the station number and the progress of the scan. The scan resolution, quality, acquisition rate, point spacing, image and smart light settings are displayed below the dynamic display of the point cloud as it is collected.
Stay clear of the scanner during the scanning process to avoid obstruction of data acquisition.
The option to stop or pause the scan during the scan process is available at the bottom of the screen.
Tap:
-
 to stop the scan.
 -
 to pause the scan.
 -
 to resume the scan after pausing.

The image acquisition will begin after the scan is complete.
Stay clear of the scanner during the image acquisition to avoid obstruction of the camera.
Tap:
-
to stop the image capture.
-
to pause the image capture.
-
to resume the image capture after pausing.
After the scan and images are captured, the completed scan screen will display.
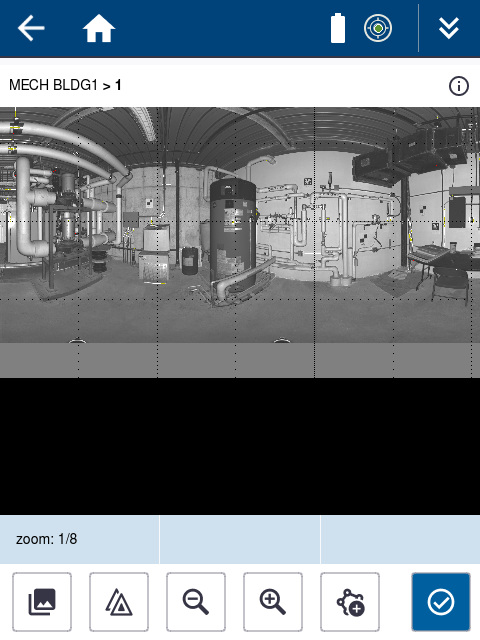
From this screen, you can view the scan, the images, the station list, create area scans, retake images or finish to continue with the next scan.
 View and Retake Images
 View Station List
 Zoom Out
 Zoom In
 Create Area Scans
 Finish and go back to the Scan Parameters screen to start the next station.
