Autos Setup
NOTE – These instructions apply to both blade slope and cross slope systems. Use these instructions for either system configuration:
- Blade slope systems measure - blade slope only
- Cross slope systems measure - blade slope, blade rotation and machine mainfall
TIP – For information on how to get the most out of Autos, see Best Practices When Using Autos.
Autos status indicators
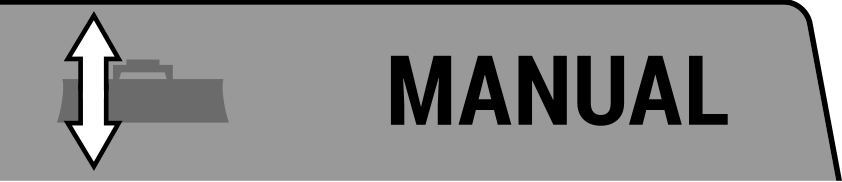
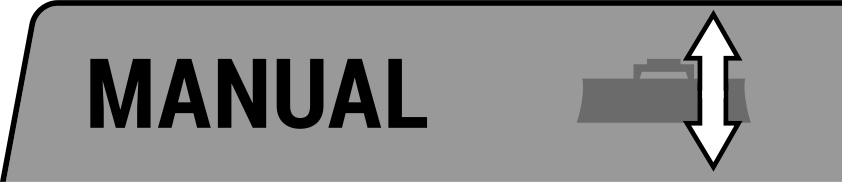
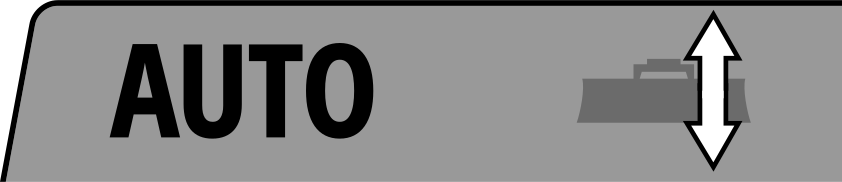
The Autos status indicators at the bottom of the work screen show you what state Autos are currently in. The Left Blade status indicators are on the left–hand corner, the Right Blade status indicators are on the right–hand corner of the screen.
| Autos status indicators | Status |
|---|---|
|
|
Manual Autos is not engaged. |
|
|
Manual interlock Autos cannot be engaged. Possible reason: Hydraulic lock engaged. |
|
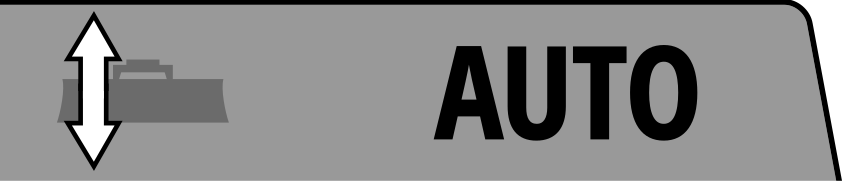
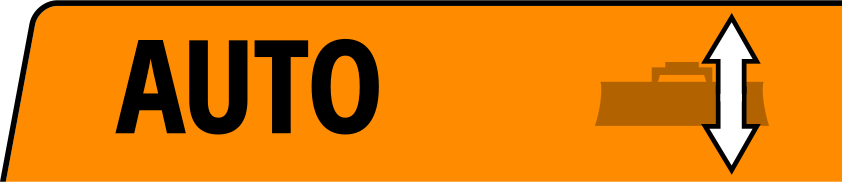
Autos ready Autos is engaged, but is not activated. Possible reason: The blade is being manually controlled by moving the joystick. NOTE – On machines where one side of the blade has Autos mode engaged and the other side is controlled manually, the system shows a gray AUTO status indicator for the side under manual control. The system is in Autos mode, but only one side of the blade is engaged. |

|
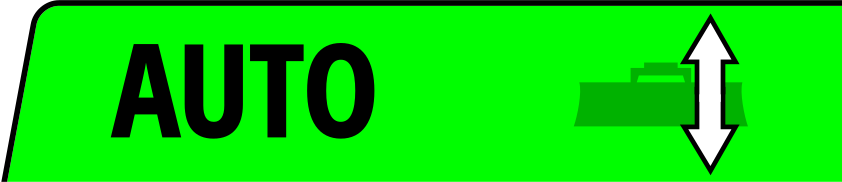
Autos engaged Autos is engaged and activated with the blade inside the control range. In this state the system controls movement of the appropriate side of the blade. |
|
|
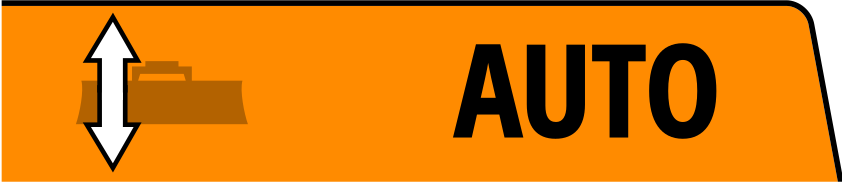
Autos not ready Autos is engaged but cannot be activated so Autos is temporarily suspended. Possible reason: GNSS precision is outside tolerance, or the blade is outside the control range. |
|
|
Autos interlock Autos is engaged but the system has either:
NOTE – To change out of this state, press the auto switch to return to the Manual state. |




Engaging Autos
WARNING – The blade may move without warning when Autos is engaged. These sudden movements could cause injury to anyone near the blade, or damage to an unattended machine. Always put the system in Manual and engage the machine's park brake before you leave the machine, or when somebody is working near the blade.
To use Autos:
-
For Bobcat machines, the Bobcat System must first be enabled. On the Bobcat Deluxe Display:
-
Go to the Attachments screen and select the HD Grader Attachment.
-
On the Grader screen, select 'Tools' (Button 8) to enter the Grade Control screen.
-
On the Grade Control screen, press buttons 1 and 6 to arm both sides for Autos.
NOTE – For more information, see the Bobcat Operation and Maintenance Manual.
-
- Load a design or have a benched surface to guide to.
- Make sure the machine’s hydraulic oil is at its normal operating temperature.
-
Position the blade within the control range.
TIP – Use the lightbars, cut/fills and buzzer to guide the blade.
-
Engage Autos. As the blade approaches the design elevation press the Autos switch.
NOTE – Each press of the auto switch will cycle between Auto and Manual.
To switch Autos off and return to Manual, press the auto switch.
You can temporarily override Autos by moving the joystick while you are in the Autos control window.
Be aware that while Autos is disengaged you can cut beneath the design. Sometimes you may purposefully want to cut below design, however if this is not the case make sure that you monitor your cut/fills and lightbars.
To re‑engage Autos, press the auto switch again.
NOTE – Grader blade: when using:
-
Autos - the increment and decrement buttons change the elevation offset and the target cross slope.
-
Manual - the increment and decrement buttons raise and lower the blade.
NOTE – Box blade: when using:
-
Autos - the increment and decrement buttons change the elevation offset and the target cross slope.
-
Manual - the increment and decrement buttons raise and lower the blade.
-
Operator + Cross slope sensor combination with Autos - the operator side goes into Autos ready (gray) and the cross slope side goes into Autos (green). The increment and decrement buttons raise and lower the operator side (gray)
-
Select and Apply a Preset
You can select and apply the active preset via the Autos Setup or Autos Optimization screen. You can access these screens via the Work Settings menu. There is always at least one preset stored which is the Default preset set by your technician in the Web Interface. This cannot be edited or deleted.
Select the active preset that you require and tap Apply.
You can create, edit or delete a preset via the Autos Optimization screen. For more information, see Autos Optimization.
