Bench Heading
TIP – Using the Two Point Method is more accurate as it defines the direction of the bench heading.
One point method
You can access the Bench Heading screen via the Work Settings menu or the shortcut bar.
- Position the machine in the direction of the design mainfall.
-
Tap the Bench Heading icon
 in the shortcut bar to bench the heading directly.
 The benched heading is set to the direction of the machine mainfall.
Alternatively:
- Touch and hold the Bench Heading icon in the shortcut bar to open the Bench Heading screen.
- Tap Bench.
Two point method
You can access the Bench Heading screen via the Work Settings menu or the shortcut bar.
- Position the machine in the direction of the design mainfall.
- Touch and hold the Bench Heading icon in the shortcut bar to open the Bench Heading screen.
- Toggle the Two‑Point Method on.
- Follow the wizard to select two points:
-
Touch the
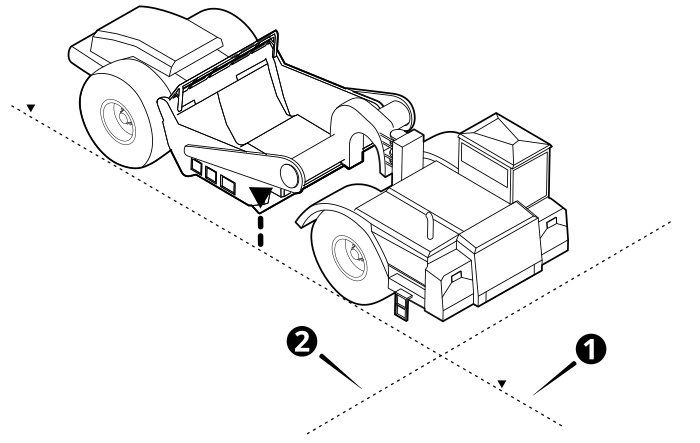
1 Mainfall 2 Cross slope - Tap Bench.
Troubleshooting
The table below lists some of the error messages that may appear when you use the two point method to bench the heading.
| Error Message | Action |
|---|---|
| Point 2 not saved, bench points are too close | Select a second point that is further away from point one. There should be at least one meter between the two points. |
