Layer your way to grade
Unlike an excavator, when you're in a dozer it takes multiple passes to reach final grade. You can use the Working Surface feature in Trimble Earthworks to offset a whole design. This is helpful if you prefer to work your elevation offset to zero when you're on grade at a known depth above or below finished level – for example when you're working to sub-grade.
You'll need to enter the final depth up front and use the decrement switch to work each pass down until the offset value in the guidance bar shows 0.00.
Watch the video
Step by step
-
Tap and hold the Vertical / Elevation offset
 icon.
icon.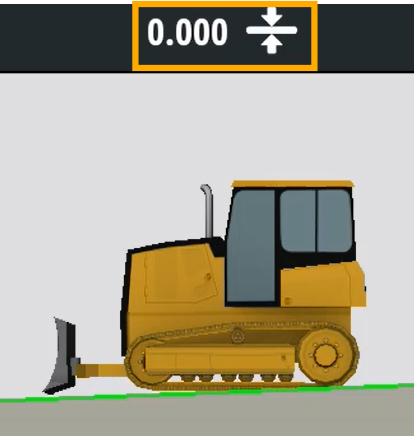
-
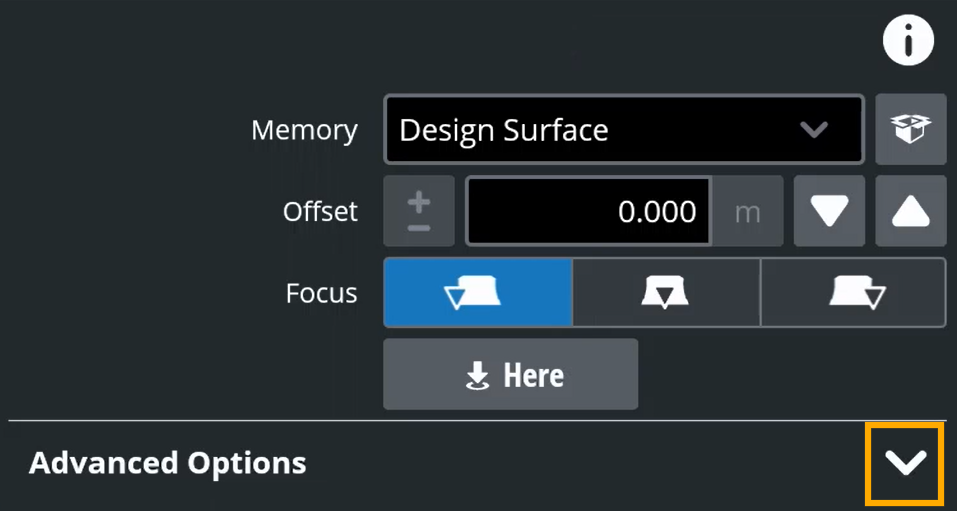
Expand the Advanced Options drop-down.
-
Enter a value for your Working Surface.
TIP – You can select Vertical or Perpendicular depending on your job specifications and how the surveyors are measuring their as-built checks on your graded surface:
-
Use Vertical if you're working to a vertical depth or distance below finished level.
-
Use Perpendicular when you need to achieve the true thickness of material (and this is specified) – for example if the thickness of topsoil is specified for a batter slope.
If your design has a steep slope, there will be a big difference between the vertical and perpendicular offsets.
-
-
Tap Apply.
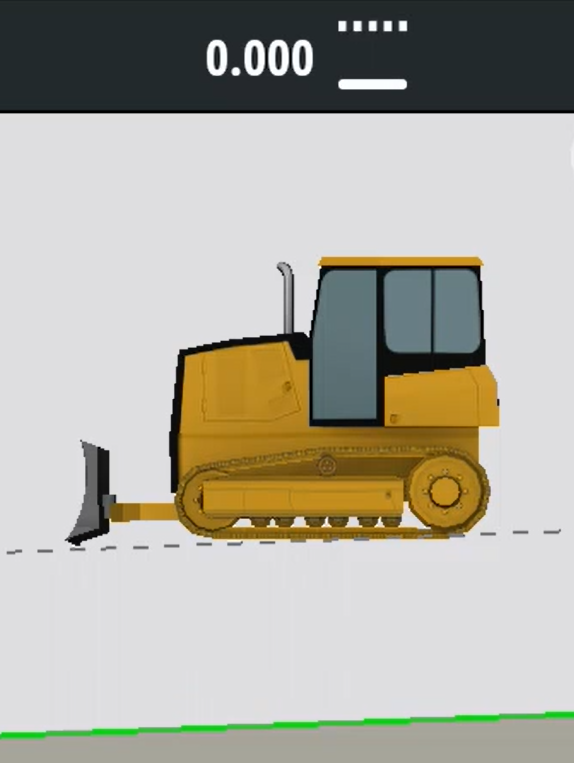
NOTE – The dashed line shows your original surface. The green line shows the guidance surface. This is the Working Surface. It's been created by the Working Surface offset you've specified.
-
To shift the Working Surface up or down, press the increment/decrement switch on the joystick.
NOTE – You'll see the numbers and the icon change in the guidance bar.
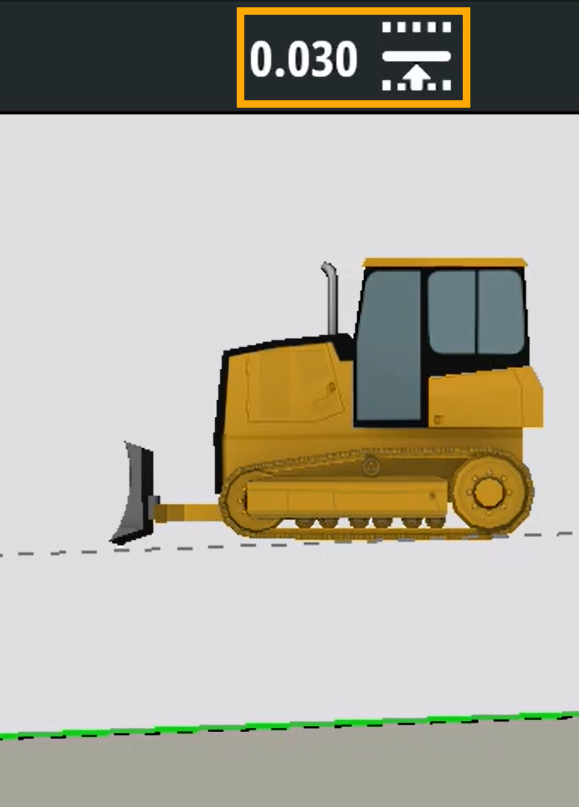
NOTE – Any offsets you apply now will be offset from your Working Surface (not from the original design). For reference, the original surface will still show as a dashed line.
Trimble Earthworks v2.24. Updated June 2026.
