Inspection
The inspection feature enables you to compare the model to the collected scan to check for any discrepancies. To complete an inspection, the 3D model must be imported into your FieldLink project and the points must be aligned with the model.
NOTE – The most accurate way of aligning scan data with a 3D model is by creating points on the model and performing a resection based on those created points. See Background Plan or Model Set Up (Resection) for more.
To use the inspection feature with 3D model and scan data:
- Ensure the 3D model and point cloud are aligned.
- Tap the Scan icon
 .
. - Tap Inspection.
- Tap the Edit Inspection
 icon on the bottom of the screen.
 - The Inspection menu appears allowing you to set the maximum tolerance and tolerance interval, save destination for images and the inspection name.
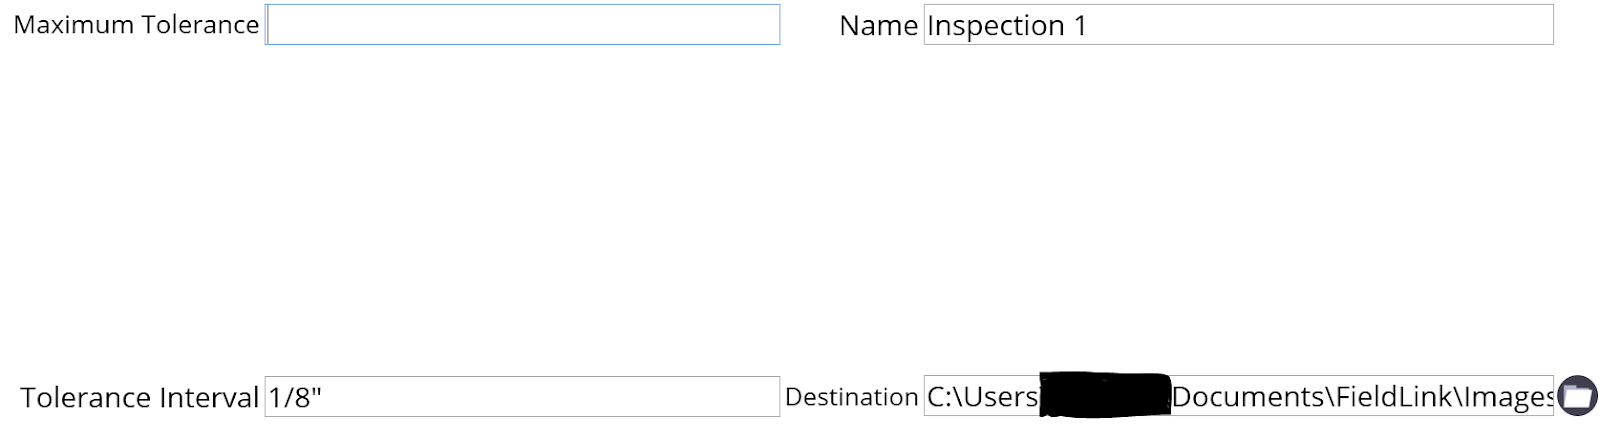
- Once these parameters have been set, tap the Edit Inspection icon again to exit.
- Tap the Inspection icon
 on the lower right side of the screen to begin the model inspection.
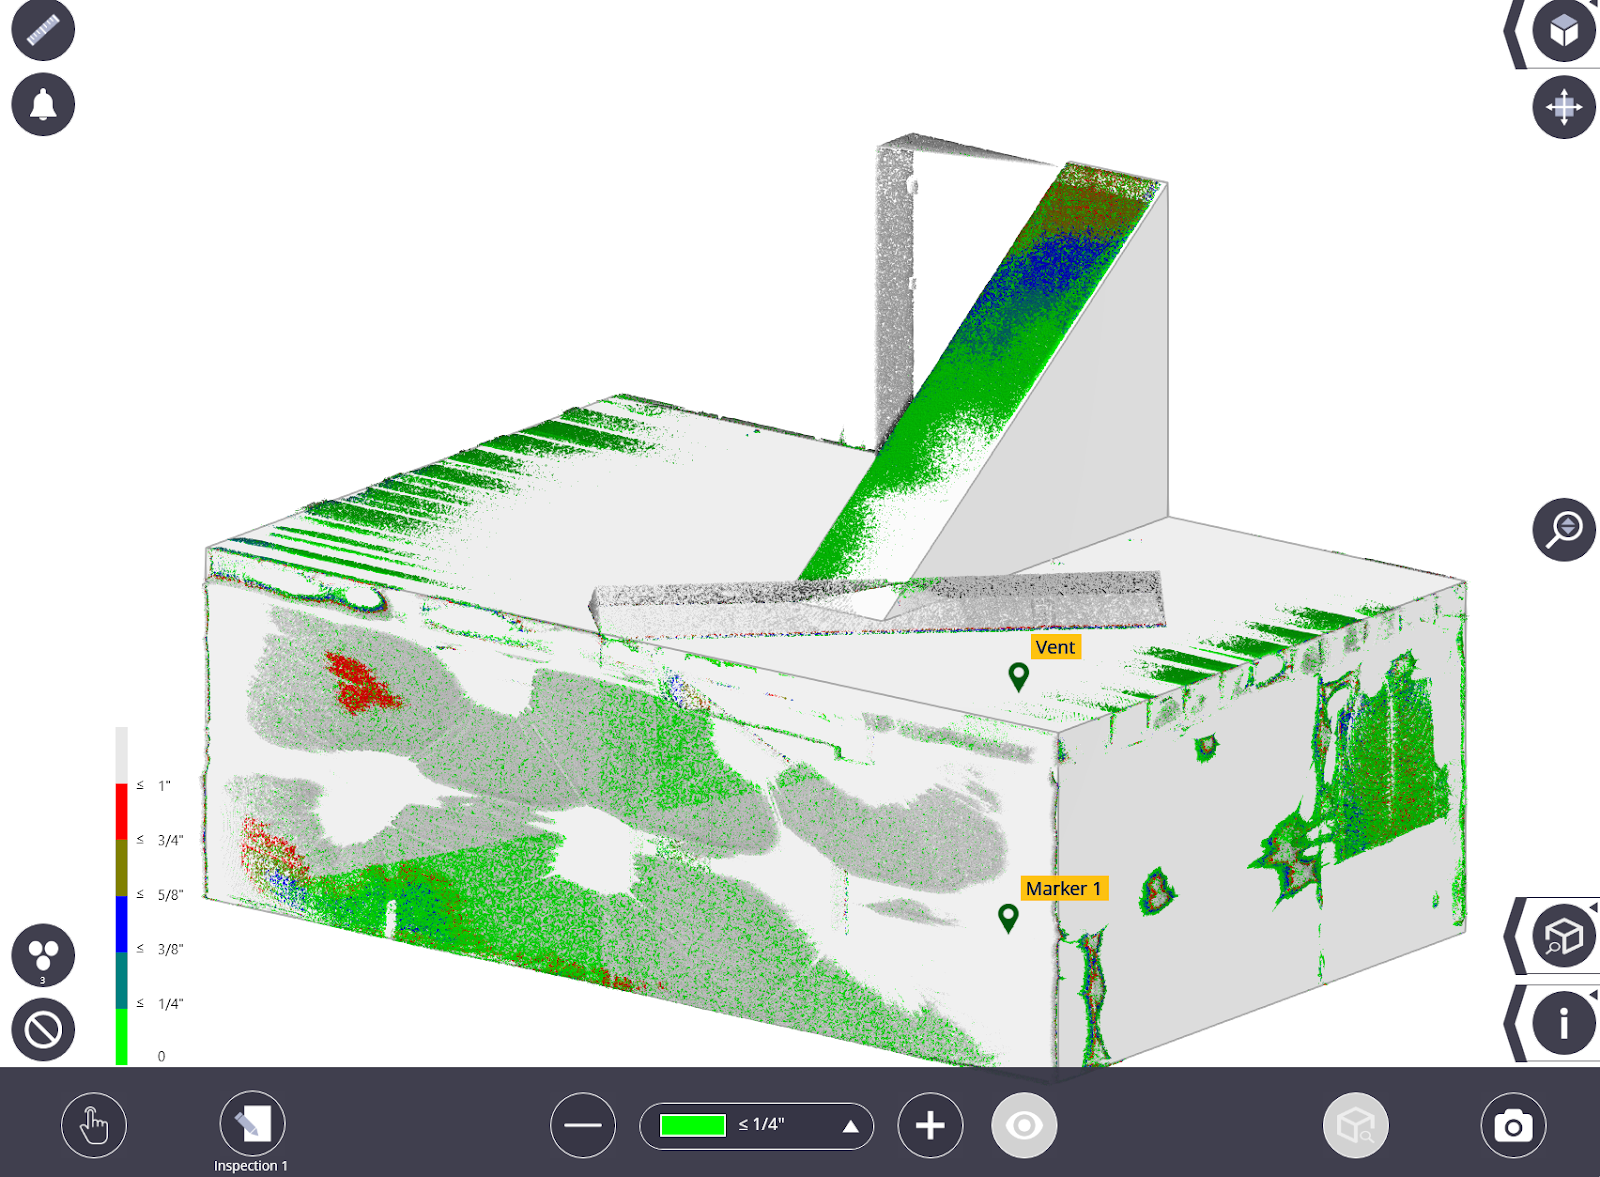
 - Once the inspection process is complete, an array of colors appears on the 3D model showing where the data is within tolerance based on the interval set in the Inspection Editor.
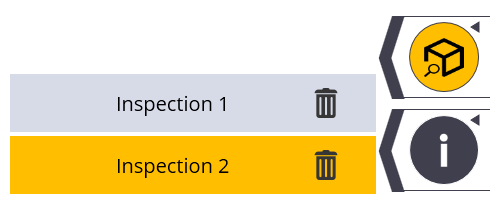
- You can produce several model inspections with different tolerances within the same project. Tap More > Map to return to Map view and then go back into the Scan > Inspection menu and conduct a new inspection.
- To toggle between the different inspections, tap the Inspection ribbon and select the inspection you would like to see.
- You can change the tolerance by the increment you set by using the + and - buttons on either side of the tolerance menu in the middle of the screen. This affects only the color range that is selected and changes by the increment you set in the inspection editor.
- You can turn off intervals and colors by selecting a color/range in the menu and then tapping on the eye icon.

- Tap the camera icon in the bottom right corner to save screenshots to the default images folder under Documents > FieldLink > Images.
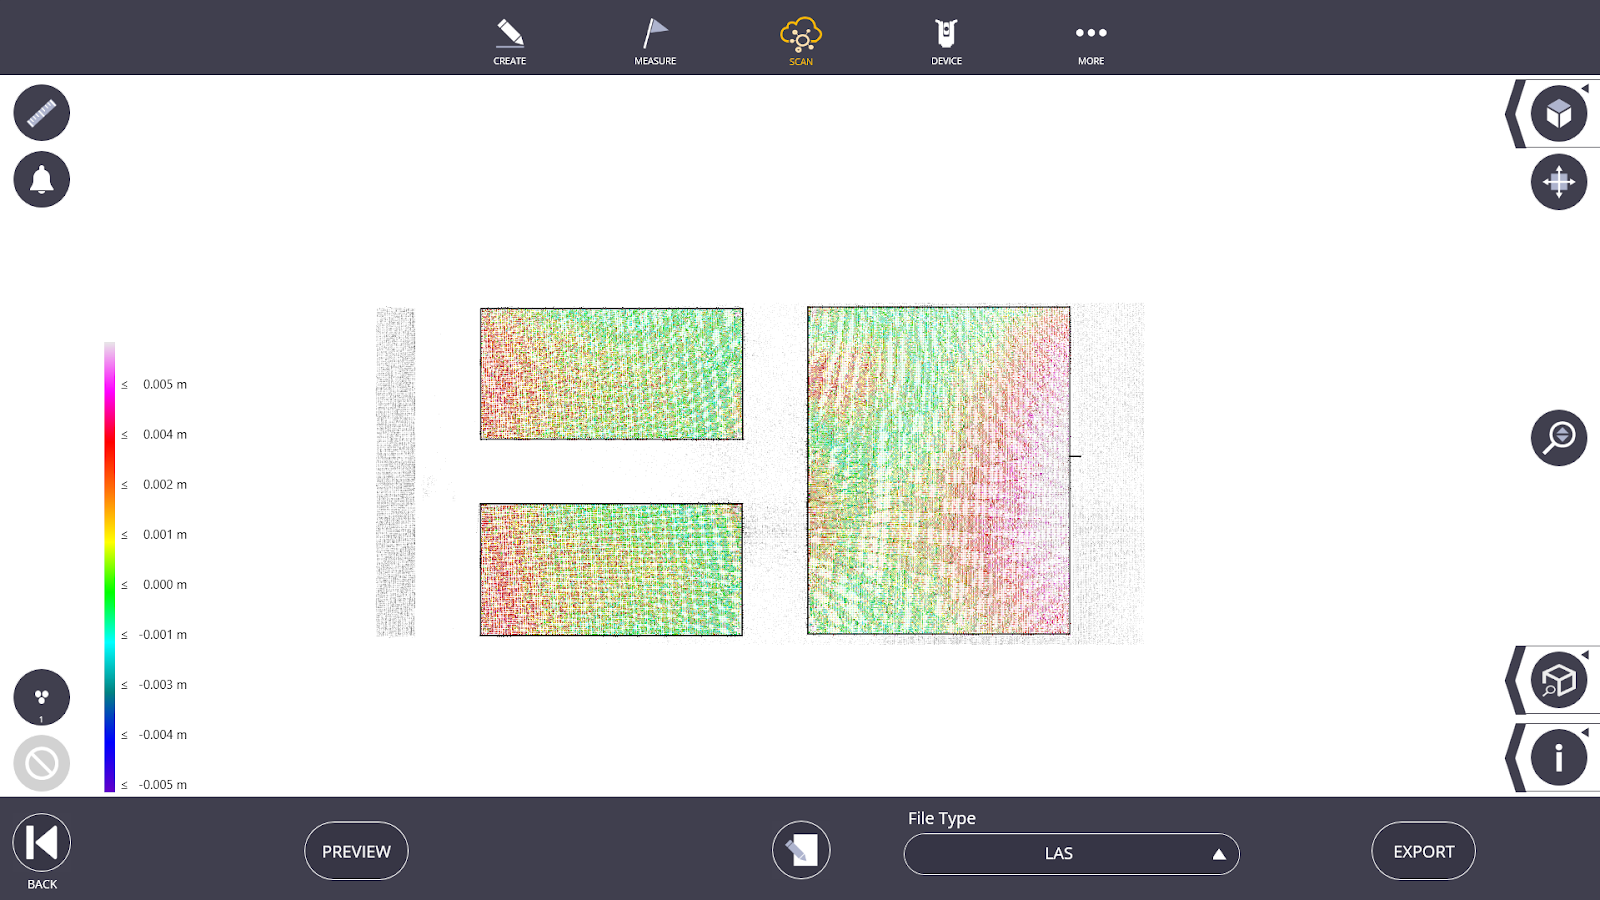
- You can also export the colored inspection clouds in LAS, LAZ and E57 formats.
- To create an Inspection Report, and save it locally, to a thumb drive or to Trimble Connect.
- Once the Inspection is created, tap the Next icon.
- Tap the Preview icon.
- Tap Save to save the report. To change the location of the report, tap the Input Form icon
 .
.
