Establish X7/X9 Device Location
Before taking any laser scans, you can shoot two known points (resection) from the PDF, plan, or model to place the X7/X9 scanner at the correct location on the project. If you do not have a PDF, plan, or model, you can also orient the instrument to its true north direction, an arbitrary plan north towards the top of the screen, or gridline setup.
Plan North Set Up
NOTE – To do a Plan North set up you must not have a model or PDF loaded into your project.
To perform a Plan North set up:
- Tap the Device icon
 and then tap Set Up. If this is your first set up, the instrument rotates to automatically calibrate itself for level measurements.
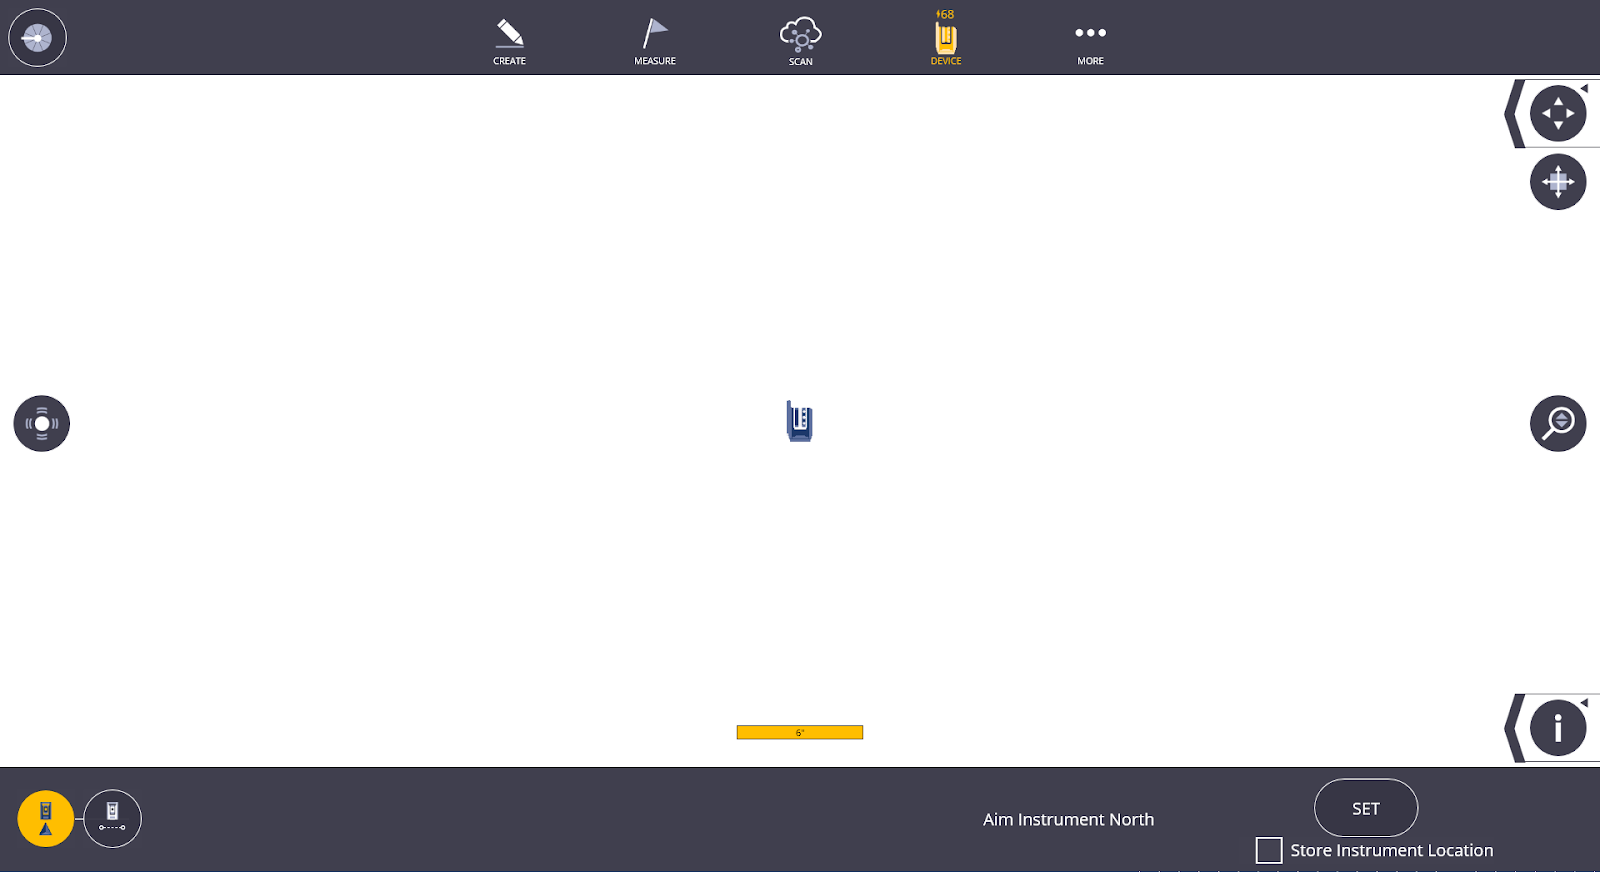
 - Select the Aim Instrument North
 icon on the bottom left hand side of the screen. The visible laser turns on and levels out at 90 degrees. Use the joysticks to aim the X7/X9 in the North direction (either plan north or the actual direction north).
 - Use the joysticks to aim the X7/X9 in the North direction (either Plan North or the actual direction North).
- Once the instrument is pointing in the right direction, tap Set. You will now be able to see which direction the laser is pointed and now when you collect scans, the instrument knows its location based on the direction it was facing during set up.
No Data Set Up
The second form of set-up without any data, uses a North and a base control point for set up. You may want to use this setup method to create control points on a new project that you can tie into later.
To complete the No Data Set Up:
- Tap the Device icon and then tap Set Up. If this is your first set up, the instrument rotates automatically to calibrate itself for level measurements.
- Tap the North and Base Coordinate set up icon
 .
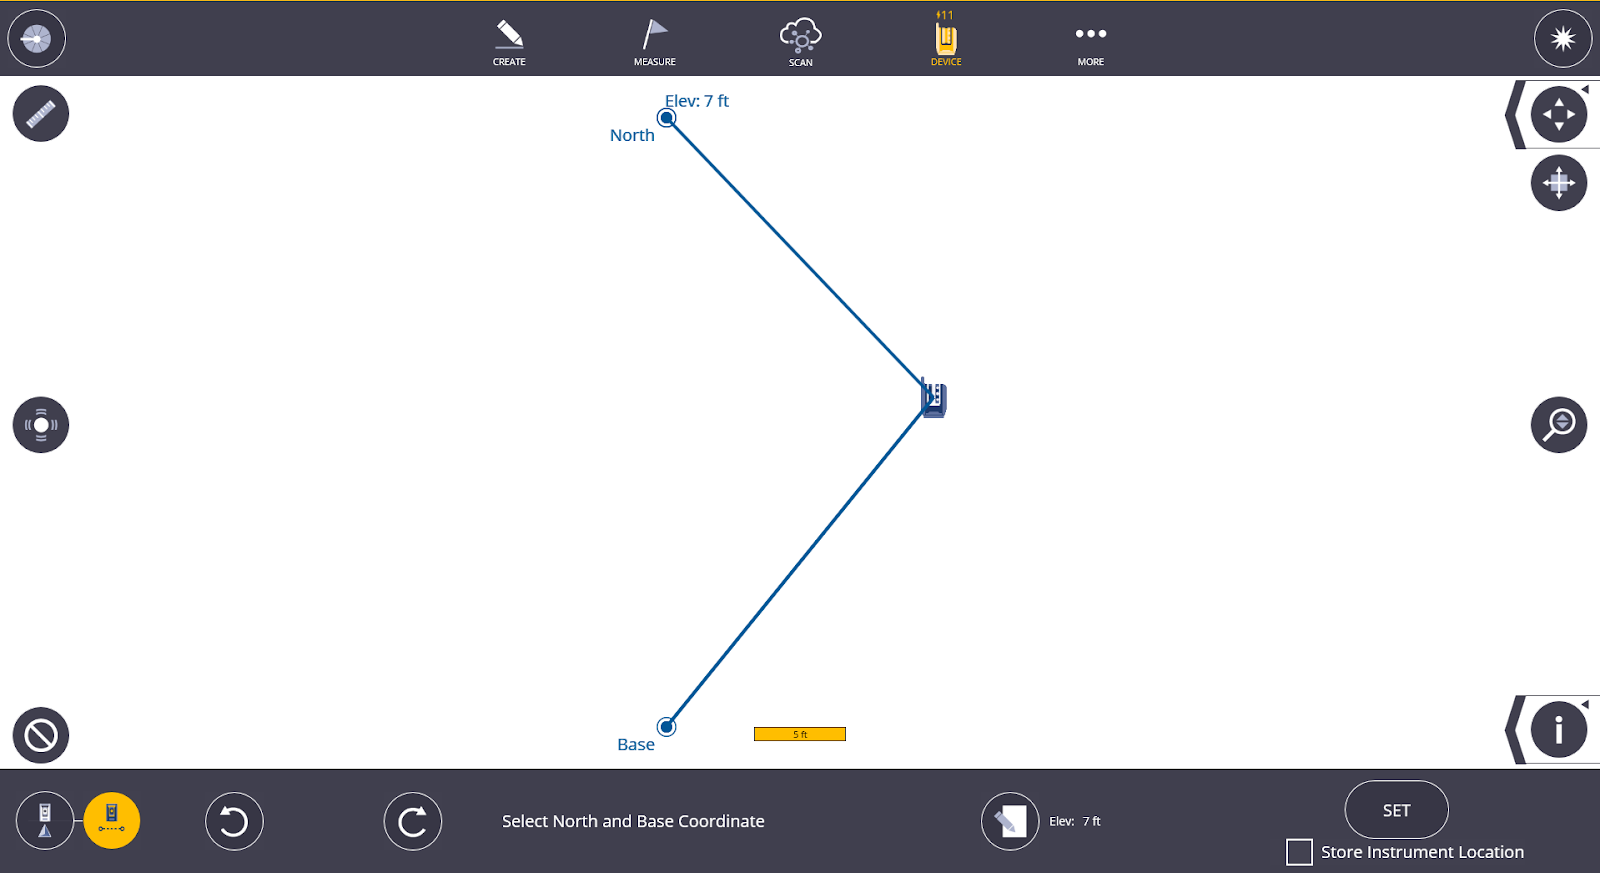
. - Ensure that the X7/X9’s laser pointer is on and use the joystick to point the laser to your desired North and base targets (be sure to use the 45 to 135-degree triangle rule for these targets). If the instrument laser pointer is not on, tap the Laser icon
 at the top of the left hand side of the screen.
 - Tap the Shoot icon in the upper right corner of the screen to capture each point.
- Tap on the points you have collected and choose which will be the North and which is the Base. A blue circle appears around the point when the point has been selected. You can rotate the screen to place the points orientated for plan North similar to Quick Vertical Alignment Check Tool.
- Tap the Set button. Both coordinates are shown in the Map view.

Background Plan or Model Set Up (Resection)
- Tap the Device icon and select Set Up. If this is your first set up, the instrument rotates to automatically calibrate itself for level measurements.
- If you have a PDF plan, model, or drawing, tap the first control point to be measured so it is highlighted with a blue circle on the screen.
- Rotate the laser pointer on the X7/X9 to point at the correct control point location using the joystick control screen.
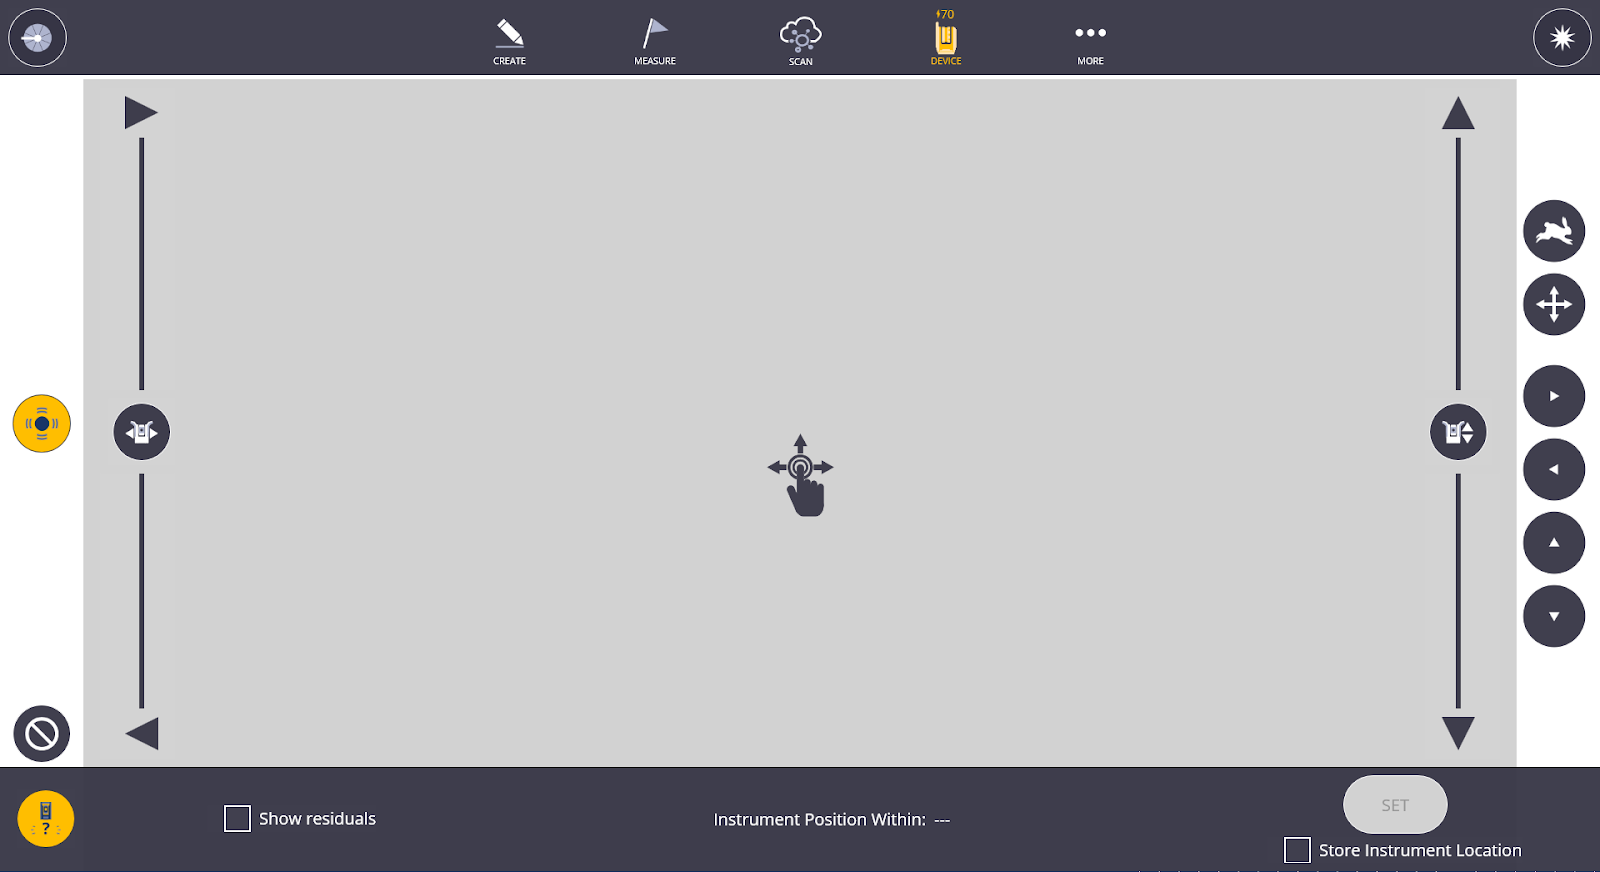
- Tap the Shoot icon in the upper right corner. Once the point has been measured, it appears as a solid blue circle on the screen.
- Tap the second control point to be measured so it is highlighted with a blue circle on the screen.
- Rotate the laser pointer on the X7/X9 to point at the correct second control point location using the joystick control screen.
-
Tap the Shoot icon in the upper right corner. If the two points are:
-
Within the 45 to 135-degree triangle, the Instrument Position Within calculation shows a measurement of accuracy for placement within your project.
-
Under 45 degrees or outside 135 degrees apart, the software labels the set up as “unreliable”. You can tap the Set icon to accept this setup or recheck and re-measure the control points.
You can reshoot each point at any time by tapping on the measured point and tapping the Shoot icon.
-
- Tap Set once you are satisfied with the location results. To clear all measurements and start over, tap the Clear icon in the lower left corner.
