Measuring & Calculations
When viewing the point cloud on the map and inside Station View, you can measure between points in the point cloud. You can also measure between the model and the point cloud using Create > From Model (see From Model) and creating points on the model that the measure tool can reference from the point cloud.
- Once in Station View, select the Measure/Calculation icon
 .
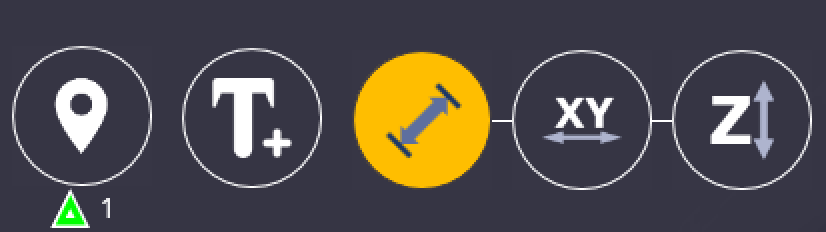
. - You can lock the measuring tool either to the XY-axis, Z-axis, or leave it unrestricted. The following bar appears:
- Once you select the type of measurement you want, click on two separate points on the screen.
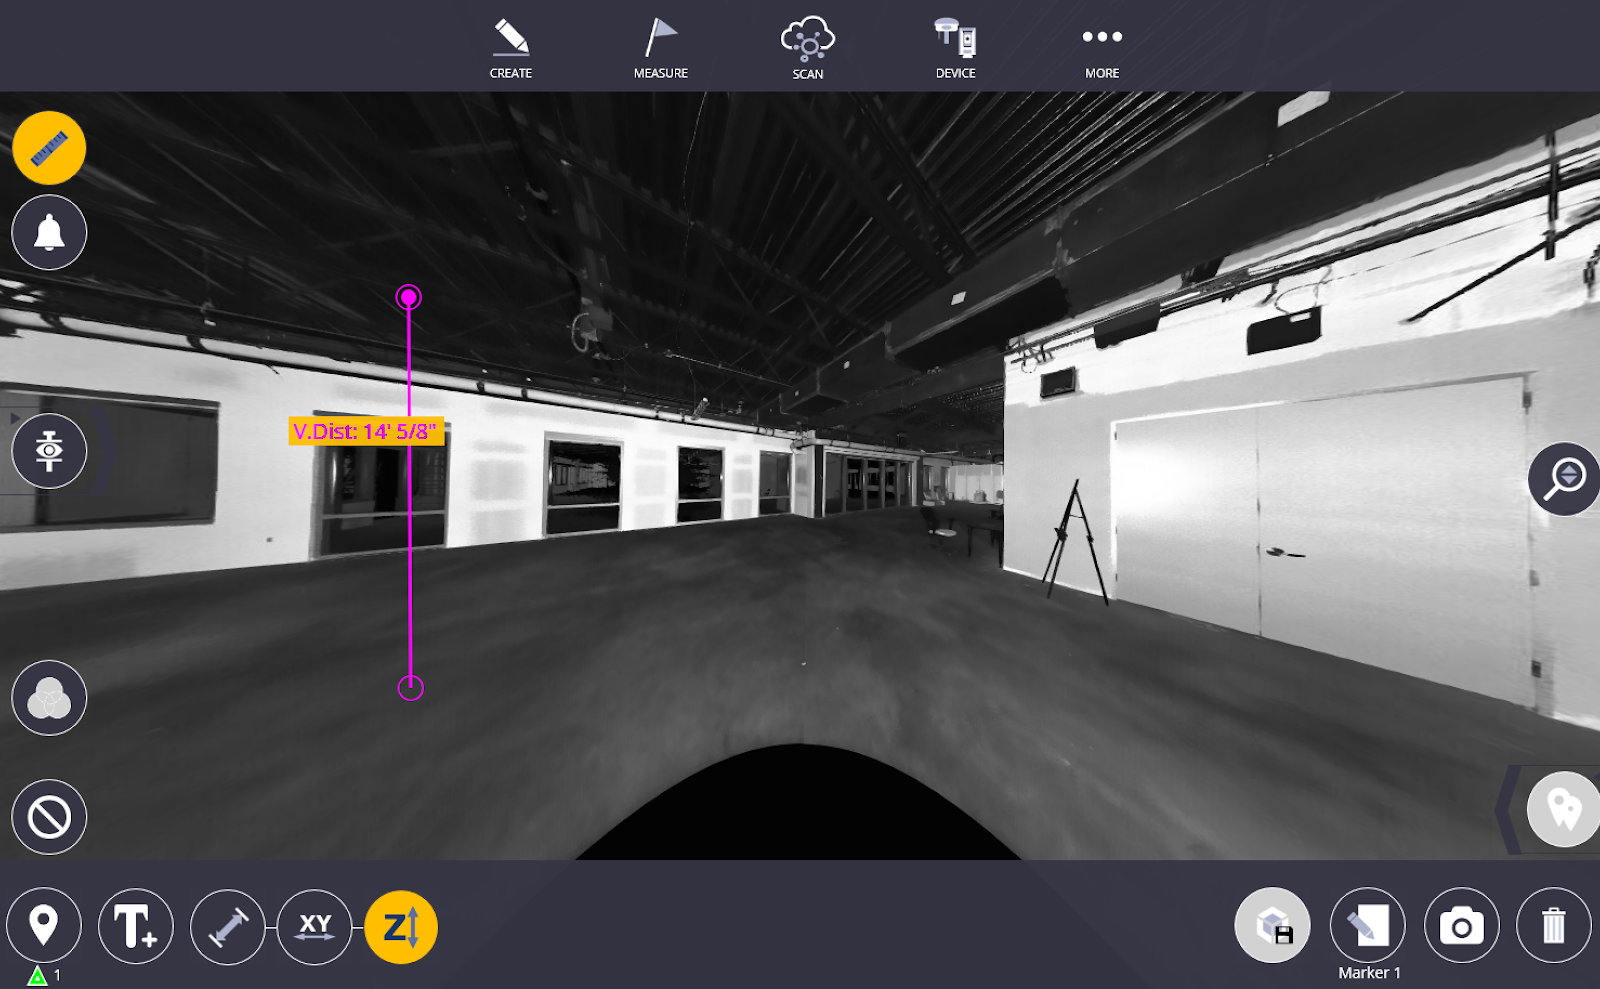
This is an example if you are using the Z-axis lock. Once you select a point on the ground or ceiling, the software automatically follows the z-axis on your next click. The measuring tool measures parallel distances between walls on an XY-axis lock.
Screen Capture/Screenshot
To save the calculations you have made on the screen, use the Screen Capture feature to save a screenshot of the current view in the station view directly on your device.
To take a screenshot:
- Go to station view by selecting More > Map and tapping the bottom left-hand corner. This also works in plan view after selecting More > Map.
- Select the Calculation tool in the upper left corner.
- Once you have completed your measurements, a camera icon appears in the bottom right corner of the screen. Make sure you have everything you want to capture is in your current viewing window because that is what will be saved once you tap on this icon.
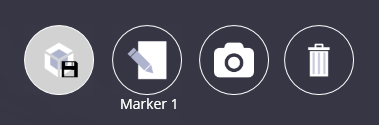
- Tap the Camera icon. The confirmation message appears:

- By default images are saved to This PC > Documents > Trimble FieldLink > Images in a folder with the current project name. To change this file location, tap the Edit icon
 next to the Camera icon
  and then tap the Folder icon and use the File Explorer to select the folder to save screenshots to.
