Prism Settings
To take correct measurements, you must first select the correct prism type, prism height, and rotate the RTS to the correct measurement point. To do this you must be connected to an instrument.
Prism Quick Access
The Prism Quick Access button ![]() allows you to access the prism quickly from the main map screen.
allows you to access the prism quickly from the main map screen.
- Tap the Prism Quick Access button.
- Select the desired target type from the Target Type selection list. Options include the 360 Prism, MT1000, AT360, Reflective Foil (with the Ri instrument, autolock can be disabled if desired) or Custom Prism.
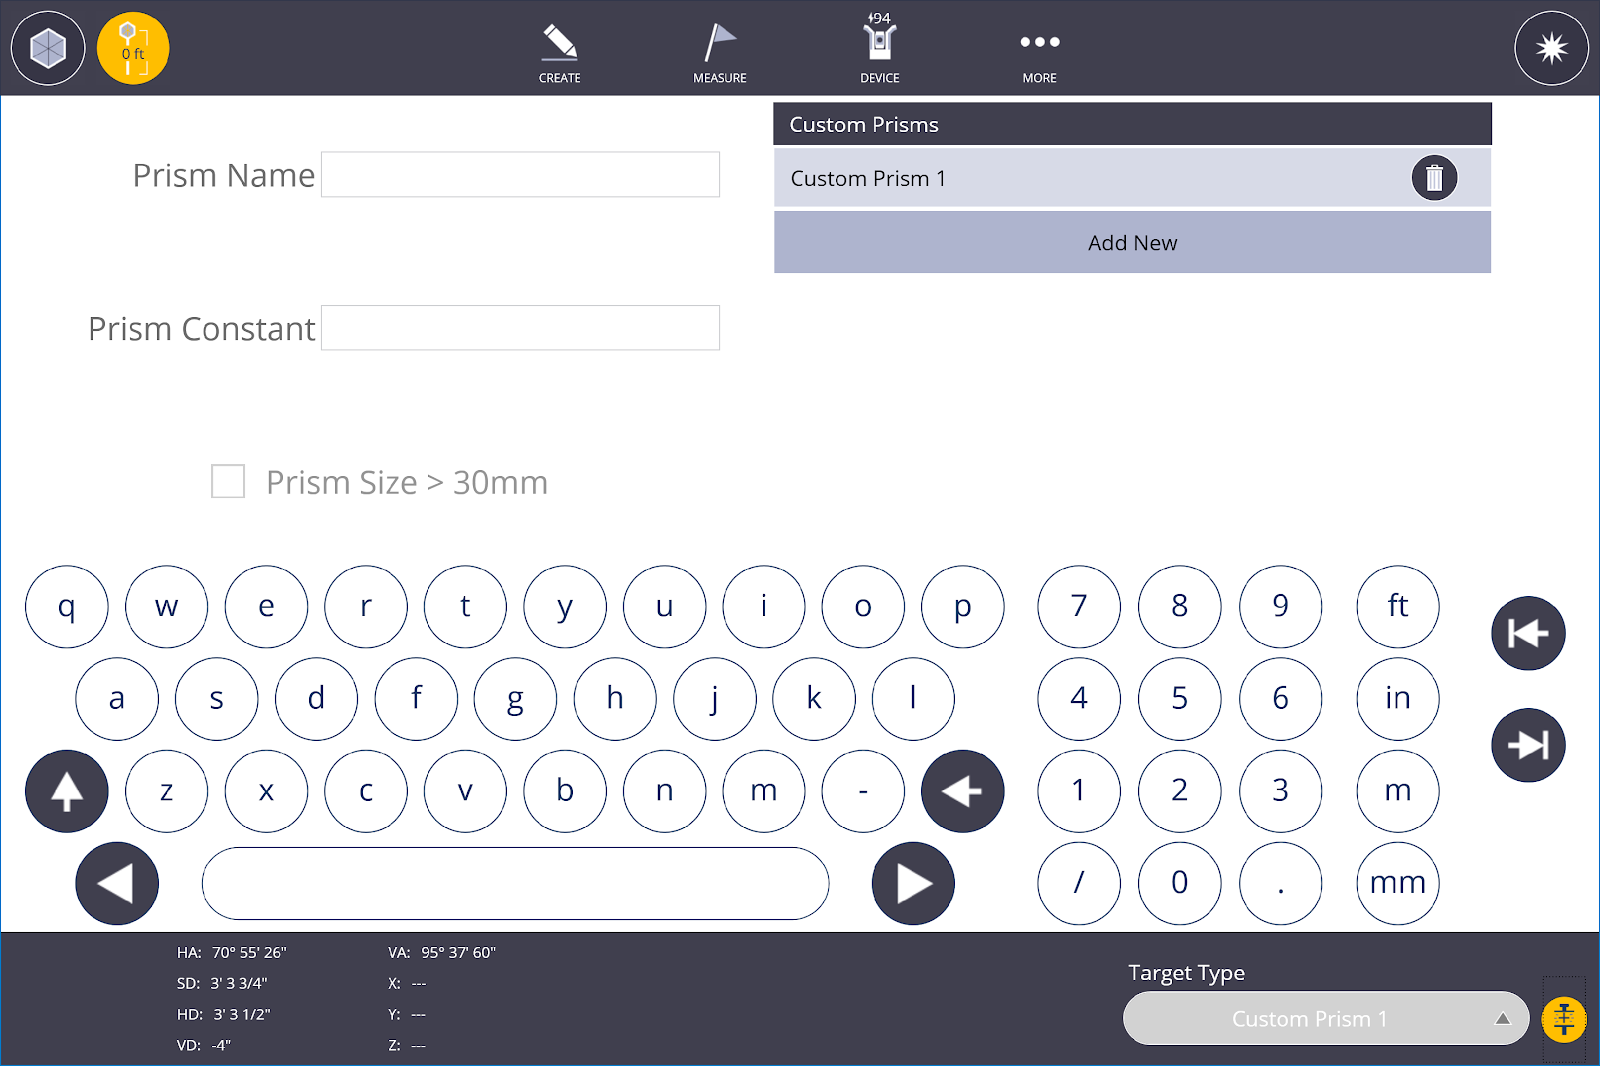
The Custom Prism
 icon allows you to add, name, configure and save commonly used prisms on your job site.
- Tap the Custom Prism icon and populate the fields including prism name, prism constant, and check the box if the prism is wider than 30 mm (1-3/16”).
- Tap the Custom Prism
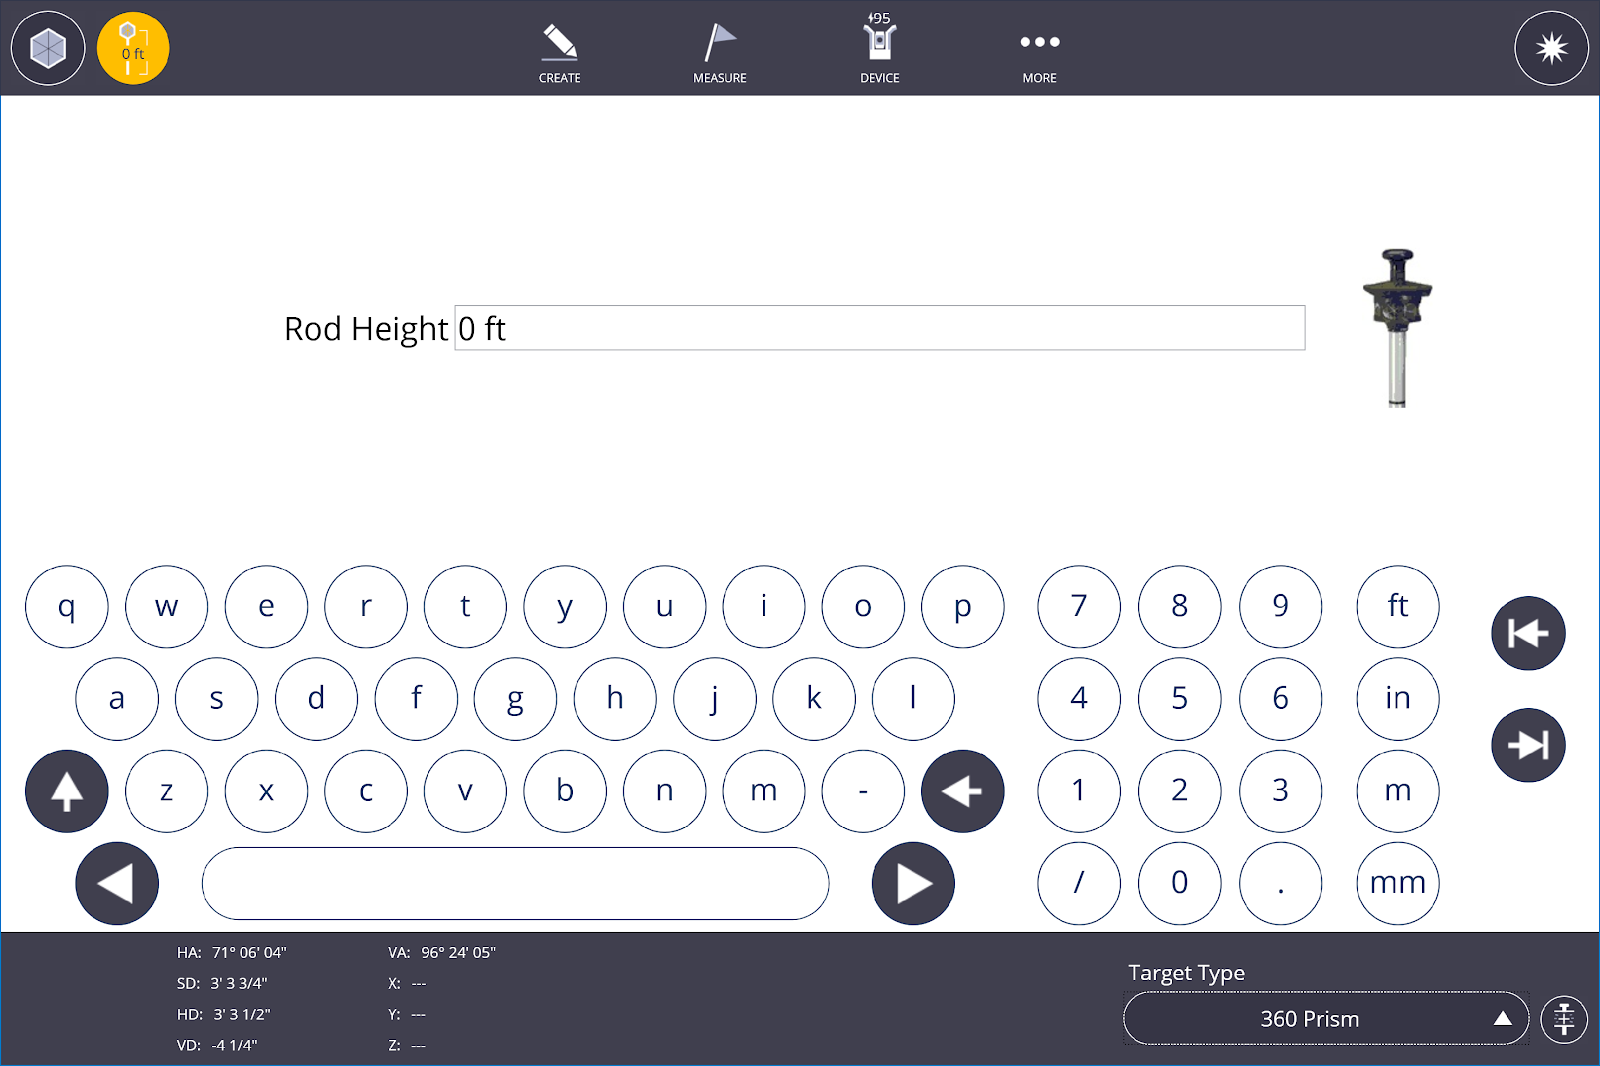
- Type in the correct height of rod (HR). Measure to the center of the prism to the tip of the rod for the 360, MT1000 and AT360 prisms. If you have an Inverted Layout Rod you can use the value displayed on preset positions.
-
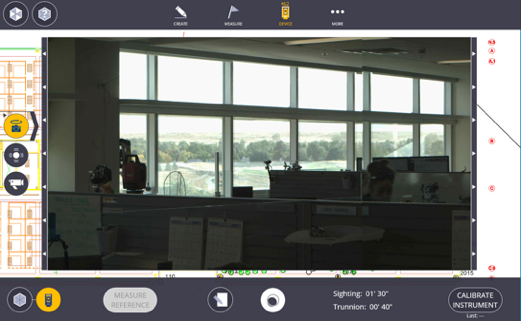
If you want to shoot the control points utilizing the EDM laser beam (also known as laser mode), tap the Prism icon in the upper left to toggle between prism and laser mode.
-
Tap the Vision icon to turn on the live video camera within the RTS. In Trimble Vision mode, you can tap on the video image to rotate the RTS to a specific point or use the Joystick icons as well. There are zoom controls on the right side of the screen to zoom the video feed in or out.
-
Slide out the () and tap the Joystick icon to activate the horizontal (left hand side) and vertical (right hand side) movement bars. Tap the Joystick icon again to close the tool.
-
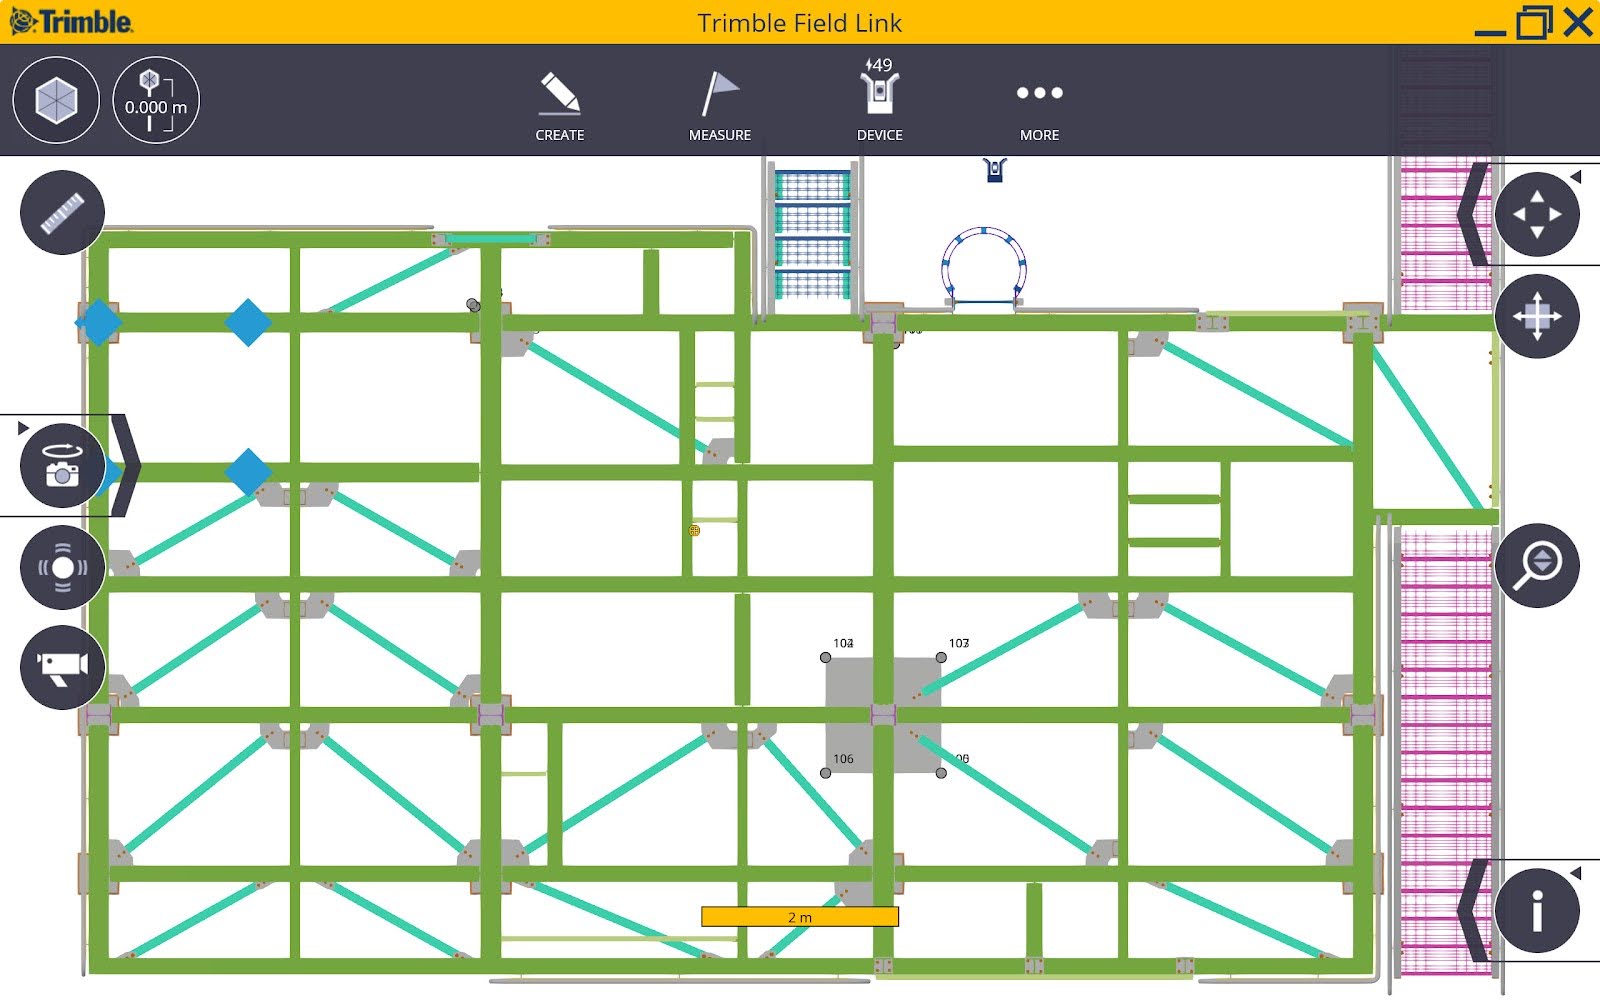
Tap on the Search icon to lock onto a prism. The search mode closes Vision mode and opens the plan view in order to lock onto the prism. The prism icon appears to be rotating if the RTS is not locked onto a prism, and is solid once locked onto the prism.
-
While locked onto a prism or aiming in laser mode, this screen provides the HA (Horizontal Angle), VA (Vertical Angle), SD (Slope Distance), HD (Horizontal Distance), VD (Vertical Distance), X, Y and Z coordinates.
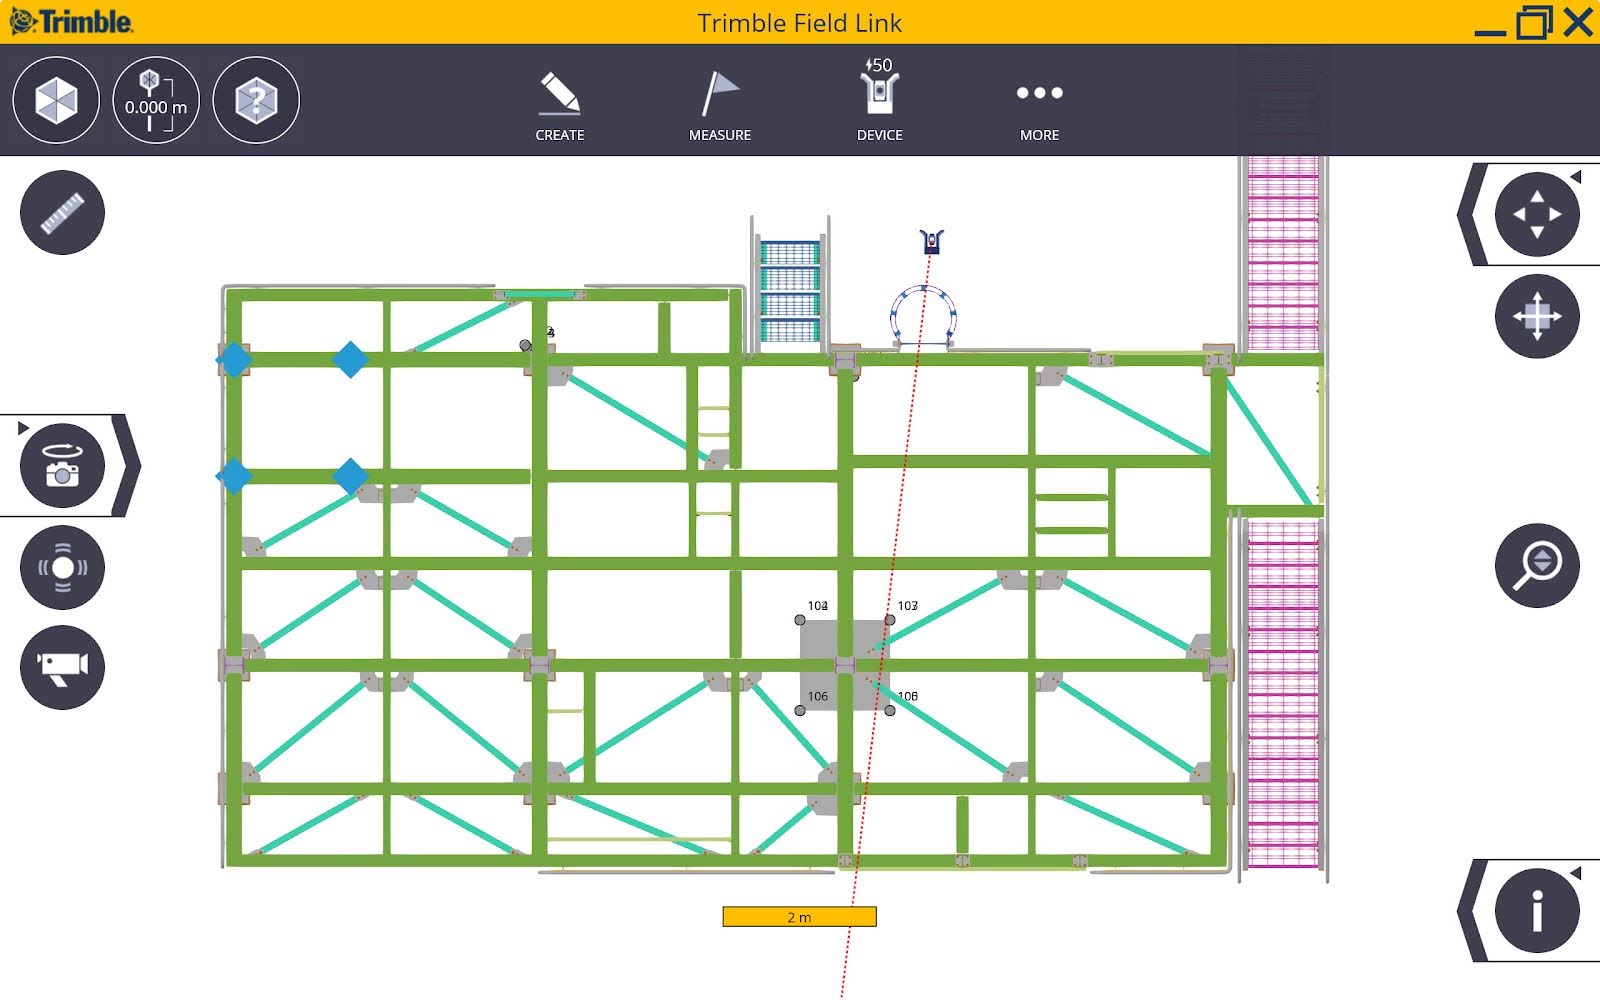
Tap to Search
If you are not locked onto the prism, the prism icon in the upper left corner appears to be rotating and not a solid icon. A question mark icon appears in the upper left corner next to the prism icon which you can tap to start a localized search in an 11 degree tall by 15 degrees wide window for RTS series.
- If the prism is not locked, a line will appear where the instrument is pointed.
- Tap on the screen roughly on the location of the prism. The instrument should automatically point to the tapped location and start the search process for the selected prism.
- If the prism is not found automatically, tap in another location on the plan view or use Trimble Vision to isolate the search area.

Pano-Search
By clicking on a panoramic Image generated by the field instrument, you can quickly lock onto the prism at your location thus eliminating lengthy aiming of the instrument. The pano-image can also be used for quick aiming in laser measurement mode.
- Tap Pano icon to collect panorama image (2-10 minutes).
- If a panorama already exists on the tablet, you can use the stored one or take a new one. Only use the stored one if the instrument has not been moved.
- Pan image, then tap/double tap on image that you see behind RTS to initiate the search for a prism. (Single tap for Windows 10 tablet or double tap for Windows 7 tablet).
- In laser mode, tap on the image to aim to location.
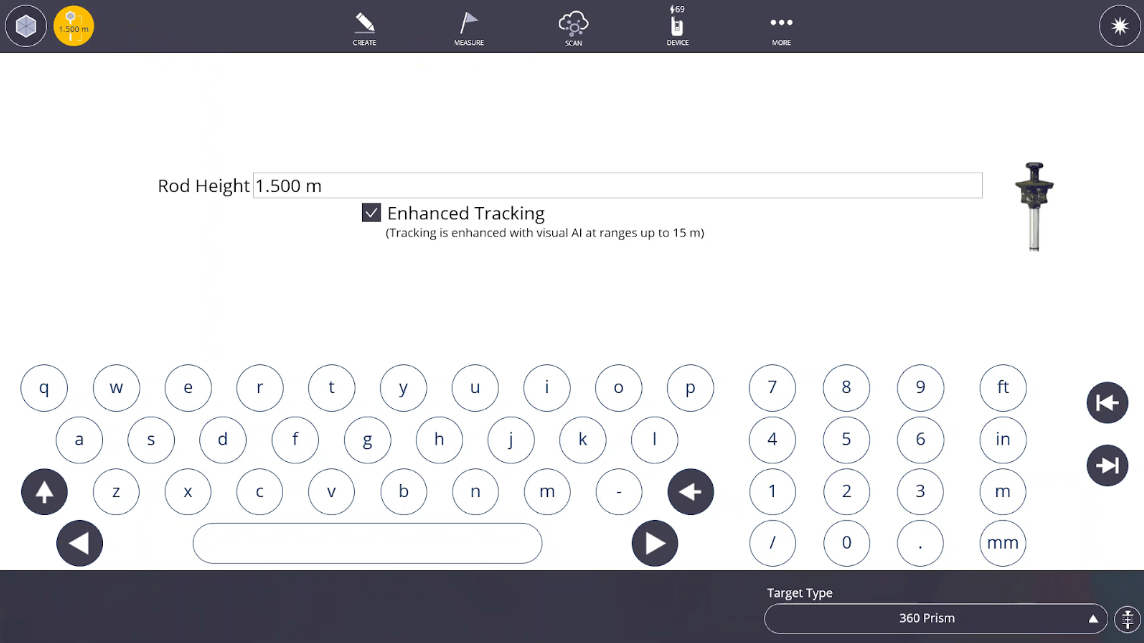
Enhanced Tracking for Ri
Enhanced Tracking enables you to more effectively track a 360° Cat-Eye or standard 360° prism with a Trimble Ri by reducing the number of false locks onto confounding reflections such as reflective vests or windows, especially at short ranges less than 15 m (50 ft).
NOTE – Enhanced Tracking is supported only on Trimble T10X, T10X (2024), T110 and DTR301Y 10.1” tablets. This feature is available in Trimble Ri firmware version 3.2.450 and later.
To use the Enhanced Tracking feature with the Ri:
-
Tap the Prism Quick Access button.
-
Select 360 Cateye or 360 Prism from the Target Type list at the bottom of the screen.
-
Select the Enhanced Tracking check box under the Rod Height field.
-
Once locked onto the prism, the Ri will reacquire the prism more effectively when diverted from confounding reflections.
TIP – Trimble recommends that you enable Enhanced Tracking only when necessary as it significantly increases tablet battery usage. Charge your devices between use when Enhanced Tracking is enabled.
