Import Block Definitions
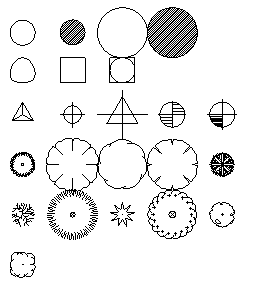
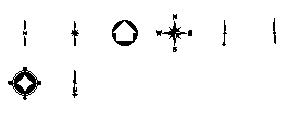
Use the Import Blocks command to bring one or more block definitions, such as for various north arrows, from CAD files into your project. You can then insert instances of the blocks into your model. Default Trimble blocks that are installed include:
|
Symbol
|
North arrows
|
|
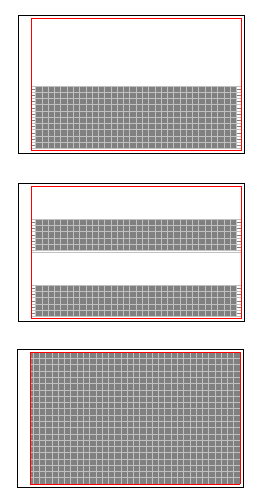
Grid sheets
|
|
|
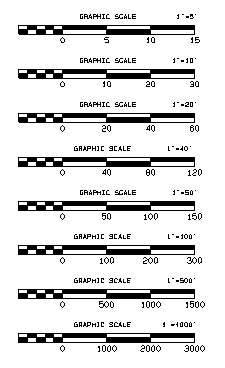
Scale bars (Feet and meters)
|
Note: When you import a file that contains blocks, you get one file-level block (with all the blocks that the file contained) and then each individual block within the file. This enables you to just export objects to a CAD file and then import them all as as a block. The insertion point of this file-level block is 0,0,0.
Prerequisites:
- License; See the Subscription Plans page. For a license matrix by command, see the License page in the TBC Community. Also see View and manage licensed features.
- CAD file (.dxf or .dwg) that includes blocks
To access the command:
- Select Import Blocks in Drafting > Blocks.
To import block definitions:
- In the My block folder path box, type the path of the folder that contains CAD files from which you want to import block definitions, or click the
 icon to browse for a folder. Once you select a folder, all the CAD files in that folder are listed, regardless of whether they contain blocks or not.
Note: You cannot navigate to files in hidden folders.
Alternately, you can avoid specifying a folder location and simply import blocks from installed CAD files listed in the Trimble group mentioned below.
- In the Files list, check the boxes for the files you want to import blocks from:
- My Block Files - This group lists all of the CAD files in the folder you specified (which may or may not contain block definitions).
Note: Names in bold are subfolders, not files. You can double-click one of these subfolder names to expand/collapse it. You can select and click any file name to rename the block that is imported.
- Trimble Block Files - This group lists default block files that are installed with Trimble Business Center. To make you own block files available in this default location, select Options in the Quick Access Toolbar. Then select General > Project Management > Block definition file folder to check the folder path that will populate the Trimble group of blocks. Change the location if needed. Click OK when you are done.
- My Block Files - This group lists all of the CAD files in the folder you specified (which may or may not contain block definitions).
- To overwrite any block definitions of the same name that already exist in your project, check the Replace existing blocks box. If you leave this box unchecked, any block with a duplicate name is not imported.
Note: When you overwrite an existing block definition, any instances of the block that have been inserted into your project will be updated to use the new definition.
- Click Import. Any block definitions in the files you selected are imported, and the Insert Block command appears.
If one of the files you have selected does not contain blocks, only the files up to that point in the list are imported, and the Import Blocks pane stays open.
Scenarios:
- If a file's block definitions have already been imported, the file name is struck through in the Files list when you reopen the command.
Dependencies:
- none
