Create a Quick Surface Contour at an Elevation
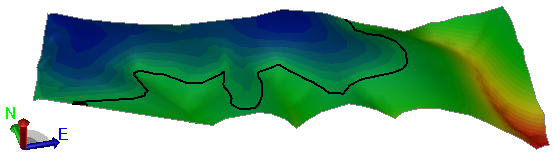
Use the Create Quick Contour at Elevation command to add a single contour to a surface to mark a specific elevation and help visualize its topography. For example, you might want to create a contour line to indicate a flood plain or a cut/fill line.
Tip: To smooth a contour, first explode it using the Explode command. Then and use the Toggle Curved option in the Edit Linestring command.
Prerequisites:
- Surface
To access the command:
Do one of the following:
- Select Create Contour at Elevation in Surfaces > Contours.
- Pick a surface, corridor, or cut/fill map in a graphic view, or select it in the Project Explorer, right-click and select Create Contour at Elevation from the context menu.
To create a quick contour at an elevation:
- If necessary, select the surface to which you want to add a contour in the Surface box.
- Type a name for the contour in the Name box.
- In the view, pick a point, or right-click for options, or type an elevation in the Elevation box. The elevation should be between the Minimum elevation and Maximum elevation displayed in the Surface Information group.
- Select a layer in the drop-down Layer list. Optionally, type any part of the layer name in the field. The function is case insensitive.
- Select a display color for the contour in the Color list.
- Click . The contour appears on the surface in the graphics view, and under the surface in the Project Explorer.
To edit a quick contour at an elevation.
- Pick a contour line in a graphic view, right-click, and select one of the following from the context menu:
- Properties - In the Properties pane, edit any available properties as needed.
- Edit - Make changes in the linestring editor.
Dependencies:
- None
