Insert an Image
Use the Insert Image command to place an image in a Plan View, Sheet View and Profile View. For example, you can insert your company logo on a set of sheets that you want to plot.
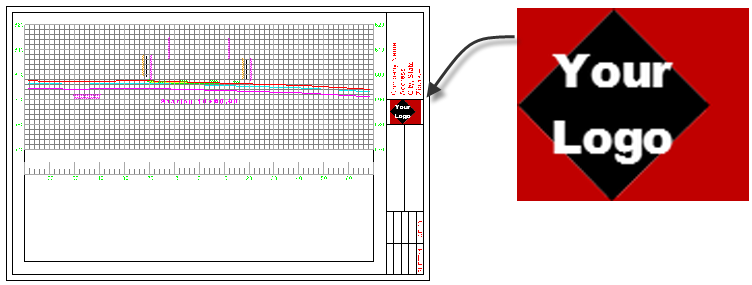
Image Grips
The best way to place and size an inserted image is to use the grips. For any image inserted, there are 4 image grips available:
- Transparency grip – Place the cursor on the upper left corner of the created image, hold on to the grip, and move the cursor downwards holding the mouse. The image becomes transparent.
- Moving image grip – Place the cursor on the lower left corner of the created image, hold on to the grip, and move the cursor in the desired direction holding the mouse. The image moves in the direction of the cursor.
- Resizing - Place the cursor on the upper right corner of the created image, hold on to the grip, and zoom in/zoom out as desired. The image is resized.
- Rotating - Place the cursor on the lower right corner of the created image, hold on to the grip, and rotate clockwise/anti-clockwise as desired. The image is rotated accordingly.
Prerequisites:
- Licensed module; See the Subscription Plans page. For a license matrix by command, see the License page in the TBC Community. Also see View and manage licensed features.
- Image file (.bmp, .gif, .jpg, .png, .tif)
- Enabled grips
To access the command:
- Select Insert Image in Drafting > Drafting Elements.
To insert an image:
- Click the Browse button and navigate to an image file (.jpg, .bmp, .gif, .tif, or .png) that you want to import.
- Select the layer on which you want the image to reside in the Layer list, or select <<New Layer>> to create a new layer.
- In the Scale box, specify the pixel size at which you want the image to appear. Typically you can just take the default size and use the grips to size and position the image once you can see it.
- Specify a location for the lower left corner of the image in the Lower corner box.
Dependencies:
- None.
