Manage user account settings
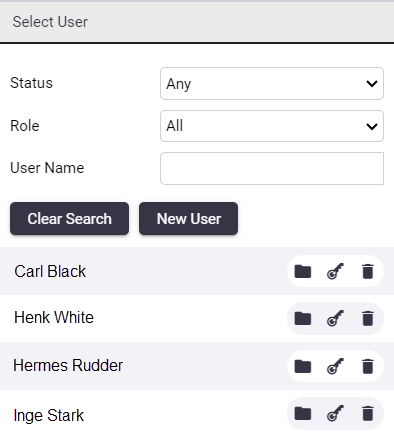
If you have the necessary system privileges you can access the Select User tab where you can manage the account settings of other users.
You can filter the user accounts shown in the list of users by using the filter controls.
The user list automatically updates as you populate the filter fields.
Click the New User button to create a new user.
Before creating a user you need to ensure that the system emails are working. See Email Server Configuration.
Next to each user account are icons to manage the user account:
-
Folder icon: Change the user roles assigned to the user.
-
Key icon: Reset the user’s password. An email will be sent to the user containing a new temporary password.
-
Delete icon: Delete the user account.
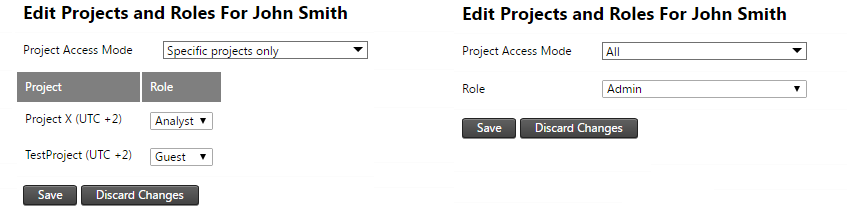
Click the Briefcase icon next to a listed user account to view the user roles assigned to that user. User roles can be assigned to a user according to the Project Access Mode setting, which can be set to one of the following:
-
Specific projects: A user role is specified for the user for each project in the system. The user will not have access to any new projects added to the system.
-
All: A single user role is assigned to all projects. The user will automatically have the same user role configuration on any new projects added to the system.
Click Save to save the user roles assigned to the user account.
