Add and remove custom view sensors
To add a sensor, the sensor must already be listed in the Sensors page in Trimble 4D Control Web. See Adding sensors.
To add sensors to the custom view
-
Select the custom view you want to add the sensor to.
-
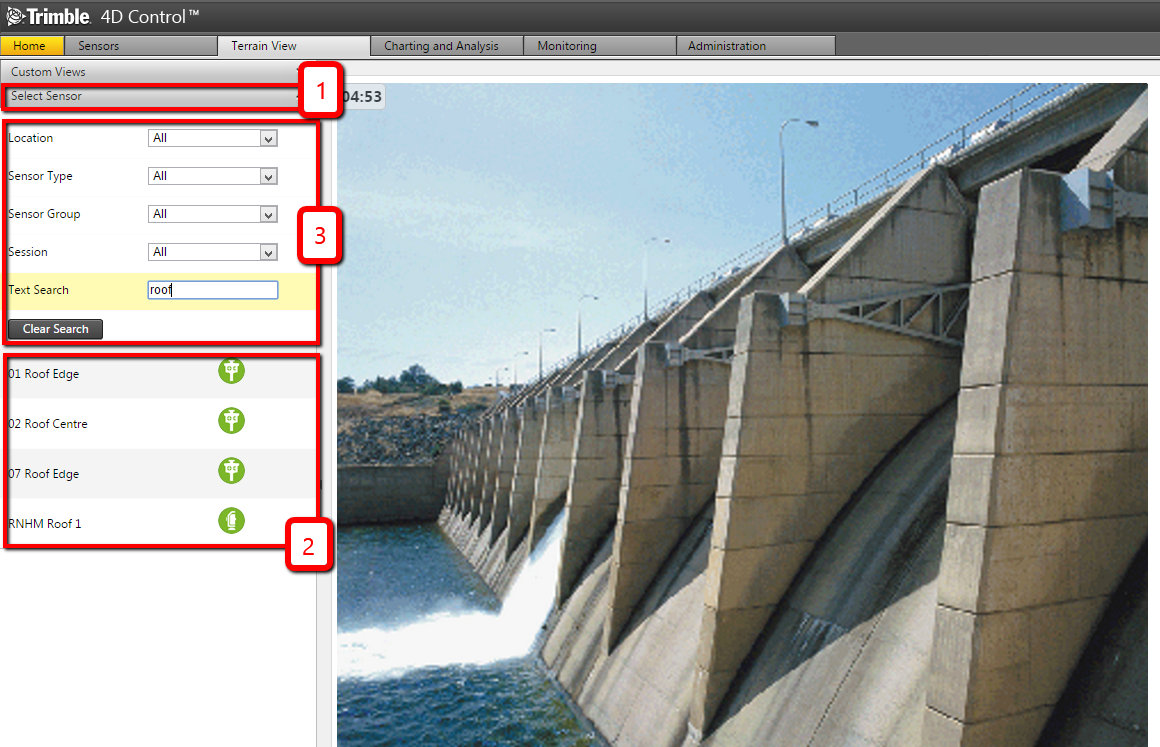
Click the Select Sensor sub-section (1). Here (2) you can add any of the available sensors to the custom view.
-
If there are many sensors, you can use the filter fields (3) to show only some sensors.
-
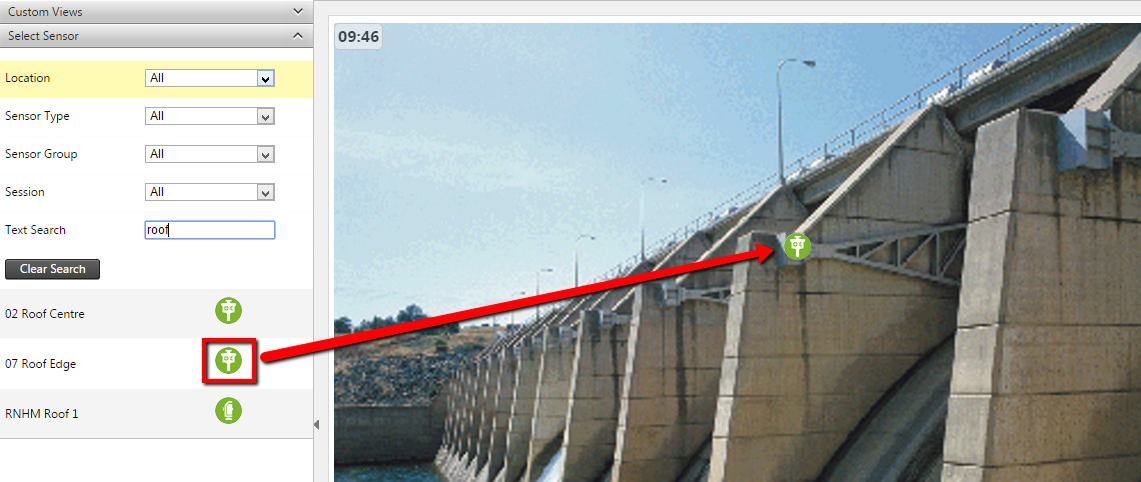
To add a sensor, click the sensor icon and without letting go of the mouse button, drag it onto the image.
-
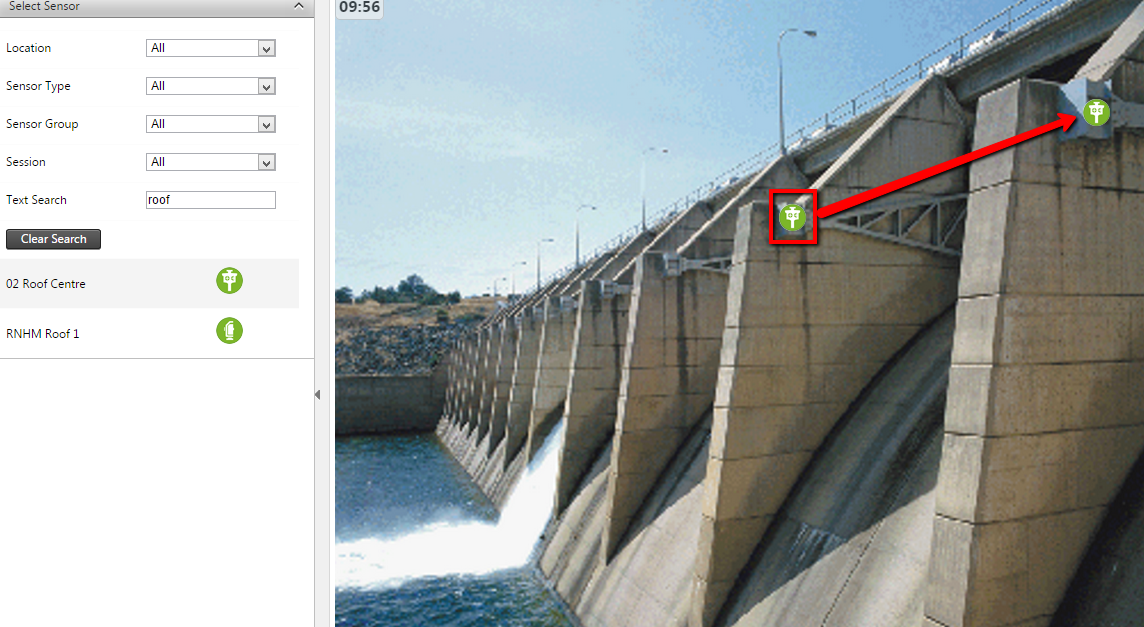
If you are not happy with the placement of the icon, click the sensor icon on the image and then drag it to a new location on the image.
To remove a sensor from the custom view
-
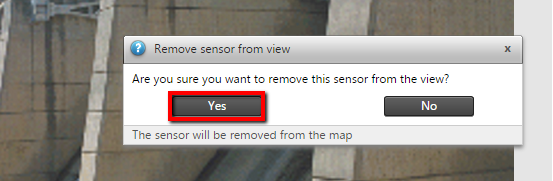
To remove a sensor from the view, click the sensor on the image and without letting go of the mouse button, drag the sensor to the trash can icon that appears in the upper left-hand corner of the custom view background.

-
When prompted to confirm you want to remove the sensor from the view, click Yes.
Removing a sensor from the custom view does not delete the sensor from Trimble 4D Control Web. To add the sensor to the custom view again, drag the sensor onto the image again.
