Installing T4D
-
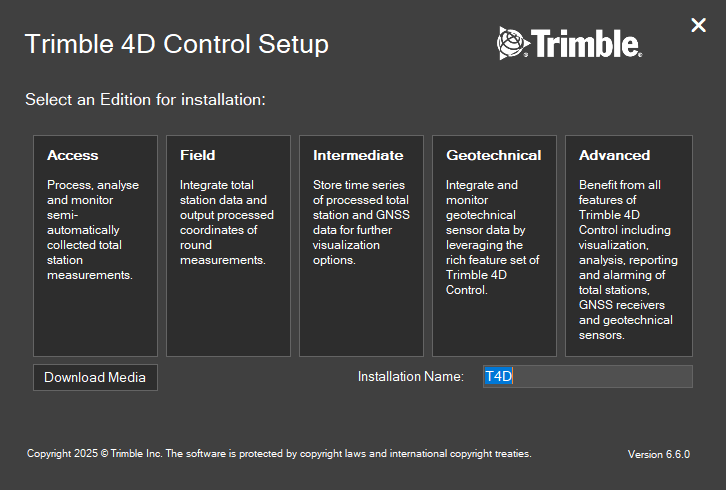
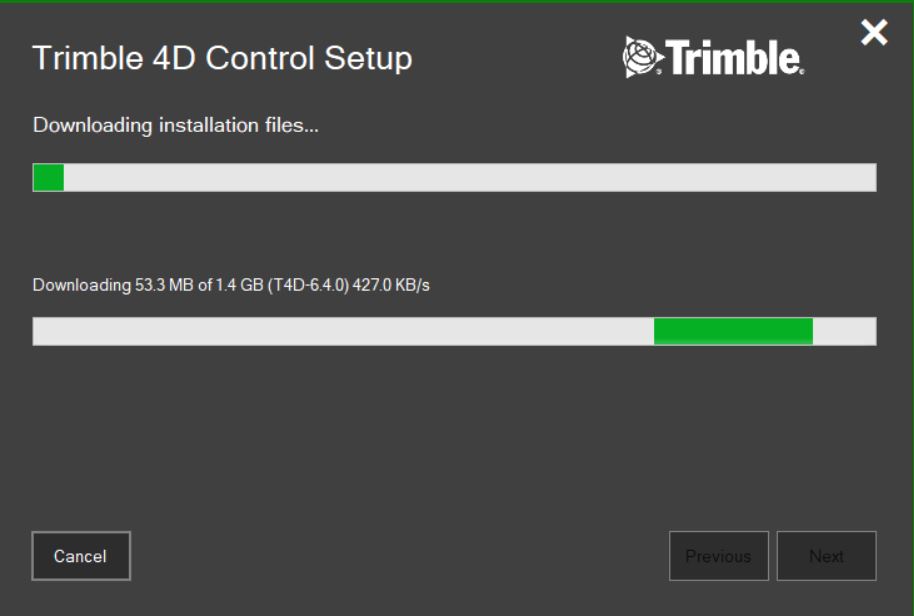
After restarting the server, open and run the T4Dsetup.exe file that was downloaded to the server before the installation (see Preparation: Before T4D Installation).
Please ensure that there is a reliable internet connection. -
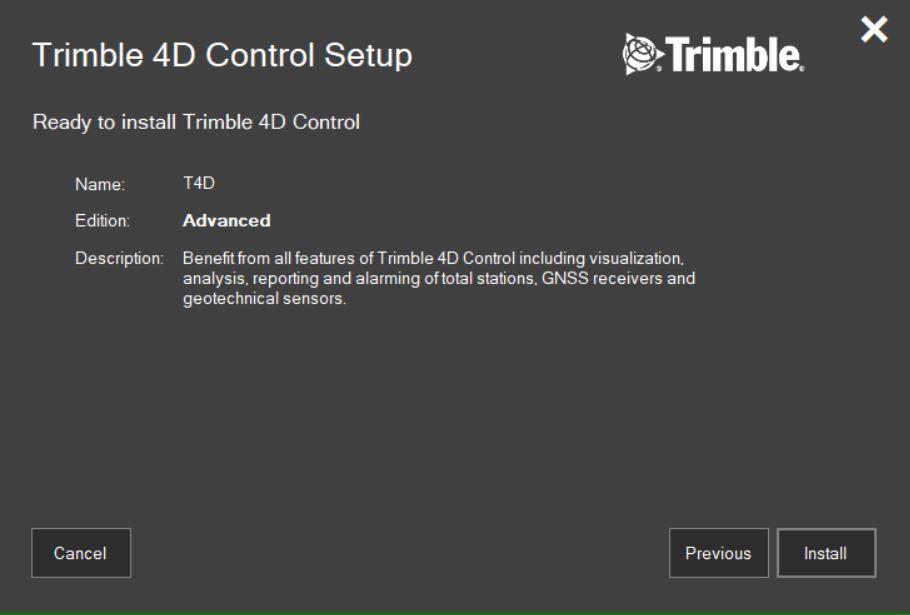
Select the correct Edition based on the license.
-
Review and accept the Trimble 4D Control terms and conditions.

-
SQL Server Configuration
This step establishes the connection between the T4D Control Application and the SQL database. Ensure that the correct server location is assigned or adjust this setting according to your server configuration. For example, the default location ‘.\SQLEXPRESS’ is the local host location for SQL Server Express.
The Username and Password (assigned in Enter a new password into the Password and Confirm password spaces in Configuring the SQL databases) should auto-populate in this window. Test the connection to ensure there is access between T4D and SQL.
Two new databases will be created in this step: the Monitoring Database (T4DDBMonitoring) and the Technical Database (T4DDB).
If you are unable to establish a connection during this step, please contact your IT department to ensure the SQL 'sa' username and password are correct.

-
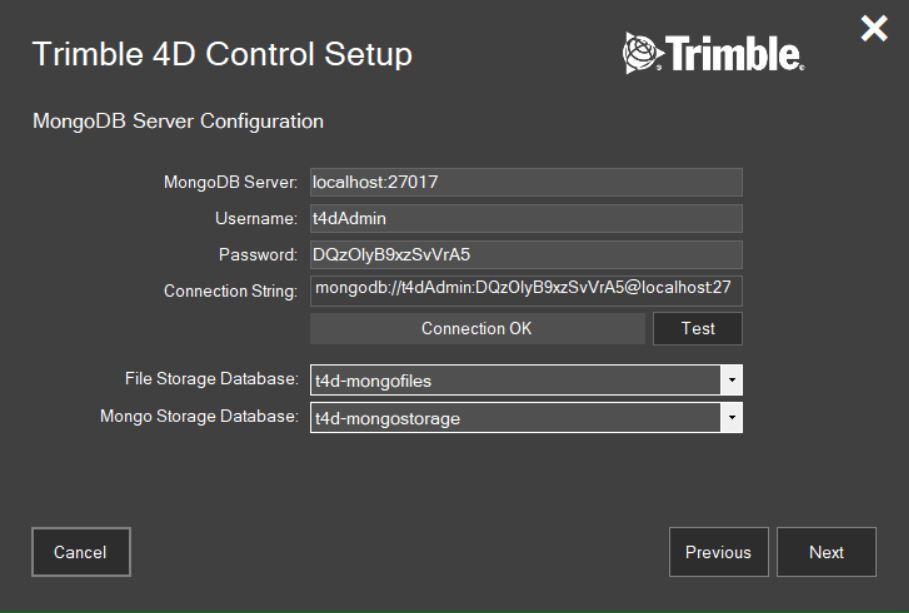
MongoDB Configuration
Click Test to test the connection and click Next to continue.
-
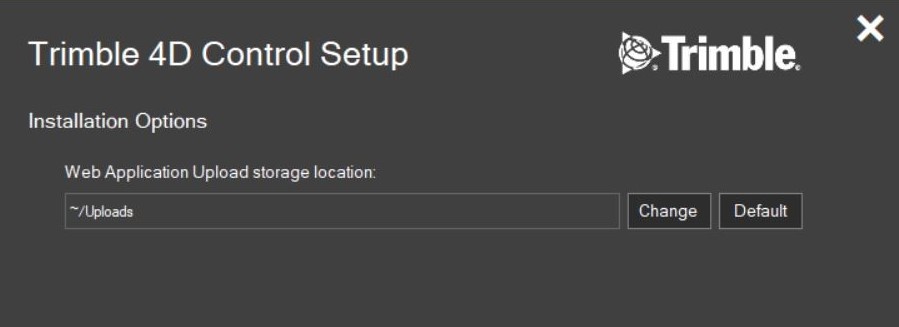
Installation Options
Select the Web Application Upload Storage location. For new installations, select Next.
-
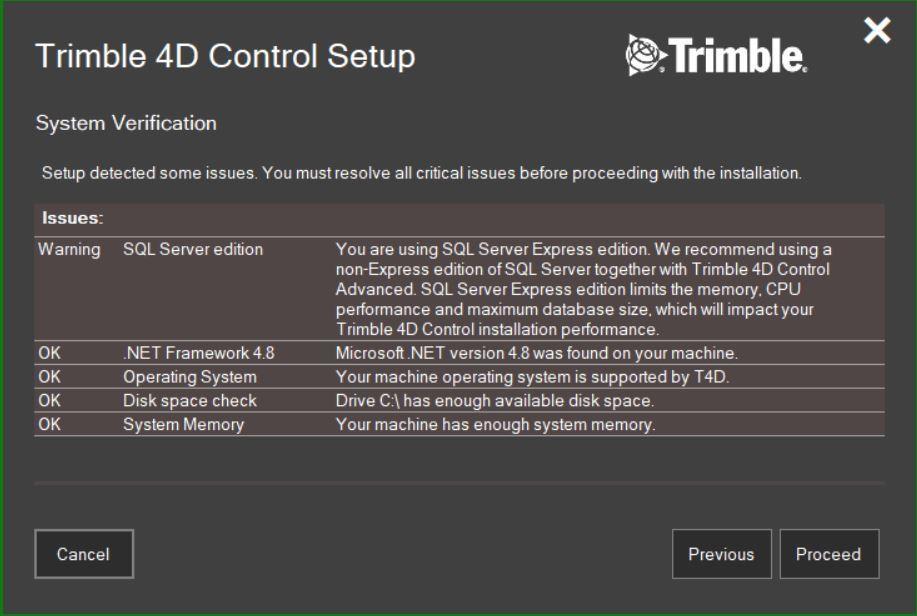
System Verification
Here is a checklist of issues relating to the setup of the T4D installation. Failure to meet these requirements may inhibit the ability to proceed and complete the download (see Preparation: Before T4D Installation).
-
Select Install to proceed.
-
Installation in progress.

-
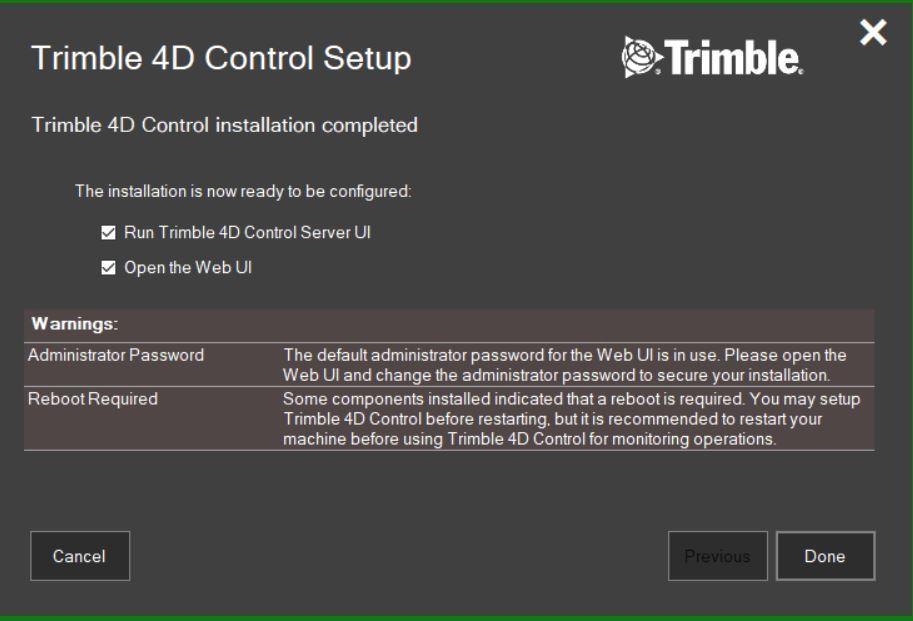
The T4D installation is complete - Nice Job!
-
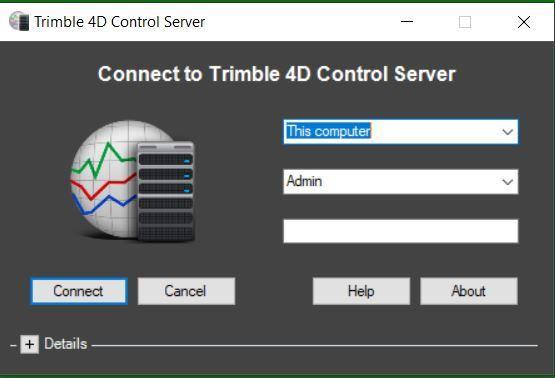
Open T4D Control and click Connect as Admin without a password. There are options to set a password inside T4D Control Server.