Target displacements
The Target (Displacement) sensor type represents the change in coordinates of a specific prism over time.
The raw measurements made from a total station onto the prism are recorded against the Target (Raw Readings) sensor type.
This section covers the process for adding Target (Displacement) sensors to a project. This can be done one by one, but the preferred approach with prism data is to add sensors in bulk.
To add multiple sensors at a time:
-
Click the Add Multiple Sensors menu item or click the Bulk Addbutton
 on the Sensor Listing page. The Add Multiple Sensors page appears:
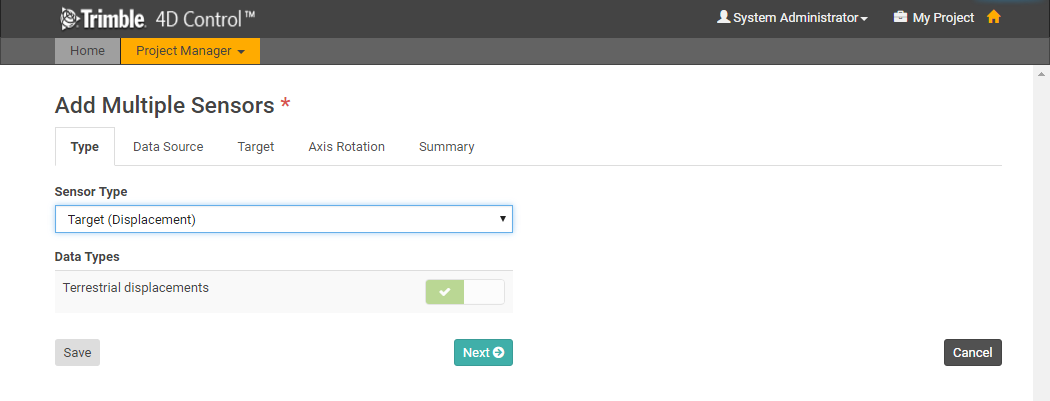
When the page first loads only the Type tab is visible. The other tabs will appear as soon as a Data Type is linked to the sensor.
-
In the Sensor Type field, select Target (Displacement).
-
In the Data Types group, the Terrestrial displacements data type is selected automatically.
If you need to link the Integrated Survey data type with a prism, then you cannot use the Add Multiple Sensors workflow. Return to the Sensor Listing page and click Add Sensor instead.
-
-
Click Next to move to the next tab or click the next tab to select it.
-
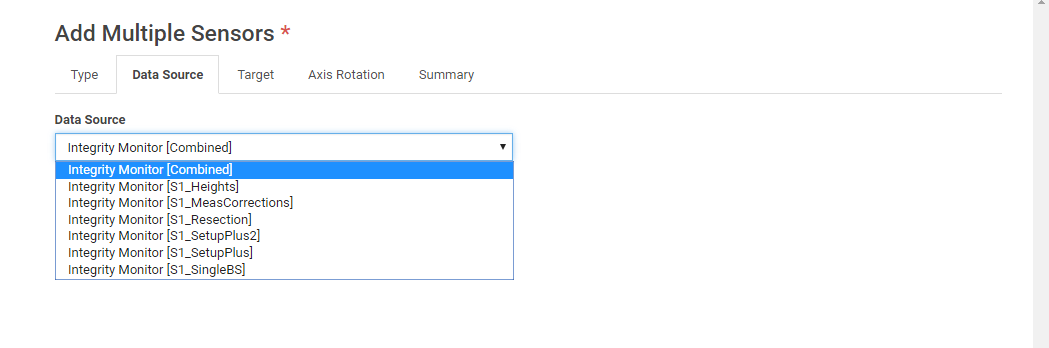
The Data Source drop-down list in the Data Source tab lists all the position modules in Trimble 4D Control Server. Select the appropriate options and then click Next.
-
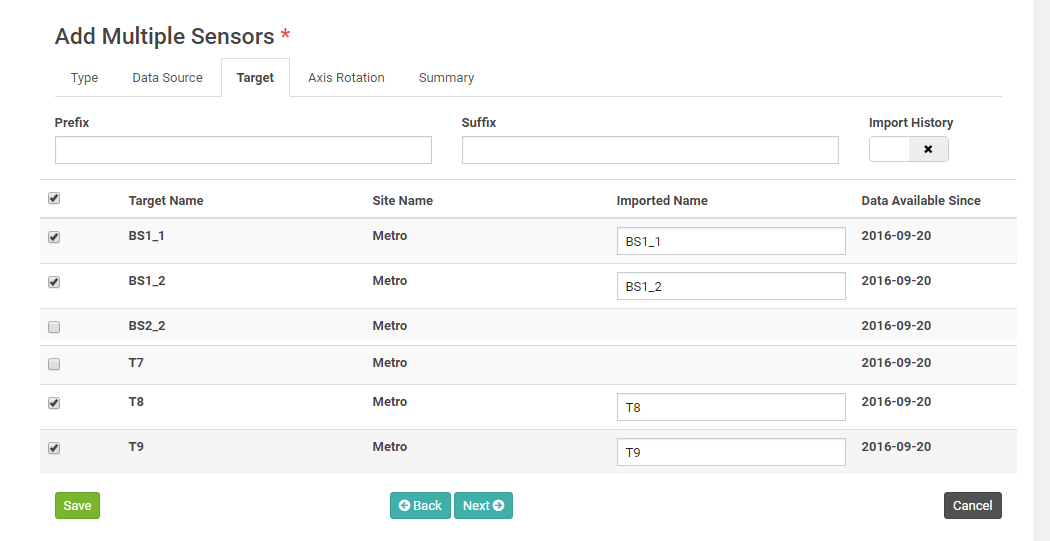
The Target tab shows all the targets (or prisms) associated with the selected Data Source.
-
By default, all available targets are selected and the suggested sensor name is based on the [Target Name].
-
You can select or deselect the individual targets to import. You can also edit each sensor name individually, or specify a Prefix and/or Suffix to be added to the auto-generated names.
-
In addition, you can import historic observation data (if available). For more information, see Historic data import.
-
-
Click Next to proceed to the Axis Rotation tab to define the axis rotation of the targets. For more information, see Rotation angles.
-
Click Next to proceed to the Summary tab.
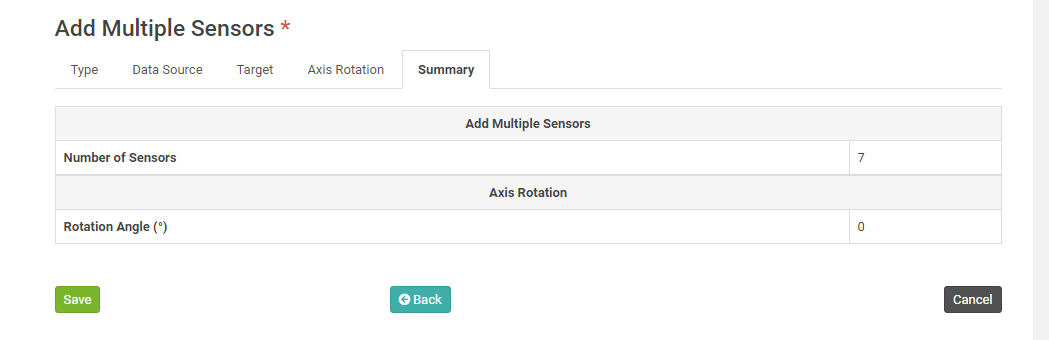
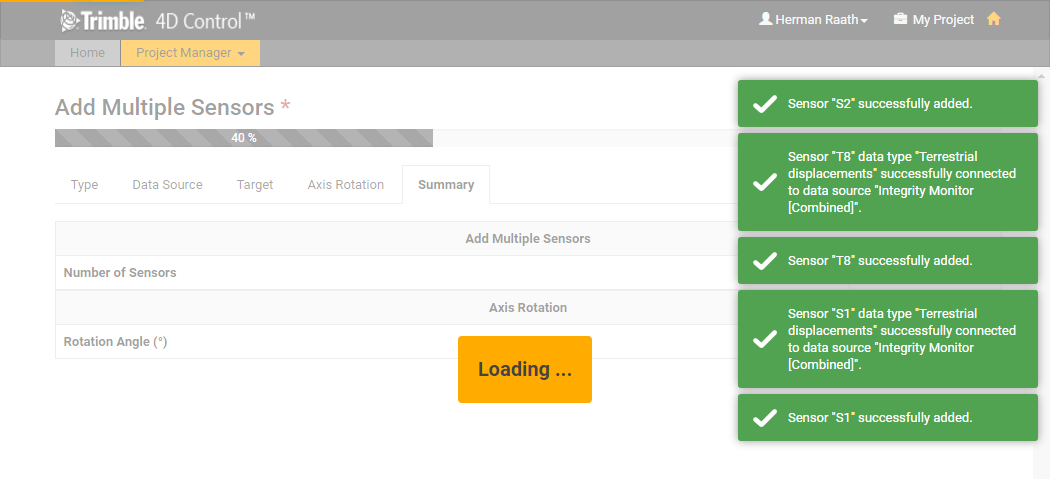
The Summary tab shows an overview of the number of targets that will be added to the project.
-
Review the summary settings and then click Save.
A progress bar appears at the top of the page while the Target (Displacements) sensors are created and connected to the selected Data Source.
It is important to keep your browser open and to remain on the current page until the process completes.
When all the sensors have been created and connected then you will be navigated back to the Sensor Listing page.
