Edit or Delete Existing Labels
You can use various commands to edit, move, rotate, and delete existing labels as described below.
Note: To ensure that the size of dimensions or labels is correct when viewed in the Plan View, verify that the plot scale for the project is set correctly in Project Settings > View > Plan View. The plot scale is the factor used to convert from ground units to sheet units (ground units / plot scale = sheet units). For example, if the default plot scale of 600 is used, an object with a length of 600 m in the Plan View will plot with a length of 1 m on paper. In survey feet, the default plot scale of 50 will plot as 1 foot on paper.
Prerequisites:
- Licensed module. See the Subscription Plans page. For a license matrix by command, see the License page in the TBC Community. Also see View and manage licensed features.
- labels
To edit label properties:
In the Plan View, select the label whose properties (color, text style, units, positioning, and so on) you want to edit, right-click, and select Properties. Then make changes in the Properties pane. This allows you to change properties for an individual label without affecting the underlying label style.
To explode a multi-line label:
By default, a multi-line label is created as a single object that can be edited, moved, rotated, and deleted in its entirety. If you want to "break" a multi-line label object into a separate object for each line so that each can be modified separately, use the Explode command.
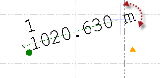
Before exploding:
After exploding (and moving second line):
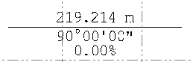
To swap label lines:
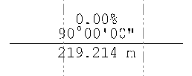
To reverse the order in which multiple label lines are displayed, select the label, right-click, and select Swap Label Sides.
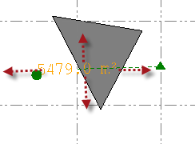
Before swap:
After swap:
To move a label:
Click and drag the label's grip. If you select a line label that does not have an attached leader line, you can only move it parallel to the line.
You can move point and polygon labels, with or without leader lines, in any direction.
To rotate a point or polygon label:
Click and drag the point label's rotation grip.
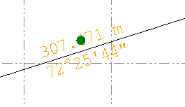
To flip an azimuth/bearing label:
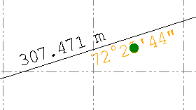
When a line label includes an azimuth or bearing, select the label, right-click, and select Flip Azimuth/Bearing Label to change it from a north azimuth to a south azimuth (or vice versa) or a north-east bearing to a south-west bearing (or vice versa).
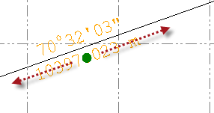
Before flip:
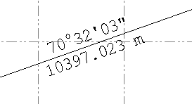
After flip:
![]()
Note: You can specify whether to use azimuths or bearings in your project in the Project Settings dialog.
To delete a label:
Select one or more labels you want to delete and press the Delete key.
