Select Visibility Filtering for a Point Cloud
Three visibility filtering modes allow you to specify whether to view the inside or outside of point cloud objects, or both:
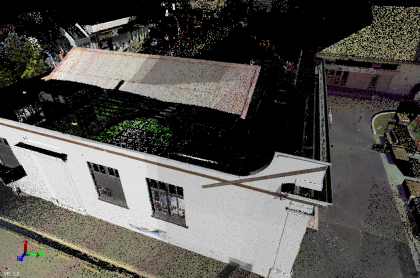
- No visibility process mode is the default setting. In this mode, all points are shown without visibility filtering. The following example is using the No visibility process mode along with the Normal shading display mode.
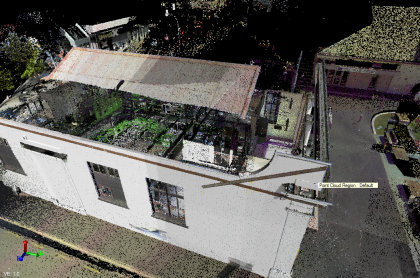
- See inside mode, which works only when your point cloud includes normal data, is ideal for looking at the interior of a building that has been scanned from the inside, from a viewpoint located outside. In this situation, if you apply Normal Shading, the scan points on the walls look black. The See inside mode simply hides these points, so that you can see what is behind and inside the building. The following example is using the See inside visibility mode along with the Normal shading display mode.
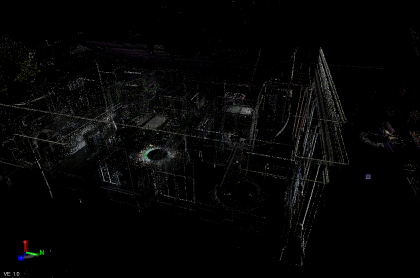
- Outline mode is ideal for Keyplan 3D-like visualization, which can be useful, for example, for checking the registration on walls by hiding the points whose normal faces the screen. The following example is using the Outline visibility mode along with the No shading display mode.
Note: These filters do not modify the points in a given point cloud region or the point cloud selection tools. For example, if the Outline mode is turned on and a point cloud selection is made, all points visible and invisible will be selected. You can toggle the Outline mode off to view all selected points.
Prerequisites:
See the Subscription Plans page. For a license matrix by command, see the License page in the TBC Community. Also see View and manage licensed features.
To select the visibility mode:
Select one of the following mode options in Point Clouds > Rendering:
