View and Edit Point Cloud Regions
See the appropriate section below for instructions on viewing and editing point cloud regions.
Prerequisites:
See the Subscription Plans page. For a license matrix by command, see the License page in the TBC Community. Also see View and manage licensed features.
Selecting point cloud regions:
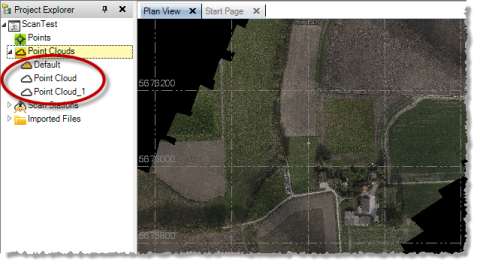
Each point cloud region included in your project (that is, the Default point cloud region and any additional regions you create or have been created based on imported LAS-classified scan points) is represented by an individual point cloud region node nested beneath the Point Clouds Region node in the Project Explorer.
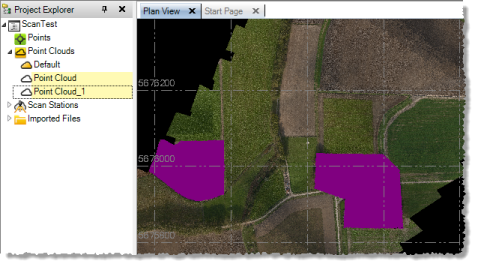
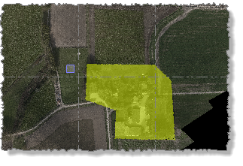
When you select a point cloud region in the Project Explorer or in a graphic view, the default highlight color is applied to the region.
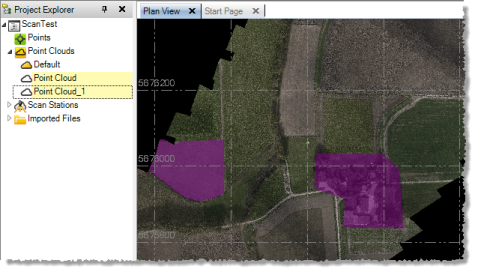
Note that you can select Intensity-Based Blending in Point Clouds > Rendering to overlay the highlight color on top of the gray-scale intensity to make the region details more distinguishable.
Note: Although you can delete any point cloud region that was created or imported into your project, you cannot delete the Default point cloud region.
Rendering point cloud regions:
Note: In addition to selecting an appropriate rendering mode for each cloud region as described in this section, you can also specify luminance intensity settings (brightness, contrast, and blending) for the entire point cloud. See Specify Point Cloud Rendering Settings for instructions.
To specify how a point cloud region displays when it is unselected (that is, not highlighted), you must first select the region and then select one of the following rendering options:
- True Color - Select True Color in Point Clouds > Rendering to render the point cloud region using true color.
- Scan Color - Select Scan Color in Point Clouds > Rendering to render the point cloud region using the color assigned to the point cloud scan. You can change the color for any point cloud scan by right-clicking Scans > station > point cloud scan in the Project Explorer and selecting Properties.
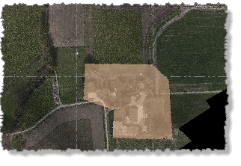
- Region Color - Select Region Color in Point Clouds > Rendering to render the point cloud region using the color selected for the region in Trimble Business Center. You can change the color for any region by selecting it and selecting the appropriate color in the Point Cloud Region Color drop-down list, or by right-clicking the region and selecting Properties.
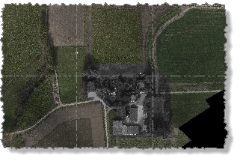
- Gray-Scale Intensity - Select Gray-Scale Intensity in Point Clouds > Rendering to render the point cloud region using a gray scale based on the laser intensity (return signal strength) of each scan point. Low intensity points display in darker shades of gray; high-intensity points display in lighter shades of gray.
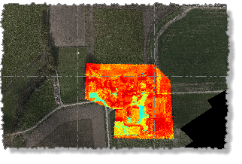
- Color-Coded Intensity - Select Color-Coded Intensity in Point Clouds > Rendering to render the point cloud region using a color scale based on the intensity (return signal strength) of each scan point. Low intensity points display in warmer colors (for example, orange and yellow); high-intensity points display in cooler colors (for example, blue and green).
- Color by Elevation - Select Color by Elevation in Point Clouds > Rendering to render the point cloud region using a color scale based on the elevation of each scan point. To specify how elevation colors are applied to the region, see Specify Point Cloud Rendering Settings.
Note that you can also change rendering options for a point cloud region be selecting the region in the Project Explorer or a graphic view, right-clicking, and selecting Properties.
Using the View Filter Manager to display and hide point cloud regions:
Select View Filter Manager in Views > View to display the View Filter Manager pane. Then, in the Point Cloud Regions section of the view filter list, specify the point cloud regions you want to display or hide in graphic views.
