Split Level Runs
Use the various Split Run commands available in the Level Editor dialog to split a single level run into two or three individual level runs.
When you use the Split Run command in conjunction with the Merge Runscommand and, optionally, the Combine Leveling Files command, you can remove a flawed portion (one or more setups) of a level run and replace it with a new portion that includes either correctly measured field data (typically for replacing a long portion) or corrected keyed-in data (typically for replacing a short portion). For example, say a level run took 3 days to survey and Day 2 needs to be re-surveyed because of high winds and resulting errors. Instead of having to re-survey the entire 3-day run, the field crew can re-survey just the bad portion of the original run captured on Day 2. Then you can split the original run into 3 parts as described below and merge the first part, the re-surveyed Day 2 run, and the third part as described in Merge Level Runs.
Prerequisites:
See the Subscription Plans page. For a license matrix by command, see the License page in the TBC Community. Also see View and manage licensed features.
To split a level run into multiple runs:
- If the Level Editor is not already displayed, do either of the following:
- Right-click the imported level data file node or the Keyed-In File node in the Project Explorer and select Level Editor from the context menu.
- Select Level Editor in Survey > Optical and, if prompted, select the level data file in the Select Leveling Files dialog.
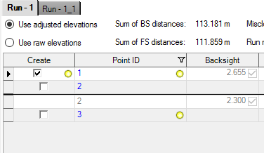
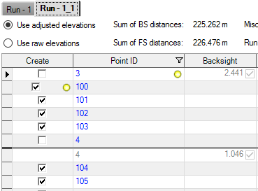
The Level Editor dialog displays a tab for each run in the data file, allowing you to view and/or edit each run individually.
The following steps provide various options for splitting a run into two or more runs. Select the step that best suits your needs. Step 2 explains how to split a single run into two runs. Step 3 explains how to split a single run into three runs.
- To split the run into two runs, right-click any row in the setup you want to use to define the split (without selecting it's row header) and select Split Run Above or Split Run Below.
Note: Heavy lines separate individual setups in the table.
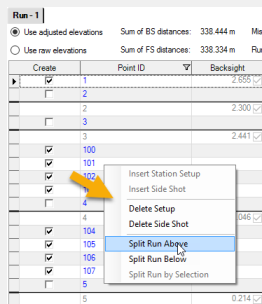
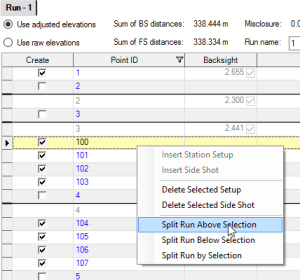
Or, left-click the row selector (located on the left end of the row) in any row in the setup you want to use to define the split. Then right-click and select Split Run Above Selection or Split Run Below Selection.
The selected setup is included in either the original run (Split Run Below) or the new run (Split Run Above).
- To split the run into three runs, do either of the following:
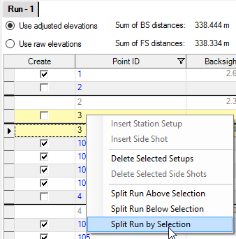
- To split the run using a single setup, left-click the row selector in any row in the setup you want to use to define the split. Then right-click and select Split Run by Selection (or click the Split Run by Selection button).
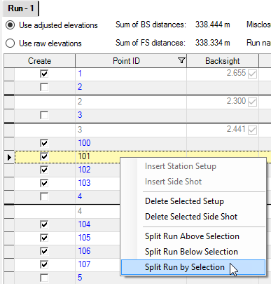
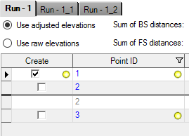
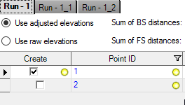
This results in three runs. The original run includes the setups preceding the selected setup.
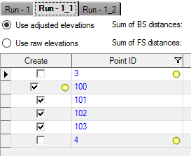
The second run includes the selected setup.
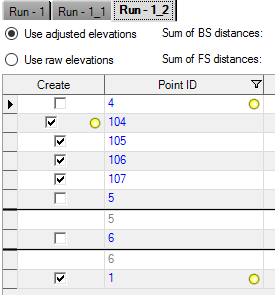
The third run includes the setups following the selected setup.
- To split the run using multiple setups, left-click a row selector in the first setup, then press the Shift key and left-click a row selector in the last setup, resulting in a contiguous selection.
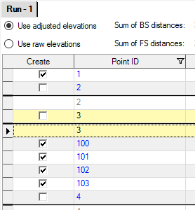
Right-click and select Split Run by Selection (or click the Split Run by Selection button).
This results in three runs. The original run includes the setups preceding the selected setups.
The second run includes the selected setups.
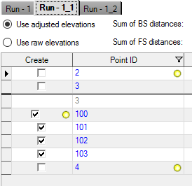
The third run include the setups following the selected setups.
- To split the run using a single setup, left-click the row selector in any row in the setup you want to use to define the split. Then right-click and select Split Run by Selection (or click the Split Run by Selection button).