Run a Batch Command
The New Batch Project tool allows you to run a routine that automates typical operations on MX9, MX50, MX60 and MX90 datasets such as importing .mxdb mission(s), defining the coordinate system, generating scans, classifying scans, colorizing scans, exporting to the available formats (TMX, TopoDot, Las, Solv3D). The routine can be:
- Created by defining the parameters, and exported for later use,
- Or imported if it exists.
Once executed and finished, a report shows the different status of the operations.
The datasets may be:
- One mission, one SBET and one datum definition,
- Multiple missions with multiple SBET (one per mission), but all sharing the same datum definition (the same for each mission),
- Multiple missions with multiple SBET (one per mission), and multiple datum definitions (different for each mission).
The steps to run a batch command consist of creating a batch project which is a project container in which the data computed with the batch command will be available.
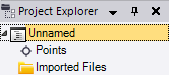
- Create a new VCE project. This new project is named “Unnamed”.
- Save the project.

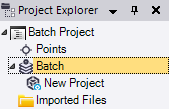
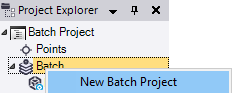
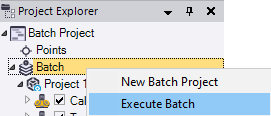
- Select New Batch Project in Mobile Mapping > Batch to create a batch container. TBC creates at the same time a new project and puts it under the batch container.
- Display the new project properties and note that all properties are empty except the VCE Project Path.
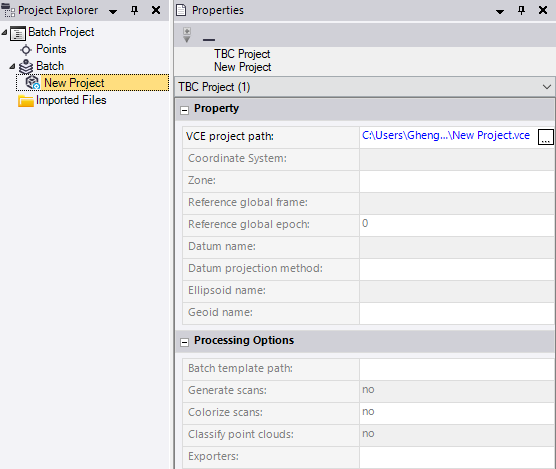
Click to rename the project to Project 1 and change its path if necessary.
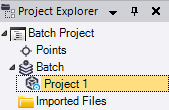
- If required, select New Batch Project from the pop-up menu to add another project.
Rename the new project to Project 2.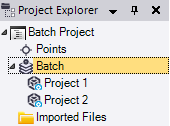
- Define one coordinate system per project by selecting Batch Coordinate System from the pop-up menu.
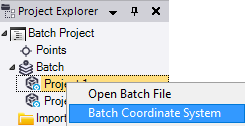
A coordinate system once defined cannot be edited. If you want to change it, you have to define it again.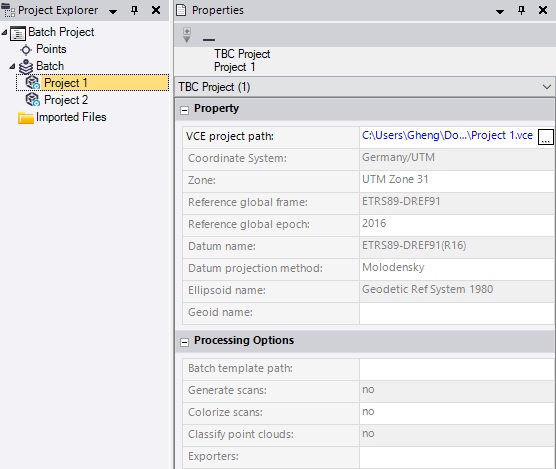
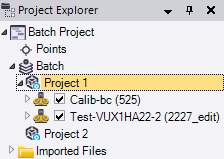
- For each project, select Add Mission from the pop-up menu to add missions by adding the related MXDB(s).
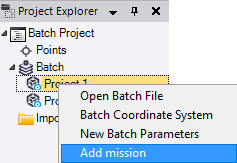
Note: Only MX9, MX50, MX60 and MX90 missions can be added into a project. Do not mix the data from different systems within the same project if you want to generate and colorize scans with the masks applied.
Note: Two dialogs will open, one to let you choose the mission to add by selecting the related MXDB, the other to find the SBET if the one associated has not been found in the mission.
- For each mission:
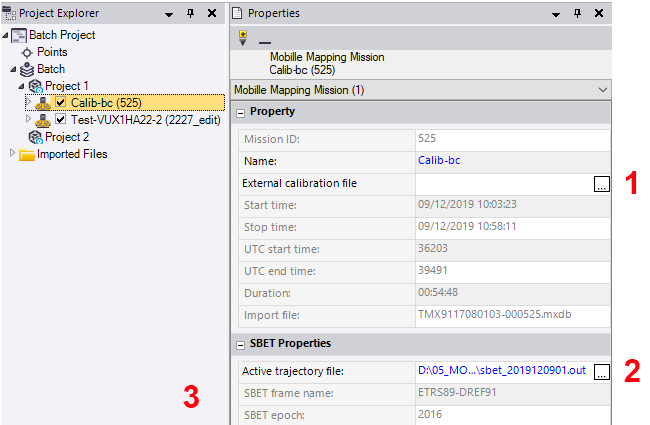
(1) - External calibration file: Click
to import the calibration file for the mission.(2) - Active trajectory file: The SBET file is by default the one found in the mission.
(3) - SBET frame and SBET epoch:
- If a SBET log file has been found (the file coming from a SBET computation with PosPac), SBET frame and SBET epoch will have the values of the file.
- If no SBET log file has been found, and the containing project:
- Has a coordinate system definition already set (see step 6), the mission datum (frame and epoch) will be the one corresponding to the containing project coordinate system.
- No coordinate system definition already set (see step 6), IRTF2000 and 1997 will be the default values for the mission datum (frame and epoch).
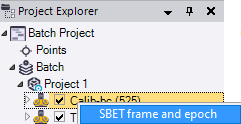
- Optionally, change the frame and epoch of a mission by selecting SBET frame and epoch from the pop-up menu.
- Do one of the following:
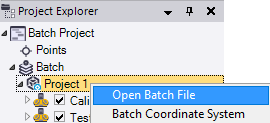
- Set parameters to a project by importing a batch file (with .tbatch extension). Select Open Batch File from the pop-up menu.
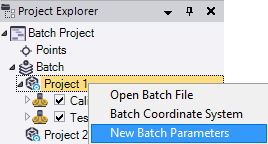
- Set parameters to a project by defining them. These parameters will be applied to all missions in the project. Select New Batch Parameters in Mobile Mapping > Batch to display the New Batch Parameters command pane.
- Select:
Generate Scans (MX9/MX90) or (MX50/MX60) to extract the mobile mapping scans from the MX9/MX90 or MX50/MX60 raw data files. See Generate Mobile Mapping Scans for the parameters.
Colorize Scans to colorize the mobile mapping scans with the RGB color values found in the video clip(s), i.e. the color information in the PGR format files. See Generate Mobile Mapping Scans for the parameters. Scans colorization can be done with (or without) applying masks. To generate masks, open another session of TBC, create a VCE project, import the (same) mission and generate masks (when generating scans). Once done, copy the path of the generated masks in the Mask Path field. The first mask file is automatically displayed.

Extract Classified Point Cloud Regions to automatically extract from a selected point cloud region ASPRS (American Society for Photogrammetry and Remote Sensing) classes into individual point cloud regions. See Extract Classified Point Cloud Regions for the classification types.
Export to LAS Split to export the classified point cloud regions to an LAS file or multiple LAS files, the classification code is added to the exported points. See Export Mobile Mapping Classified Point Cloud Regions to LAS (.las) for the parameters.
Export to Solv3D to convert the MX9,or MX50,or MX60, or MX90 data to be used in the Solv3D software, i.e. panoramic images, and laser point clouds. See Export Mobile Mapping Panoramic Images and Point Cloud to Solv3D for the parameters.
Export to TopoDot (MX9/MX90) or (MX50) or (MX60) to convert the MX9/MX90 or MX50 or MX60 data to be used in the TopoDot software i.e. panoramic images, side camera images, and laser point clouds. See Export Mobile Mapping Panoramic Images and Point Cloud to TopoDot for the parameters.
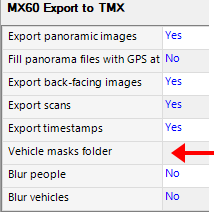
Export to TMX (MX9/MX90) or (MX50) or (MX60) to convert the MX9/MX90 or MX50 or MX60 data to be used in the Trimble TMX software, i.e. panoramic images, side camera images, laser point clouds and trajectory. See Export Mobile Mapping Images, Point Cloud and Trajectory (.csv) to Trimble TMX for the parameters.
Tip: Blurring images can be done without (or without) applying masks. To generate masks, see Blur Exported Images. Once done, copy the path of the generated masks in the Vehicle Masks Folder field.
- Add as many commands as required.
- If you do not want a command anymore, select it and click Delete.
- Once all commands have been added, click Apply.
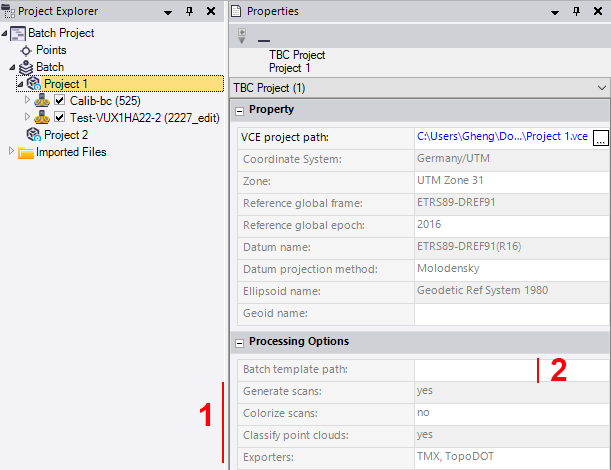
(1) - Defined parameters are displayed in the Processing Options panel.
(2) - Batch template path is empty (no batch file has been imported).
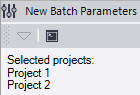
Tip: You can select several projects and define the parameters for all of them.
- Select:
- Set parameters to a project by importing a batch file (with .tbatch extension). Select Open Batch File from the pop-up menu.
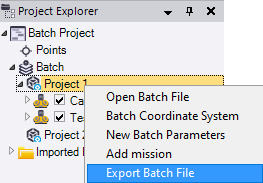
- Export the defined parameters as a batch file (.tbatch file) by selecting Export Batch File.
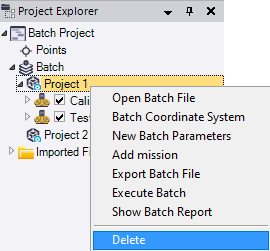
- Optionally, delete a batch project by selecting Delete.
- Optionally, uncheck:
- A mission to deselect all runs.
- A run to deselect the run. It will not be taken into account for the batch processing.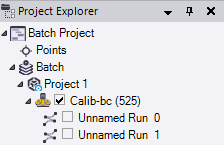
- Execute the batch for all projects in the batch container by selecting Execute Batch from the pop-up menu.
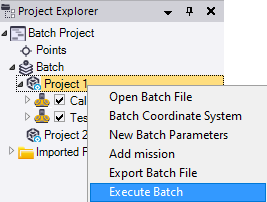
- Or execute the batch for one project.
TBC displays a dialog.
- Click Yes to display the errors and warnings found.
- Click No to not display the errors and warnings found and execute the batch.
Once done, you can display the report by clicking Show Batch Report, or display the report later by selecting Show Batch Report in Mobile Mapping > Reports.
- In TBC, open each project to view the result.
